The freezing and thawing temperatures of late February and early March signal the start of maple syrup season. Although historians disagree on who was first to tap the tree, the basic recipe for gathering and producing maple syrup has stayed essentially the same for over a thousand years. If you have at least one good size sugar maple and the time and patience necessary to process the sap, here is all you need to know to set up your own sugar shack.
Tools of the Trade
The Right Trees: The Sugar Maple (Acer saccharum) is the best type of maple suited for the job of making syrup. Also known as the Hard Maple, compared to other maples its sap contains the highest amount of sugar (2%) and produces the darkest, most flavorful syrup. A tree is ready for its first tap when it reaches approximately 40 years old and has a trunk that is at least 12" to 18" in diameter at chest height. Trees 19" to 25" in diameter can sustain 2 taps and trees over 25" can sustain 3 taps (trees should never have more than three taps). The sap season lasts around 6 weeks (starting and stopping with freezing and thawing temperatures), with each tap producing about 10 gallons of sap (1 quart of syrup).
The best producers tend to have full crowns that extend toward the ground and can produce as much as 12 quarts of sap a day. Healthy trees have been known to produce for as long as 150 years!
Tapping Trees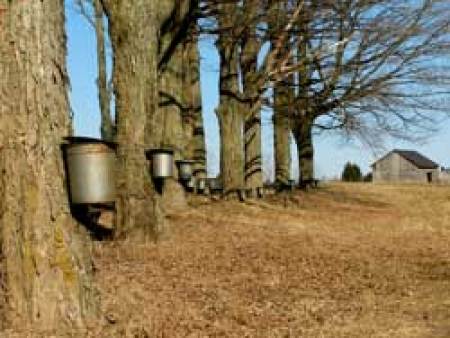
Weather is an important factor in sap production and even after trees are tapped, sap will only flow on days when conditions are right. Nighttime temperatures below freezing, followed by days of rapid warming (to about 40ºF) will get sap flowing. The exact timing may vary from state to state, but the second to third week in February is a pretty safe bet in the Northeastern states and perhaps slightly later in the North Central states. The sap should be collected before leaf buds start to swell or the syrup will taste bitter.
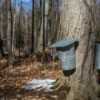
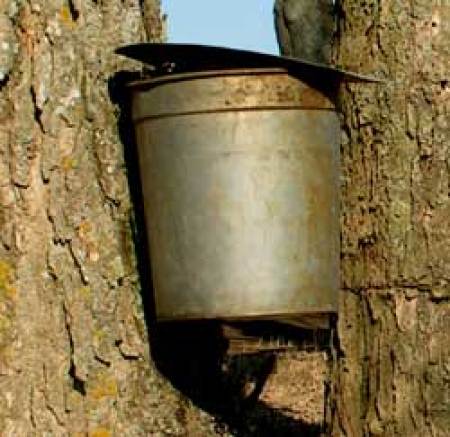
To tap a tree, drill a hole 1" to 1 1/2" deep at a comfortable height where bark is healthy and free of blemishes. Angle the hole slightly upward so the sap drips out easily. Tap the spout into the hole tight enough so that it cannot be pulled out by hand, taking care not to split the tree (tapping on warm days will minimize this risk). Hang your collecting bucket on the spout and make sure the top is covered securely.
Making Syrup
When the sap starts to run, store collection containers in a cool place until you have enough to fill your boiling pan. Sap will become sour if left in the sun and should be boiled as soon as possible after collection. To boil, fill your pan with sap, leaving room at the top to prevent it from boiling over. Keep adding more syrup (hot or cold) into the pan as the water boils away and sap reduces. Leave 2 inches of syrup in the bottom of the pan at all times to prevent it from scalding and burning. It takes a lot of time to boil sap down to syrup, so be prepared to exercise some patience.
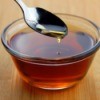
Finished syrup will reach a sugar content of 66-67% and a temperature of 7.1ºF above the boiling temperature of water (the temperature water boils will depend on your elevation). Use a candy thermometer to measure the temperature and a hydrometer and testing cup to tell you if the syrup has reached the proper concentration of sugar. Syrup below 66% may sour over time and syrup above 67% will form sugar crystals during storage.
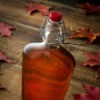
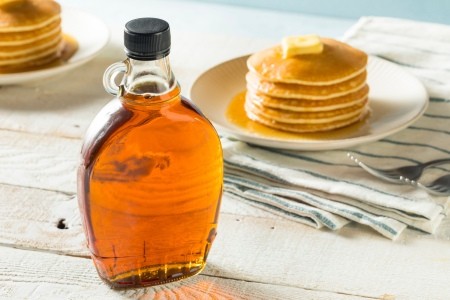
When the syrup has reached the proper temperature and density, filter or strain while it is hot before pouring it into sterilized glass jars. Fill the jars so that very little air remains near the top, seal them and store them on their sides. If properly prepared, syrup can be kept in the freezer without freezing. Open syrup should be refrigerated.
After the sap season is over, clean your equipment with a solution of 1 part chlorine and 20 parts hot water. Do not use any chemicals or soaps on equipment as they may leave an off taste in next season's syrup.
The hardest part of making maple syrup is exercising the patience required to collect and boil the sap. Good things come to those who wait, however, as nothing can beat the taste of your own homemade maple syrup!
About The Author: Ellen Brown is our Green Living and Gardening Expert. Click here to ask Ellen a question! Ellen Brown is an environmental writer and photographer and the owner of Sustainable Media, an environmental media company that specializes in helping businesses and organizations promote eco-friendly products and services. Contact her on the web at http://www.sustainable-media.com
Add your voice! Click below to comment. ThriftyFun is powered by your wisdom!
good site...how do you know when maple candy is ready to be taken out of the pan?
Add your voice! Click below to comment. ThriftyFun is powered by your wisdom!