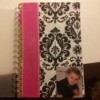
I was looking for a planner for my girlfriend for her birthday. I could not find the right one for her personality, I looked everywhere! Finally I decided to buy one, then make it my own, for her. This could be done with books, photo albums, address books, and planners. This one is a Mother's Day planner.
Approximate Time: 1- 1 1/2 hours
Supplies:
- planner (address book, book, etc.)
- picture
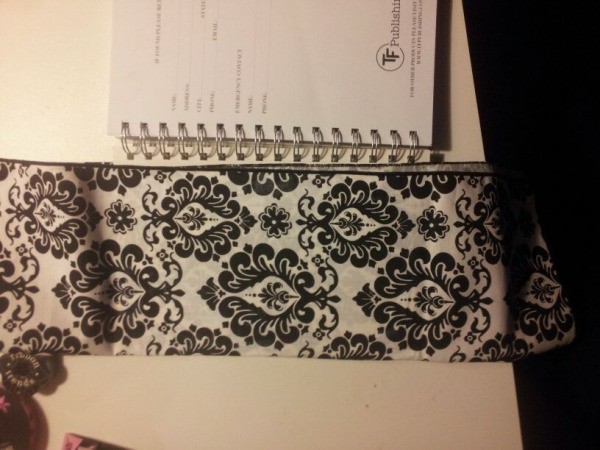
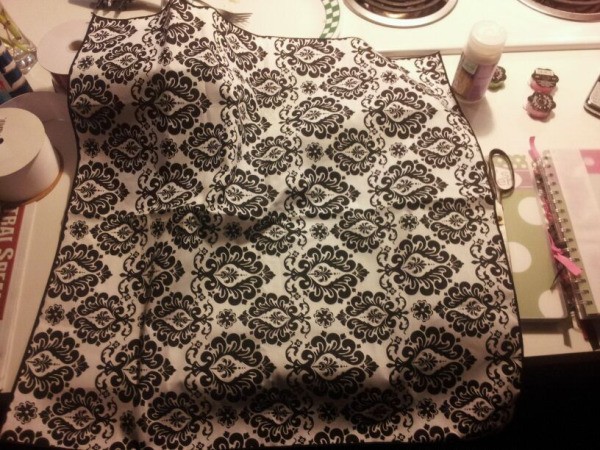
- piece of fabric (in this case a 99 cent bandana left over from a birthday party)
- wide grosgrain ribbon
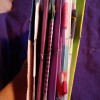
- multicolored, thin grosgrain ribbons
- craft glue
- scissors
- lighter
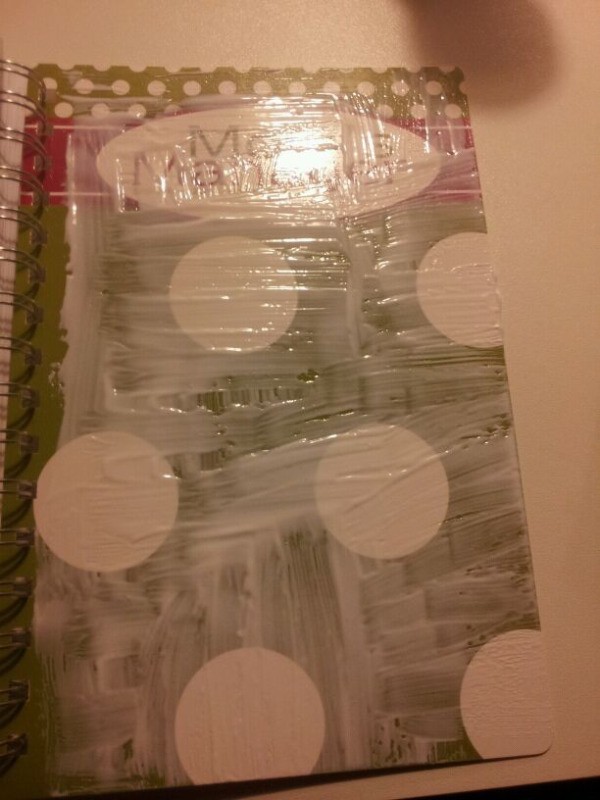
- possibly Contact paper depending on whether book has clear plastic cover or not
Instructions:
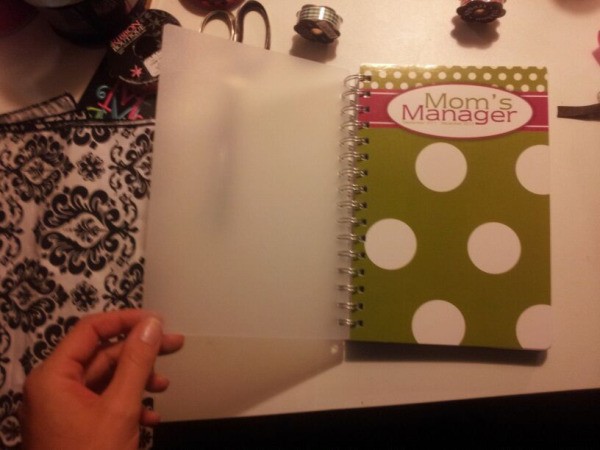
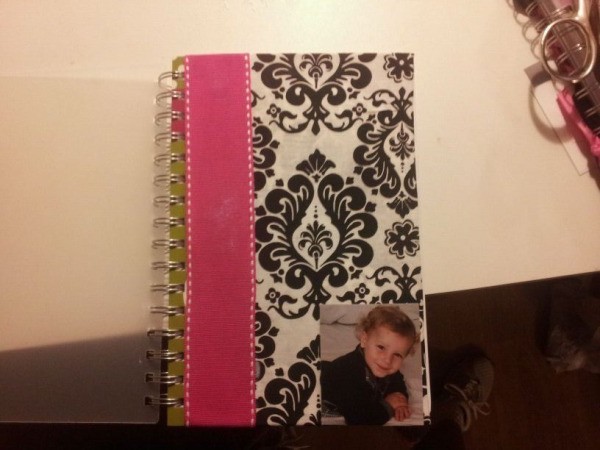
- Fold fabric and line up to the spiral edge of the planner, leaving enough room to be able to turn the pages. Use the fabric to measure as if wrapping a present. Be sure it can fold over the page from spiral edge to spiral edge on back side of cardboard page, this is the first page after clear cover. If your chosen book doesn't have a clear plastic cover, don't worry. We can use Contact paper.
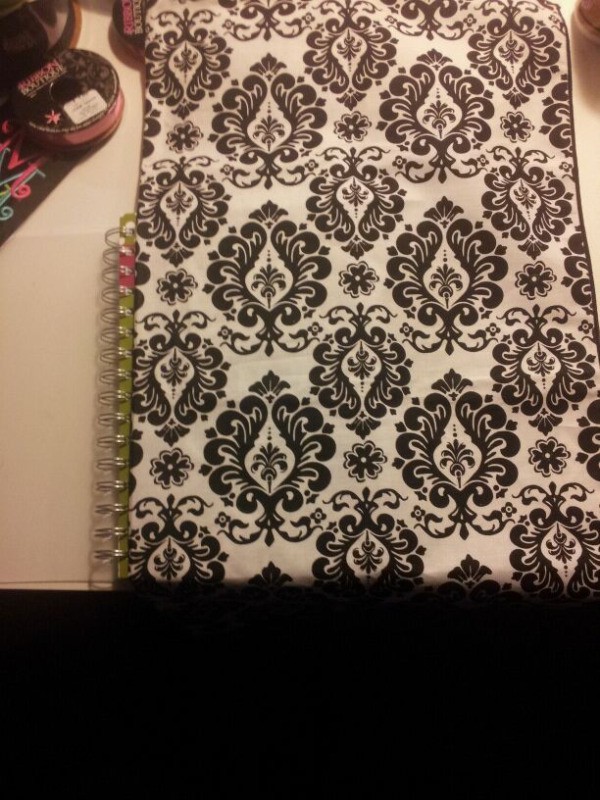
- Once you have positioned your material in the desired position, remove and spread glue on cover of page you are using. (For this planner it's the first page after the clear plastic cover.)
- Smooth fabric on top of glue in the desired position. Once it's evenly spread, flip the page over. Spread glue on top and bottom portions on the back side of page. Fold fabric in and smooth it out.

- Now place glue on top and bottom of fabric which you just folded in and glued in and in a line near spiral binding. Tuck fabric accordingly and smooth and secure on all three sides.
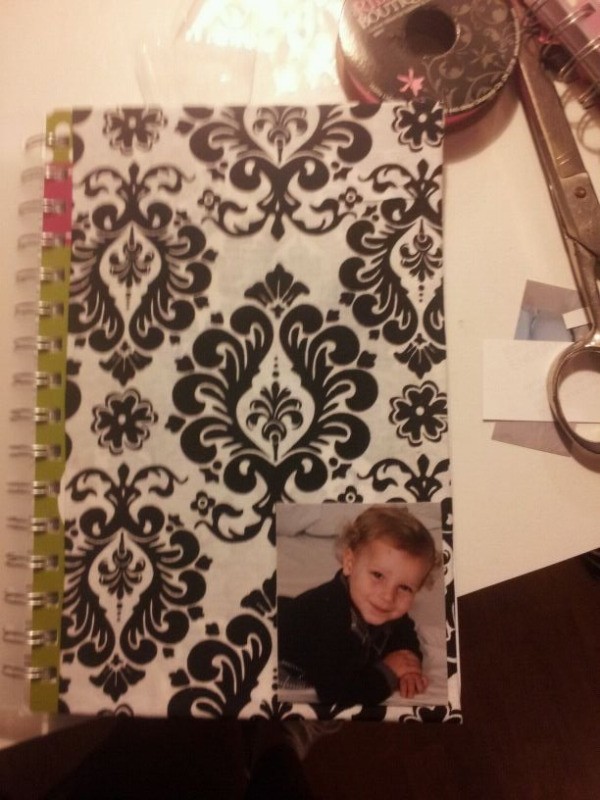
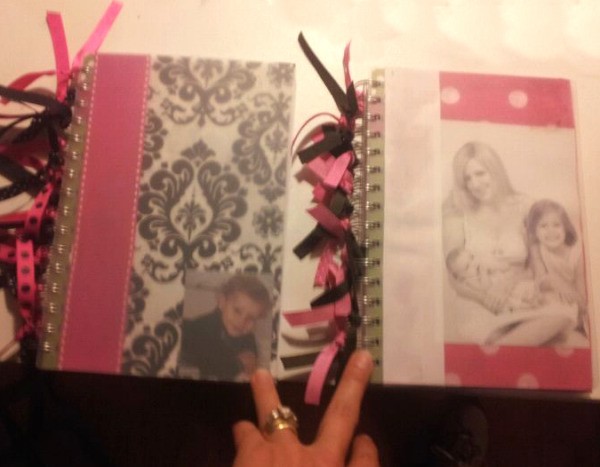
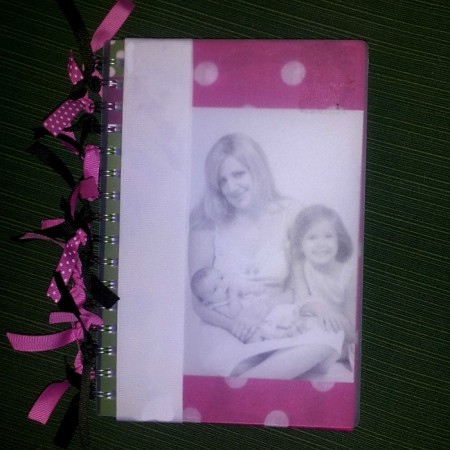
- Chose picture and cut according to size needed for book. Our picture is 4x6 inches. Center picture wherever desired (in this case in the center, at the far right of page). Once you have the picture in your desired position glue the back and smooth on the fabric.
- Next, I framed the left side of picture with the wide grosgrain ribbon (be sure length of ribbon can cover page and wrap around to the back of page, overlapping about an inch). Once ribbon is measured, apply glue to the backside of ribbon and smooth to secure.
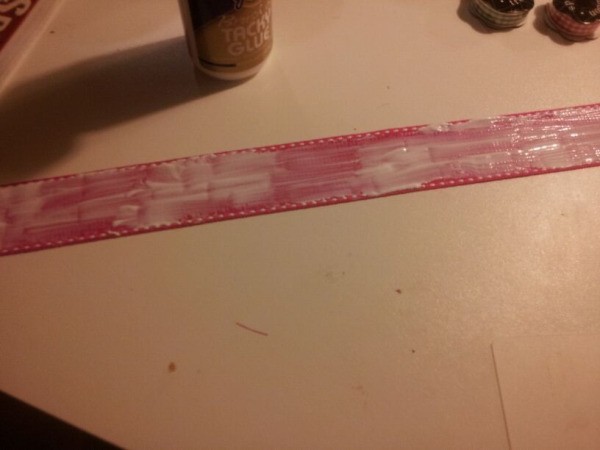
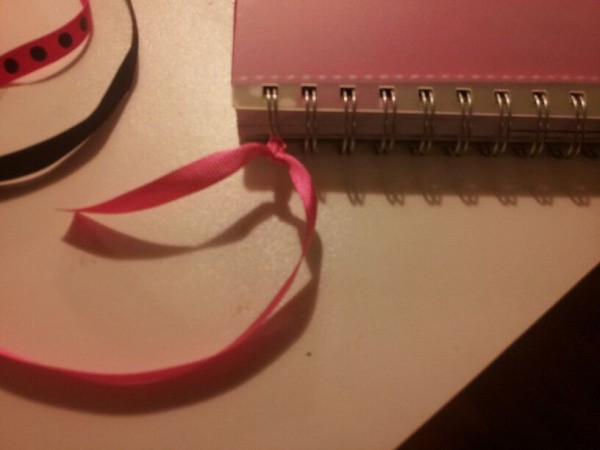
- Use the small grosgrain ribbon and tie to spiral binding on individual spirals. Cut ribbon to desired length. Alternate colors of ribbon using one or more for each spiral.
- Finally, using the lighter sear edges of ribbon. This is to prevent unraveling.
Now you have your own custom made planner and/or personalized gift. Enjoy and happy crafting!
Note: If planner or book does not have clear plastic cover, you may use clear Contact paper once other steps are completed, to seal and secure fabric and/or picture. Just measure the Contact paper just like the fabric in step one.
By Mistie from Baton Rouge, LA