Browse   Newsletters   Contests   Ask   Share   Account   About

How to Install a Dimmer Switch

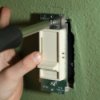
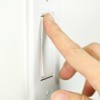
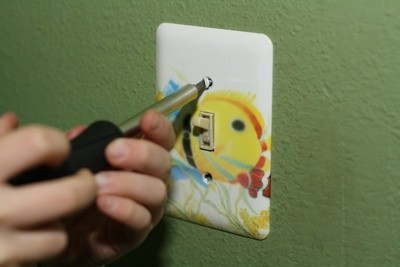
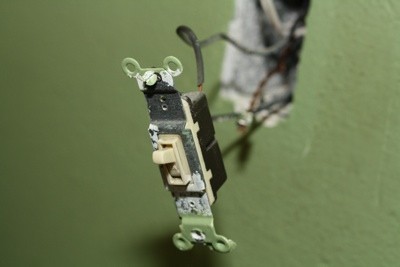
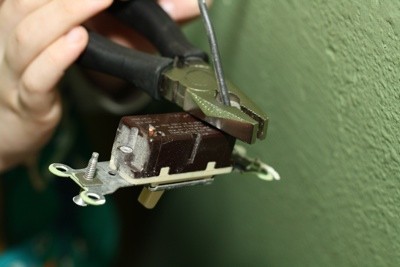
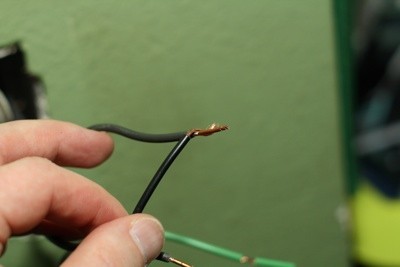
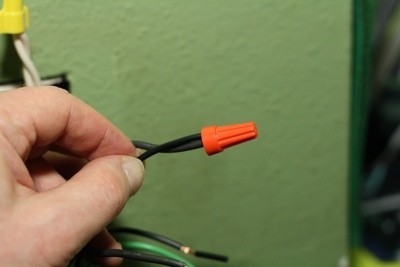
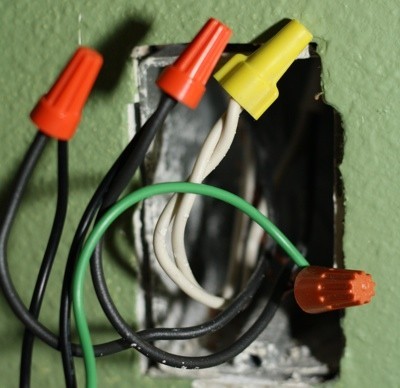
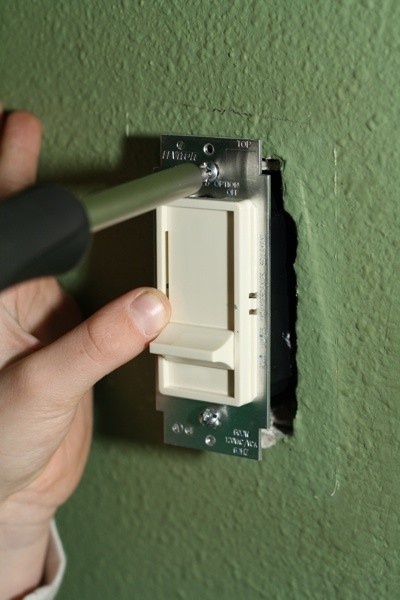
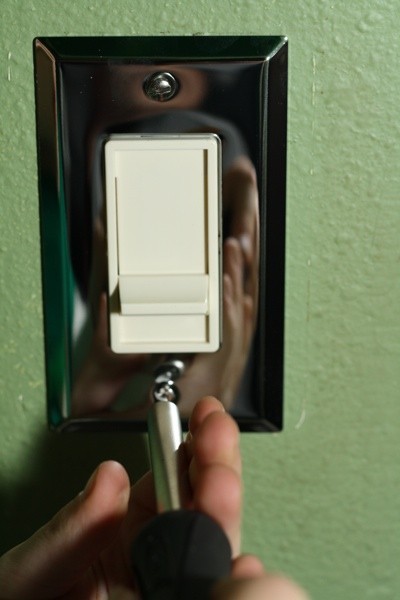
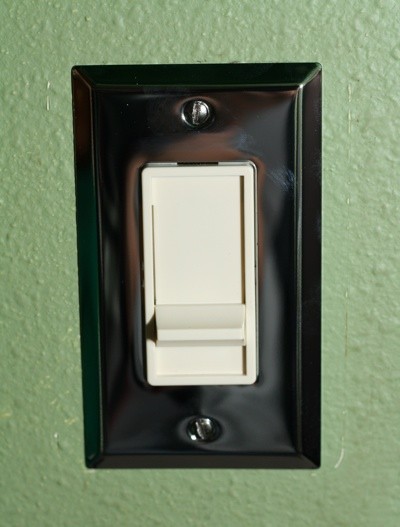
Installing a dimmer switch is a quick and easy way to add more control over the lighting in a room. It's very handy, especially at bedtime, to be able to dim the lights a little. I replaced the switch in my son's room and he was able to help quite a bit.

Not all types of lighting is dimmable, fluorescent bulbs, for example. So be sure you have the correct type of lighting before you begin this project.

  1. Turn off power leading to the switch you will be replacing
  2. Remove the old switch plate. Usually a flat head screw driver is all that is necessary for this step.
  3. DimmerG400x267.jpg

  4. Unscrew the old switch and remove it from the inset box.
  5. DimmerF400x267.jpg

    DimmerE400x267.jpg

  6. If the old switch is hard wired, the easiest thing to do is to simply cut the wires close to where they enter the back of the switch
  7. DimmerD400x267.jpg

  8. Lightly twist the wire from the new switch to each of the black wires coming from the wall.
  9. DimmerB400x267.jpg

  10. Screw the wiring connector onto the wires so they stay connected
  11. DimmerA400x267.jpg

  12. The ground wire coming from the wall will need to be connected in the same way to the green wire coming from the switch. Leave the white wire as is in the box. Once all the wires are connected it will look like this.
  13. Dimmer400x388.jpg

  14. Push the wires back into the box and screw the new dimmer switch into place.
  15. DimmerA400x600.jpg

    Dimmer400x425.jpg

  16. Screw the new switch plate on and you're done!
  17. Dimmer400x600.jpg

    DimmerFinal400x527.jpg

    By

Feedback

Read feedback for this post below. Click here to post feedback.

By
04/21/2011

Yay! Directions with pictures for us instruction challenged individuals!

Post Feedback

Add your voice to the conversation.

Follow ThriftyFun