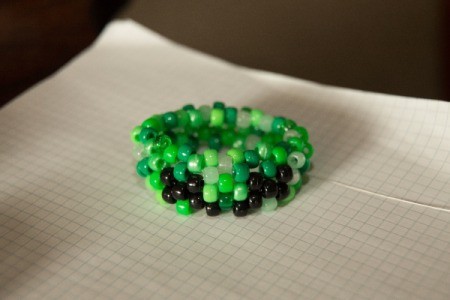
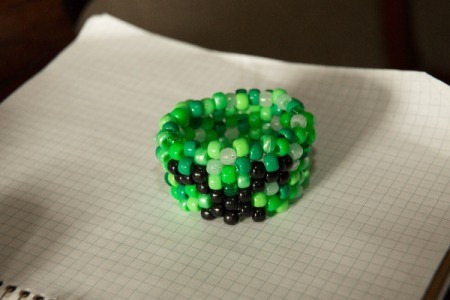
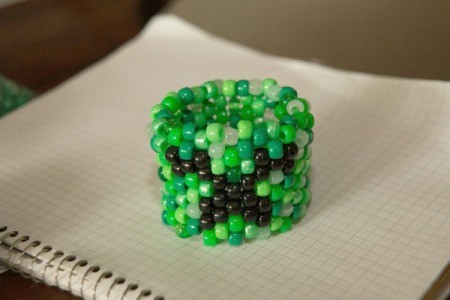
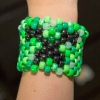
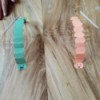
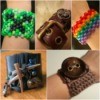
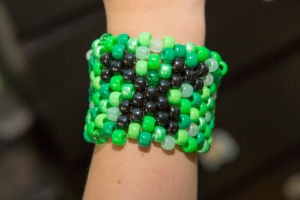
 If your kids like Minecraft (and I bet they do), then they are going to love this beaded Minecraft creeper cuff. My son has been wearing it non-stop since we made it.
Total Time: 90 minutes
Yield: 1 cuff
Supplies:
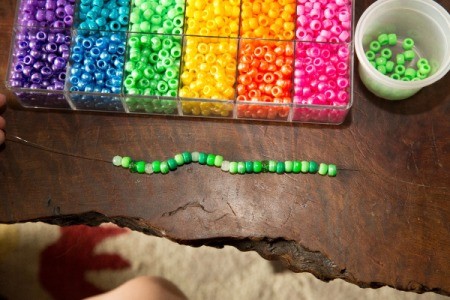
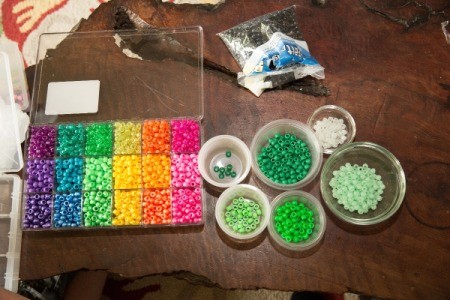
- 22 black 9mm pony beads
- 203 assorted beads in creeper colors (greens, grey, tan or white)
- .7mm Stretch Magic
Steps:
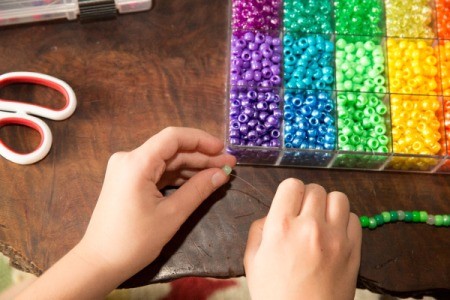
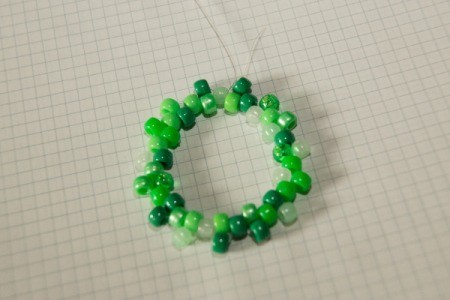
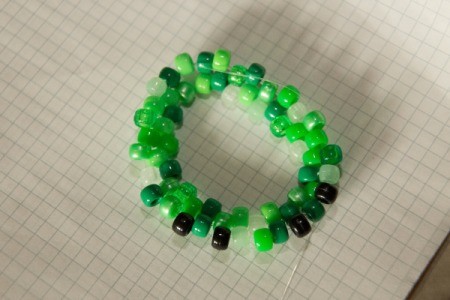
- The creeper face is drawn as though it were pixelated into 8-bit squares. These squares don't necessarily translate well into beadwork. Beads fit together like bricks, rather than stack like blocks. We sketched out the design first using graph paper. We used 2 squares for each bead so it would best approximate the look of the beadwork. We decided an "X" of 5 beads looks most like a square and made that the basis of our design.
If you are working with a young child to make this project, it's best to cover the planning stage together. That way they will understand why it doesn't look exactly like the creeper in the game. 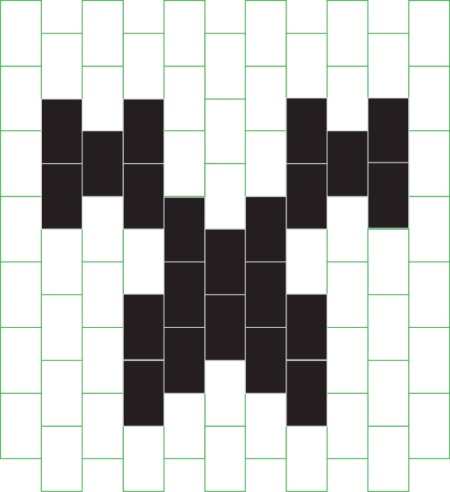
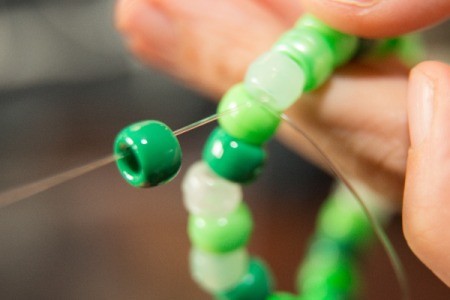
- Thread 30 of your assorted color beads on the Stretch Magic. We used 6 different greens plus white and green glow-in-the-dark beads for a total of eight different shades to choose from.
- Tie off this first row with a square knot and trim off the excess.
Since you are going to be tying it off in the same place in just a moment, a single square knot will hold. However, we tied a double square knot at this stage to make sure it wouldn't come undone. 
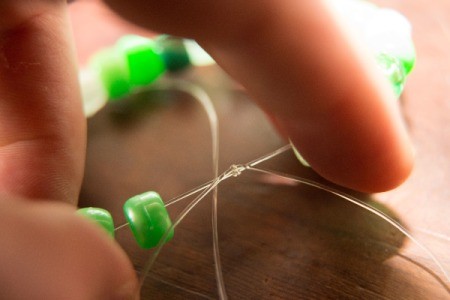
- Thread the Stretch Magic back through the beads so it goes through all 30 beads twice. Tie off the second loop.
- Thread the first bead of the second row on and align it with the first bead from the first row, next to the knot.
- Thread the Stretch Magic through the second bead of the first row to hold the first bead of the second row in place.
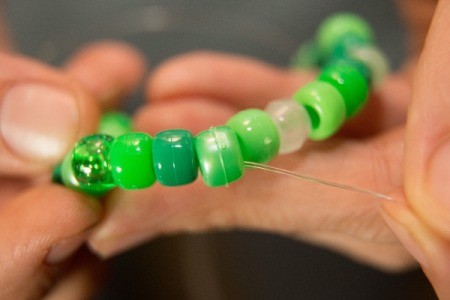
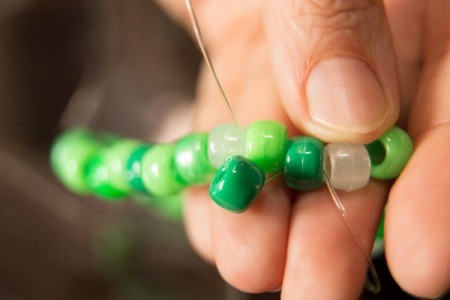
- Repeat that process, threading a bead for the second row, skip a bead, then thread it through the previous row.
- Once you have the second row complete, tie it off back at the original starting location. When flat, the bracelet will resemble a basic flower pattern at this stage.
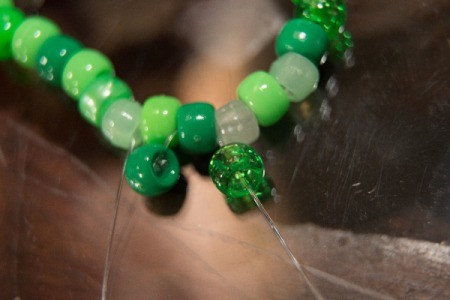
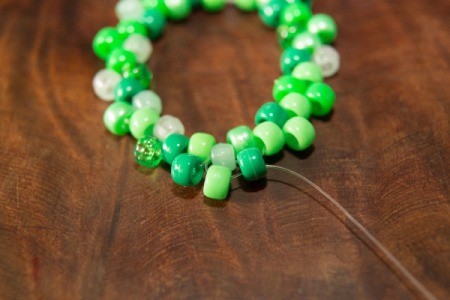
- Starting the third row is easy now. Thread a bead on and it will fit right in the pocket next to where you just tied off the second row. You will be working back from the direction you came. When you get back to the beginning, tie it off with the last bead of the previous row to tighten up the cuff.
- The first set of black beads comes in this third row, if you are working from the top of the design.
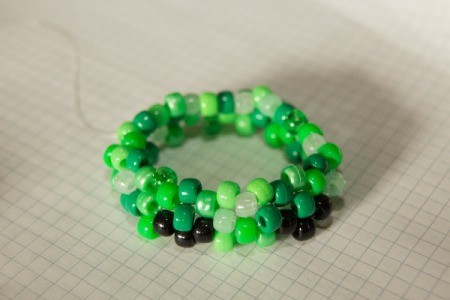
- As you add rows, continue selecting random beads to fill in the area around the black beads. We did our best to follow the color scheme of the actual creeper design, but it was impossible to match exactly.
- When you finish the last row, be sure to tie it off securely. For added strength, you can go back through the final row with another loop of Stretch Magic, like at the beginning. Be sure to give the finished bracelet a good quality checking tug before giving it to someone to wear.
Add your voice! Click below to comment. ThriftyFun is powered by your wisdom!