lalala...
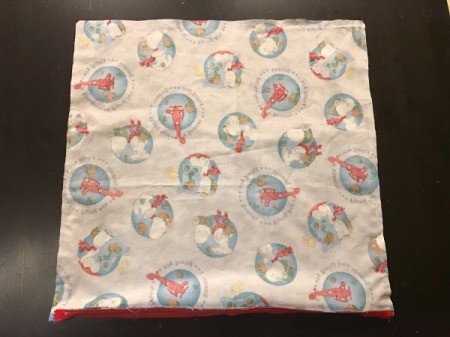
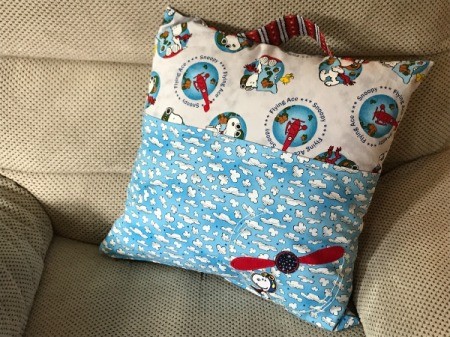
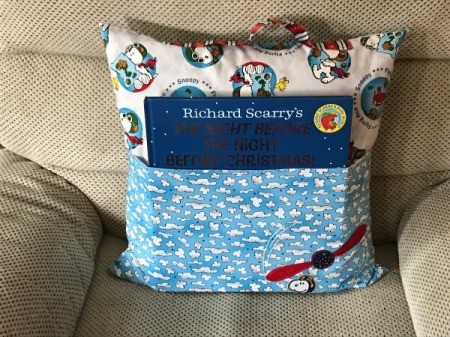
Gold Post Medal for All Time! 899 Posts 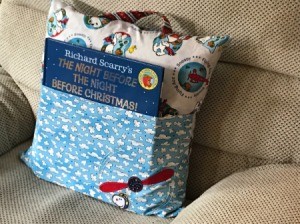 We made this pillow for my 3 year old. It has a large pocket to carry a book and is perfect for cuddling up for story or nap time.
Source: www.fairfieldworld.com
Supplies:
- 18" x 18" pillow form
- 1/2 yard, pillow fabric (45" wide)
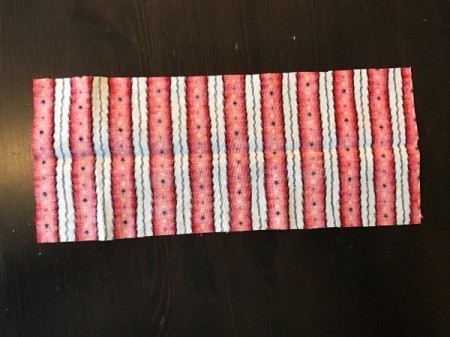
- 1/2 yard, pocket fabric (45" wide)
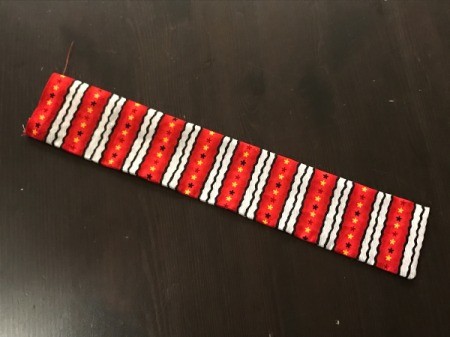
- 1/4 yard coordinating fabric (handle)
- 16" zipper
- thread
- scissors
- seam ripper
- pins
- sewing machine
- iron and ironing board
- Optional Applique Supplies:
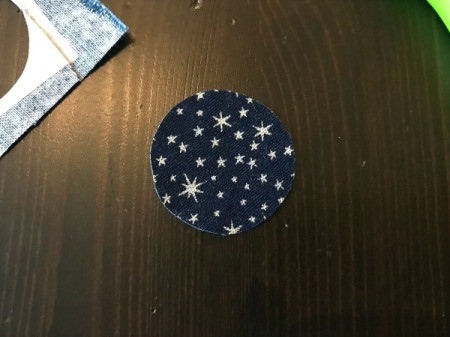
- scrap fabrics (for propeller)
- Wonder Under, fusible webbing
- embroidery floss
- embroidery needle
- iron-on patch
Steps:
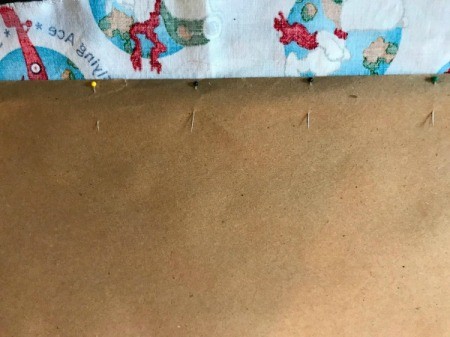
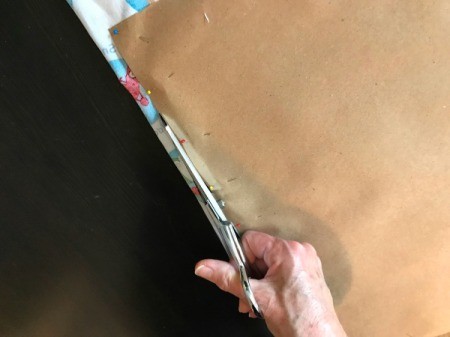
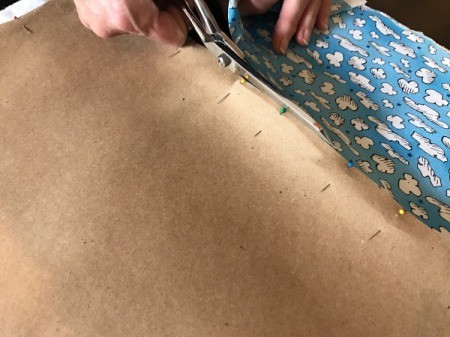
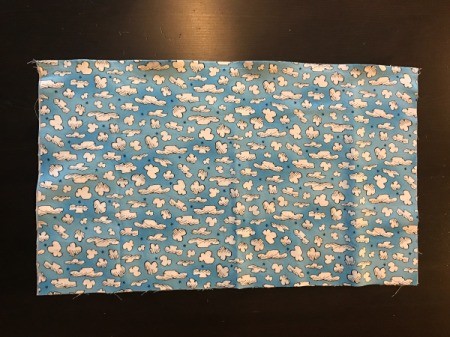
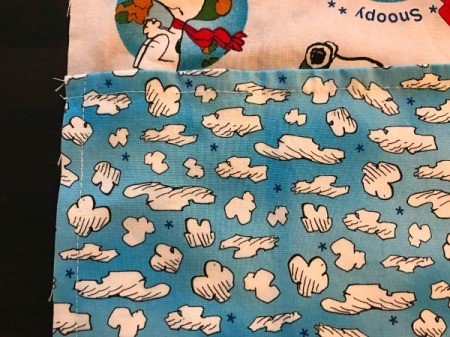
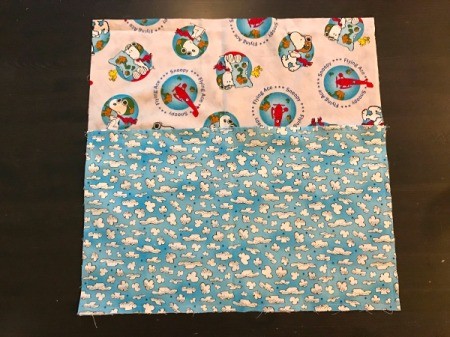
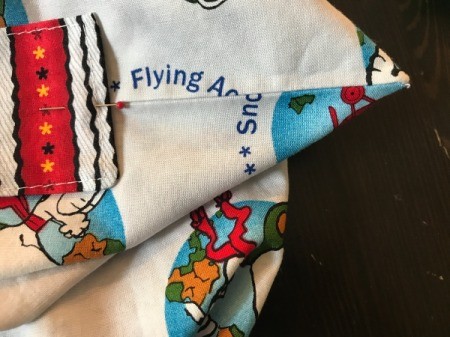
- Cut two 18" x 18" squares from your pillow fabric. Then cut out two 11" x 18" pieces from your pocket fabric.
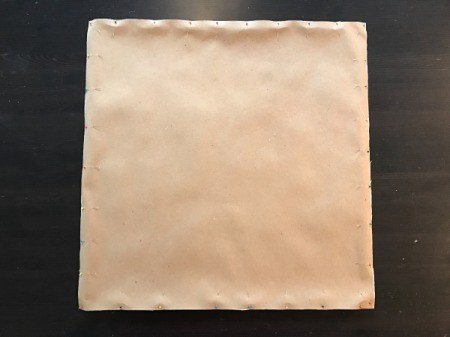
- Lay the two pocket pieces right sides together and pin along one long side. Sew together with a 1/2" seam. Turn right side out, fold wrong sides together, and iron the seam. Top stitch the top edge.
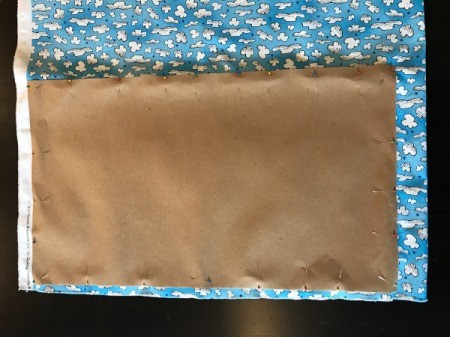
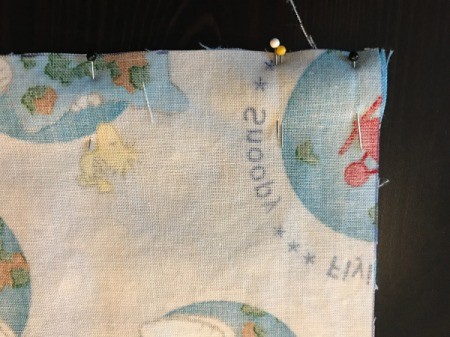
- Put the pocket onto the right side of one of the pillow pieces. Pin together along sides and bottom. Then machine baste with a 3/8" seam allowance.
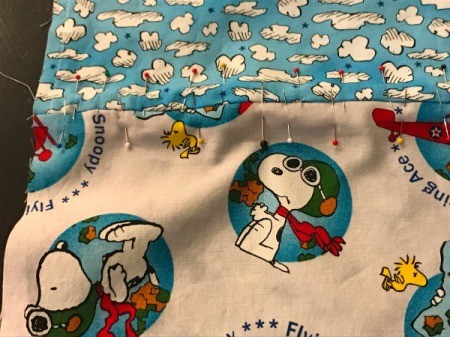
- Place the second pillow piece right sides together with pocket pieces. Pin together along the BOTTOM only.

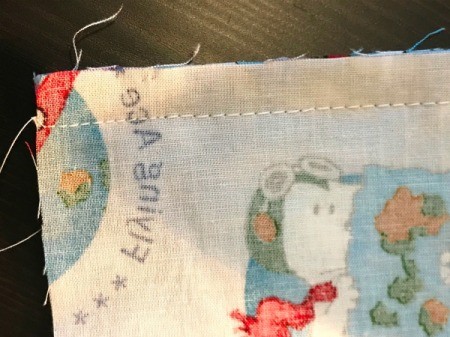
- Sew together using a LONG basting stitch, with a 1/2" seam allowance and a REGULAR stitch for the first and last inch.
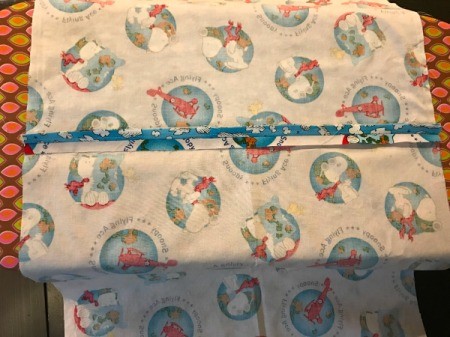
- Open up the two pieces and the seam and iron flat.
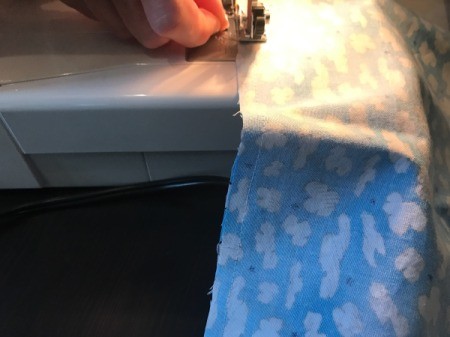
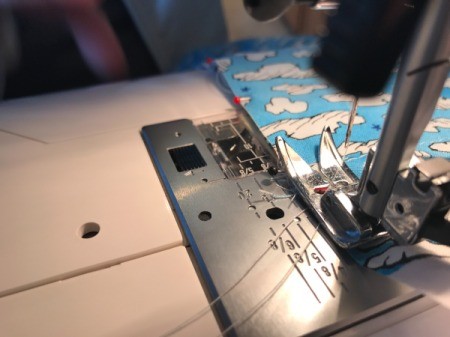
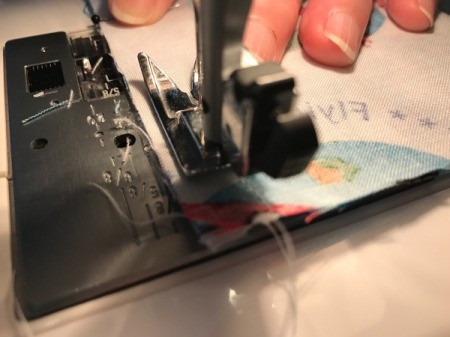
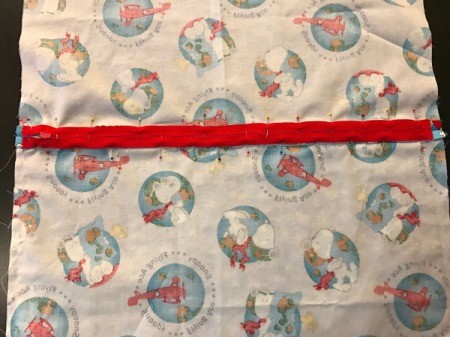
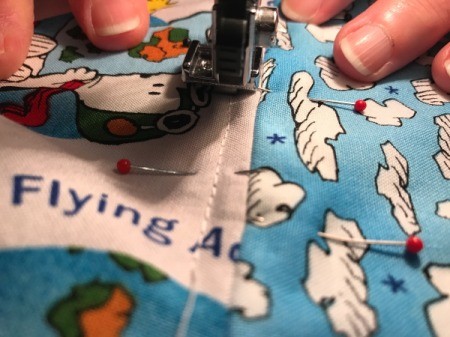
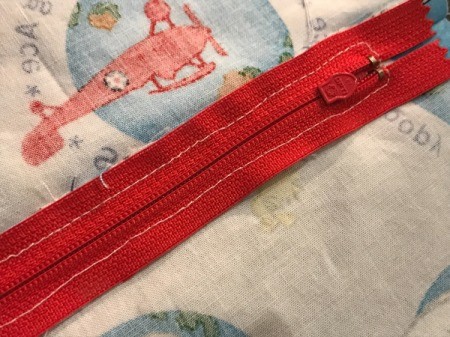
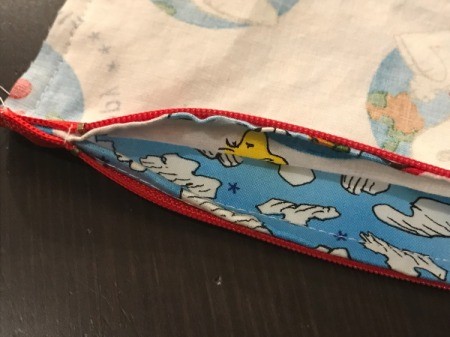
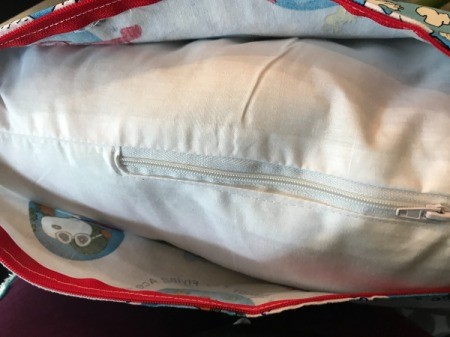
- Lay the zipper onto the seam, face down. Stitch around all 4 sides of the zipper.
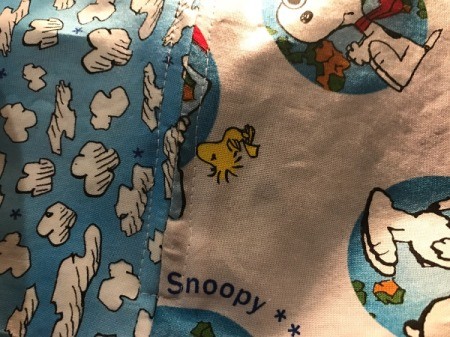
- Turn the pillow over and use a seam ripper to carefully open up the seam where the zipper is. DO NOT unstitch the first and last inch.
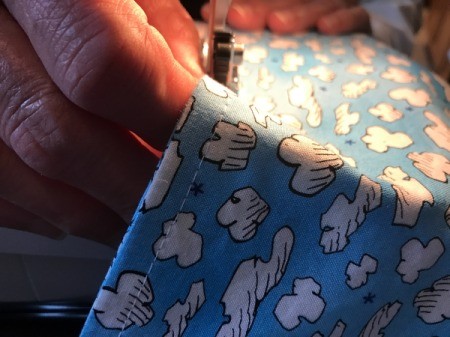
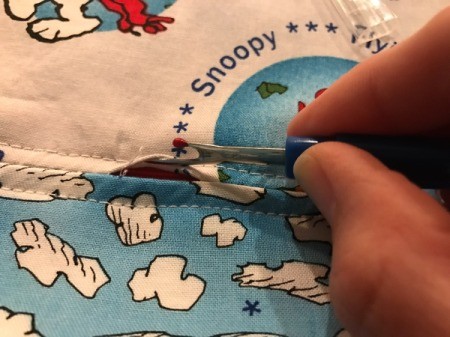
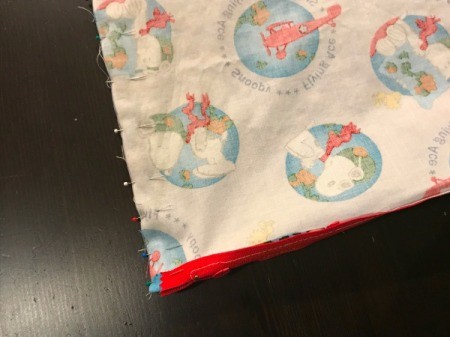
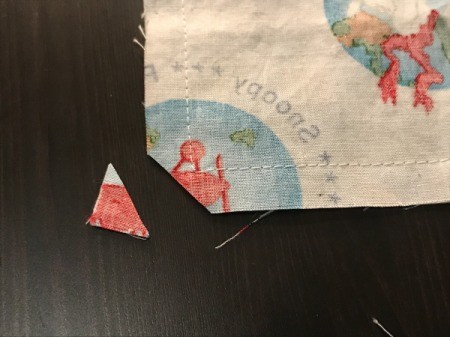
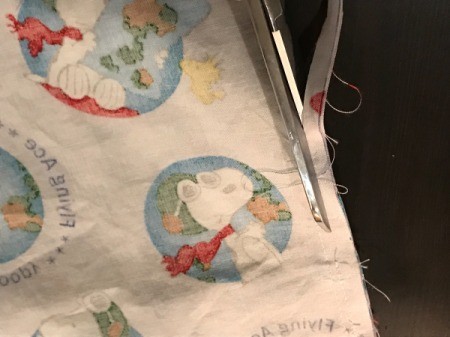
- With right sides together, pin the remaining 3 sides. Then sew with 1/2" seam. Tie off the threads, trim the seams, and clip the corners.
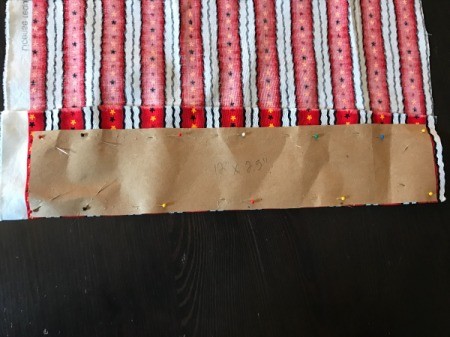
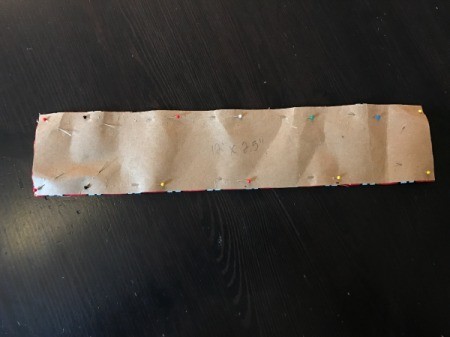
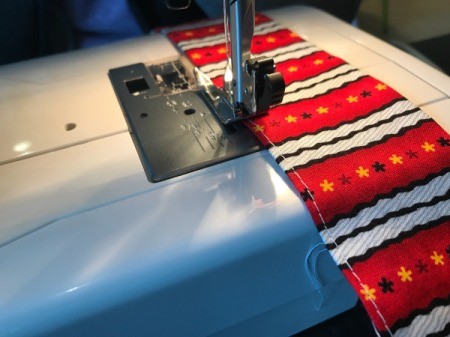
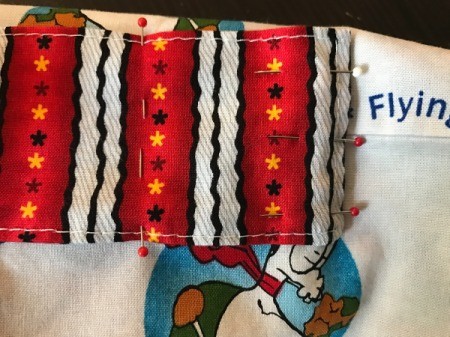
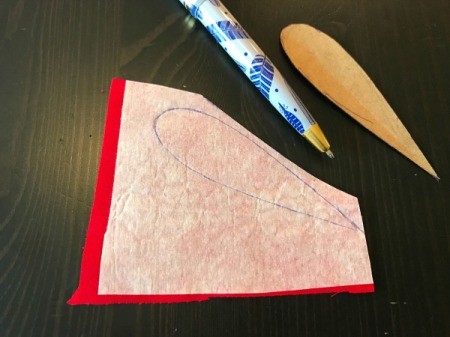
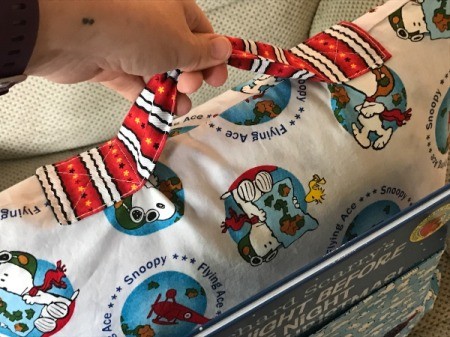
- Handle: Make a paper template for the handle that is 12" x 2.5". Pin the template to the fabric with the long side on the fold. Cut it out. Open up the fabric, fold in half longwise (right sides together), and sew together along one short side and the long side. Turn the handle right side out and turn in the seam 1/2" on the open end, pinning closed.
- Top stitch around all 4 sides, close to the edge.
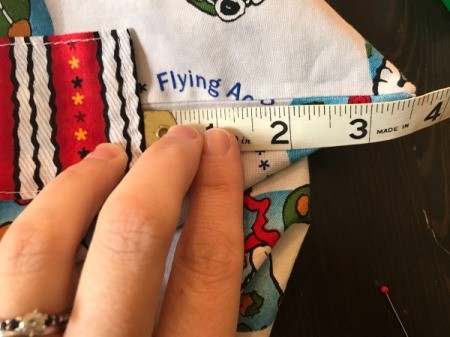
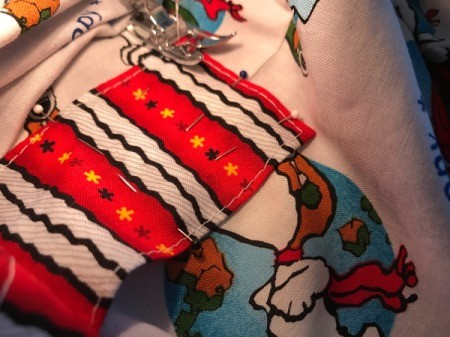
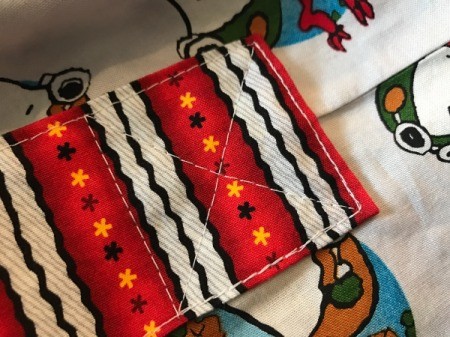
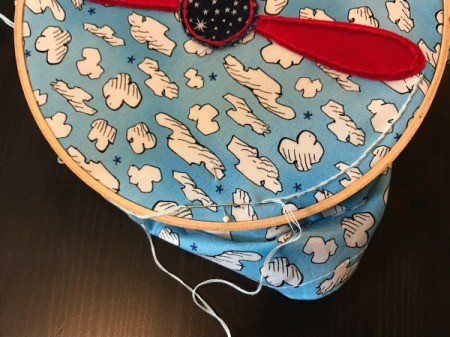
- Pin each end of the handle, 3.5" from the ends of the pillow. The handle is centered over the top seam. Also use pins to mark 2.5" in from the end of each handle (see photos below).
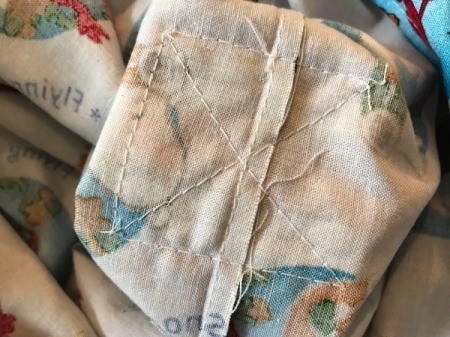
- Sew a square that is on top of the top stitching and across at the marked 2.5". Then sew an "x" in the square as shown below.
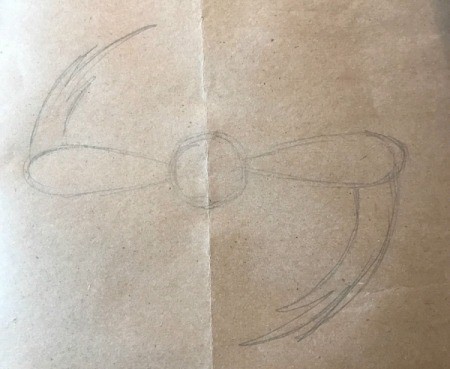
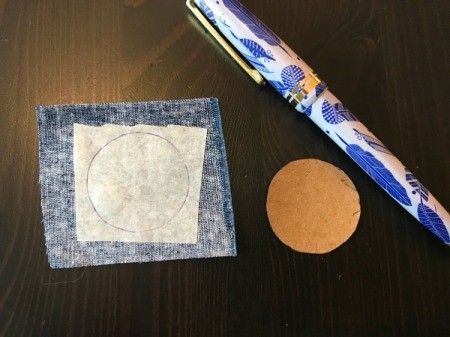
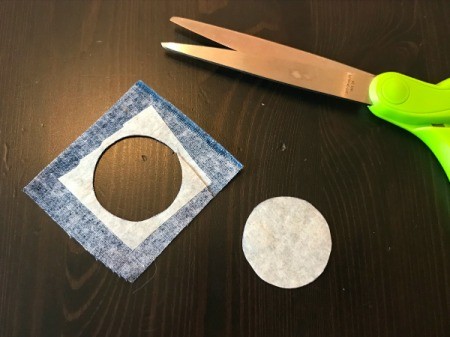
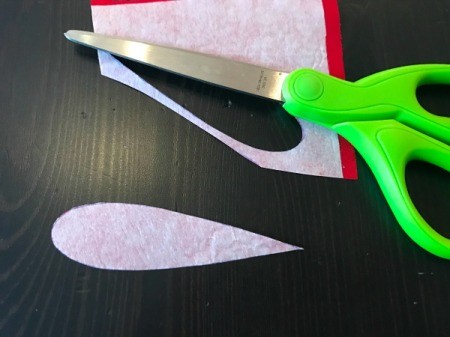
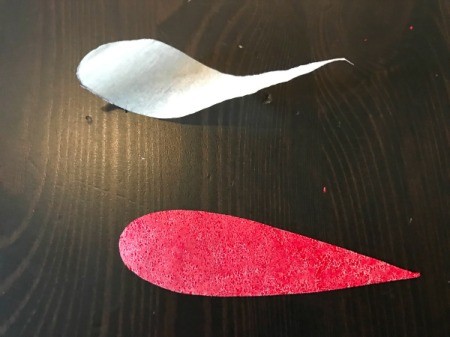
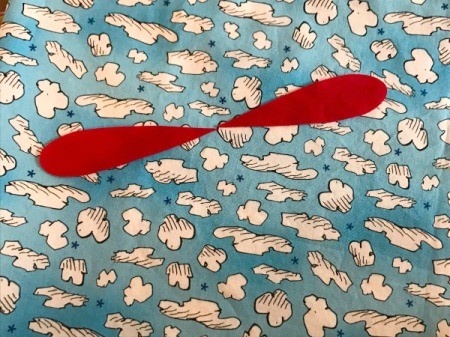
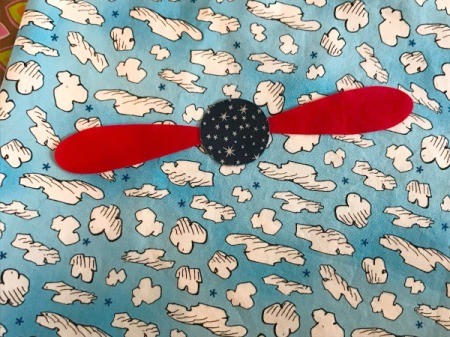
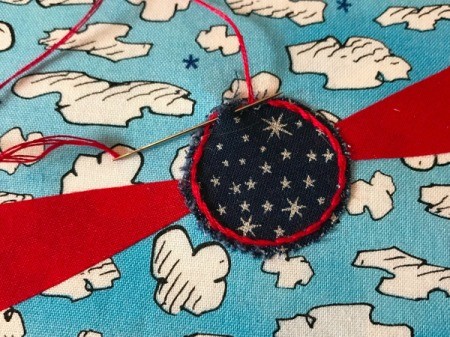
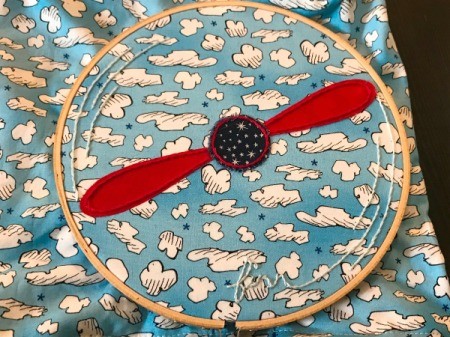
- Propeller Applique: Create templates for the propeller and center pieces. Adhere pieces of fusible webbing to the wrong sides of the fabrics you have chosen, following package instructions. Trace the templates onto the paper backing, cut out the shapes, and remove the paper backing.
- Place the propeller pieces onto the pillow pocket as shown below, then iron on according to package directions.
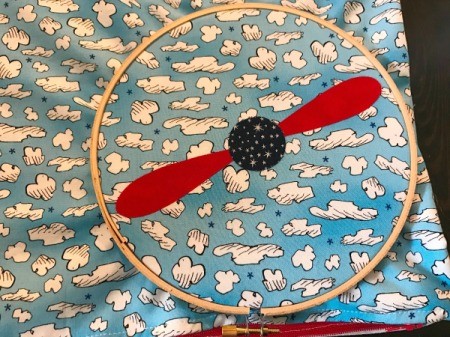
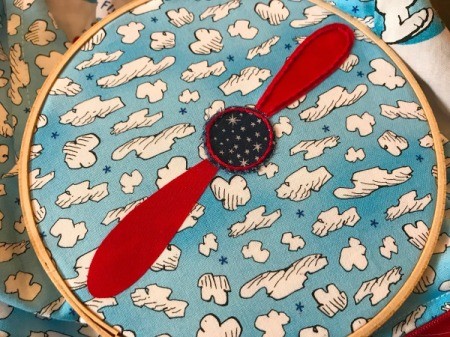
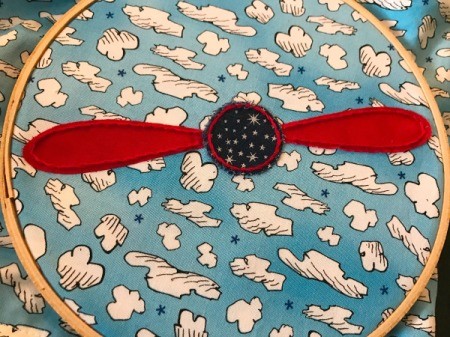
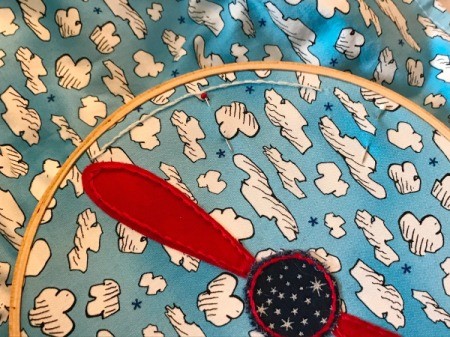
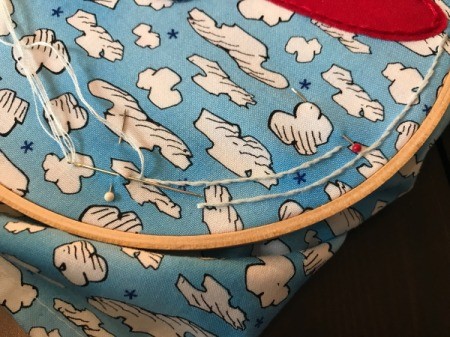
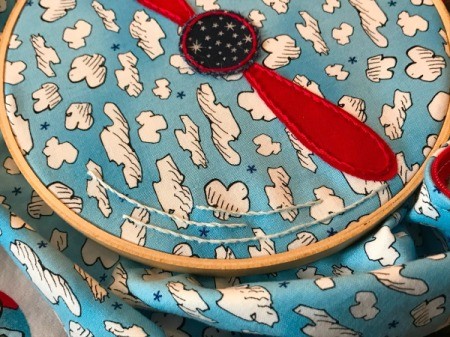
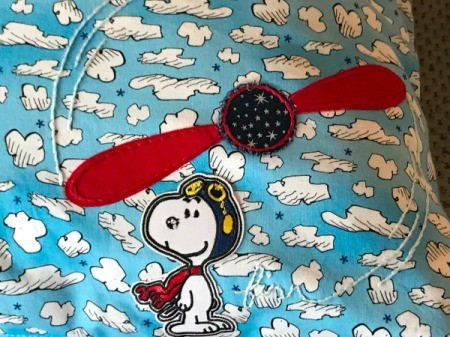
- Center the propeller in a small embroidery hoop. Use embroidery floss (3 strands) to add decorative stitching to the propeller.
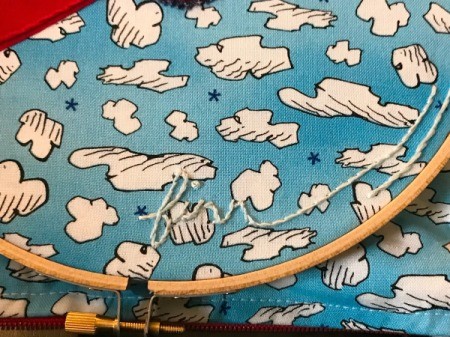
- Then use the edges of the embroidery hoop as a guide to stitch some "air turbulence" with embroidery floss (3 strands). We also added the extra detail of stitching his name and connecting it to one of the stitched lines. We purchased a Snoopy iron-on patch that we attached too.
- Insert the pillow form, fill the pocket with a book or two, and enjoy your cozy pillow!
Add your voice! Click below to comment. ThriftyFun is powered by your wisdom!
May 12, 20170 found this helpful
I love all these ideals! Thank you so much. After reading all these pages, it has got my craft thinking going. Love this and great suggestion everyone. I'm going to make the book pillow now and after that I'm going to try these suggestion. God bless you all.
Add your voice! Click below to comment. ThriftyFun is powered by your wisdom!