Benetta
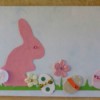
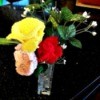
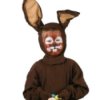
Silver Post Medal for All Time! 408 Posts  This Easter bunny is a real chocoholic! He found the ideal Easter egg. He is clinging to it for dear life and can't wait to taste it. Maybe - if you ask him nicely - he will share it with you?
Total Time: 15 minutes
Yield: one Easter card
Supplies:
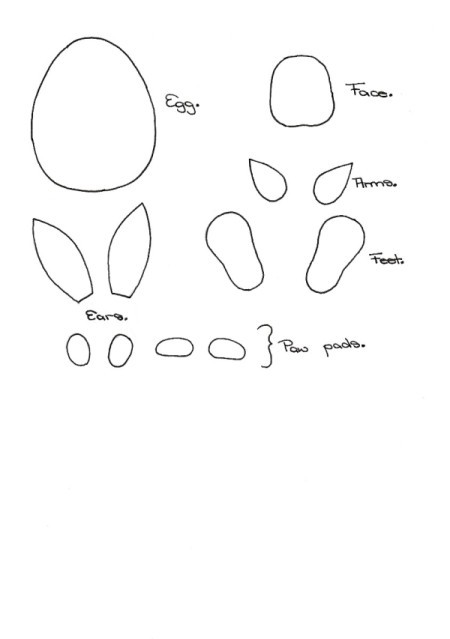
- printout of the provided pattern sheet - click here to download
- 8.2 x 5.6 in purple cardstock
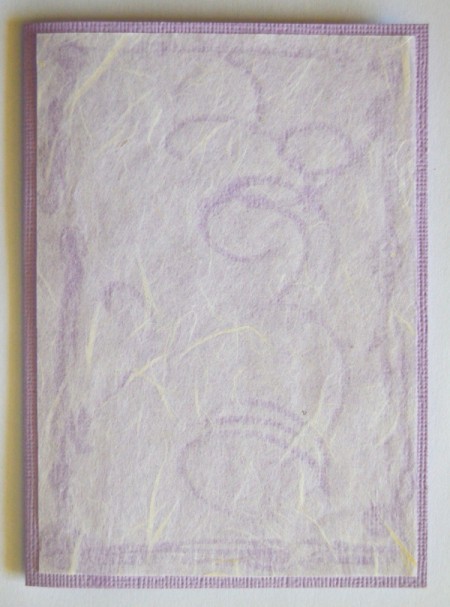
- 5.4 x 3.7 in white handmade tissue paper
- A6 piece of pink textured cardstock
- A6 size hot pink glitter foam sheet
- small piece of white cardstock
- white felt
- two 0.3" long pieces of white tinsel pipe cleaner
- pair of 5mm wiggle eyes
- two 0.4" long wooden bees
- three floral rhinestones
- six short white bristles cut from a broom
- quick-drying craft glue (such as Bostik Clear)
- needle and white thread
- Uni-Ball fine black pen
- neon pink Giotto décor textile pen
- standard scissors
- pencil
Steps:
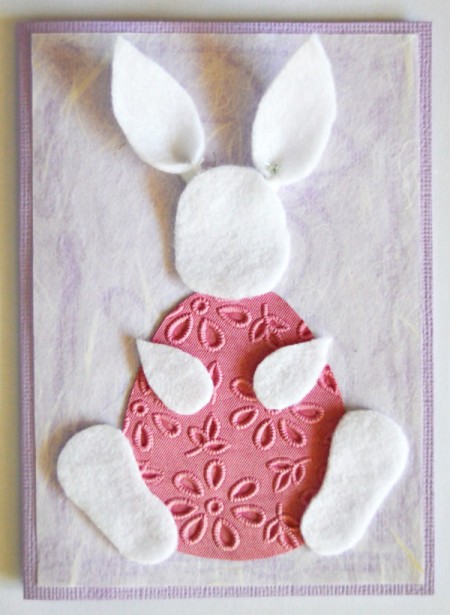
- Score the 8.2" x 5.6" purple cardstock to create a card sized 5.6" x 4.1". With the fold at the left, centre and glue the piece of tissue paper to the front of the card.
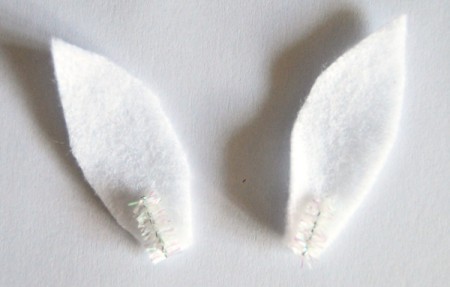
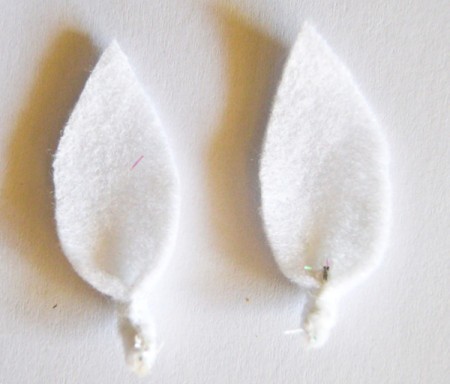
- Cut the pattern parts from the pattern sheet. Trace the bunny parts (except the paw pads) on to the white felt and cut them out. Trace and cut the egg from the pink textured cardstock. Glue a piece of pipe cleaner to the bottom of each ear. Then sew the side seam around the piece of pipe cleaner to form the curve at the bottom of each ear.
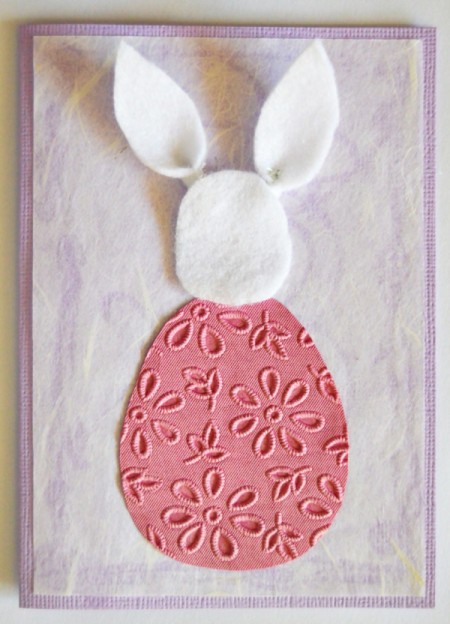
- Glue the egg to the card, and then glue the bunny parts to the card. Note: Do not completely glue down the ears.
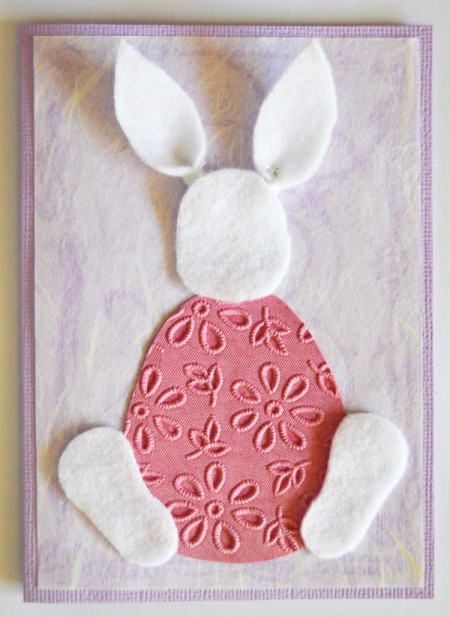
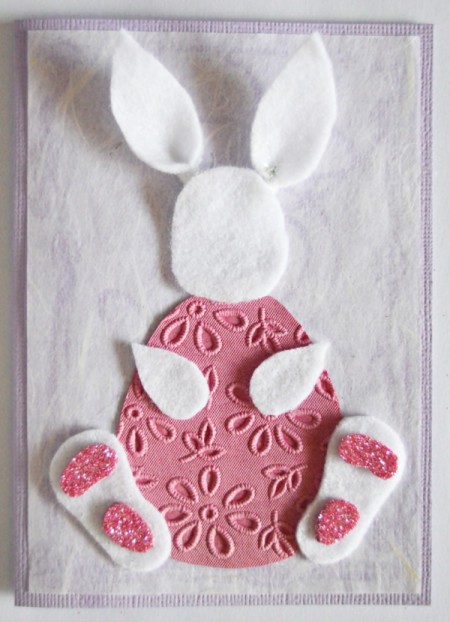
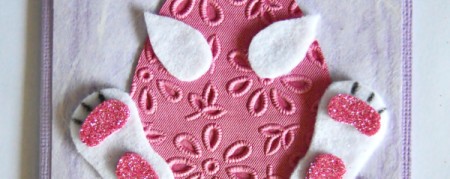
- Trace and cut the paw pads from the hot pink glitter foam sheet, and glue the pads in place.

- Use the black pen to draw the toes on the hind legs.
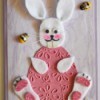
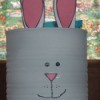
- Glue the wiggle eyes in place. Use the black pen to add the nose and mouth. Cut two teeth from the piece of white cardstock and glue them in place. Use the pink pen to add color to his cheeks.
- Glue the bees and flowers around the bunny, and glue the whiskers in place to finish the card.
Add your voice! Click below to comment. ThriftyFun is powered by your wisdom!
attosa
Diamond Post Medal for All Time! 1,246 Posts March 31, 20180 found this helpful
Great job, Benetta! What a cutie this bunny!
Benetta
Silver Post Medal for All Time! 408 Posts April 10, 20180 found this helpful
Thanks attosa! He was a fun project!
Add your voice! Click below to comment. ThriftyFun is powered by your wisdom!