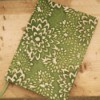
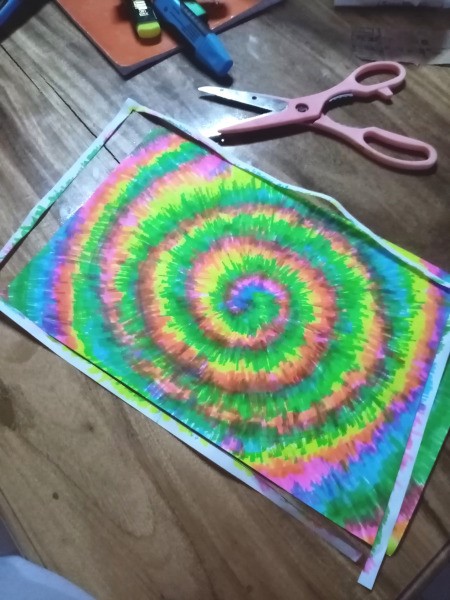
 All along I thought tie dye patterns could only be applied on fabrics, but when I saw a tutorial on how to put it on paper and I gave it a try and it looked great!
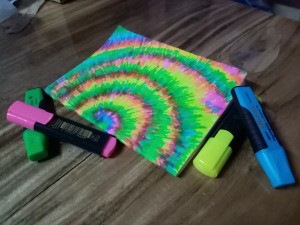
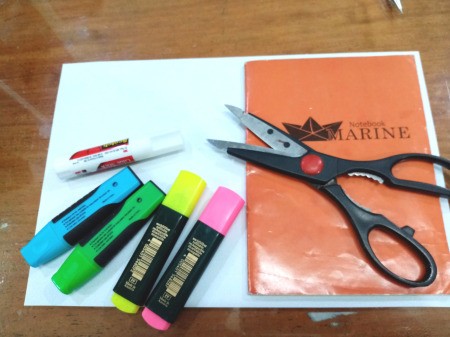
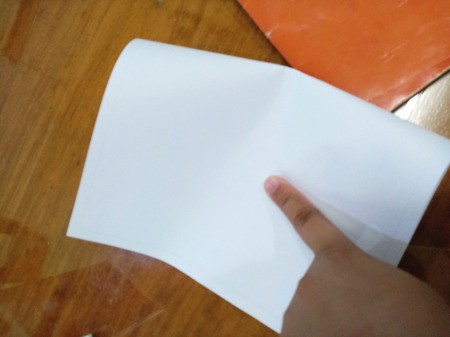
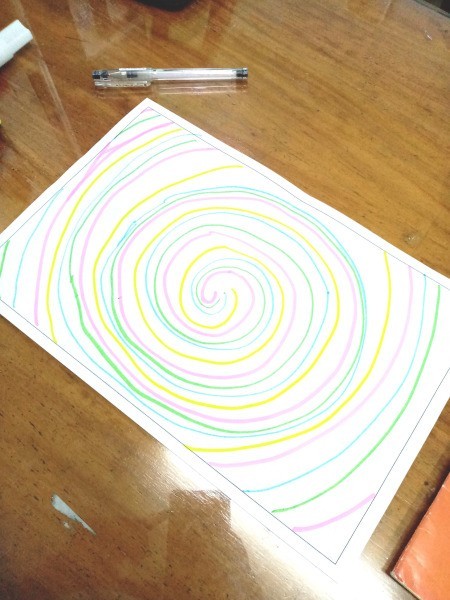
Supplies:
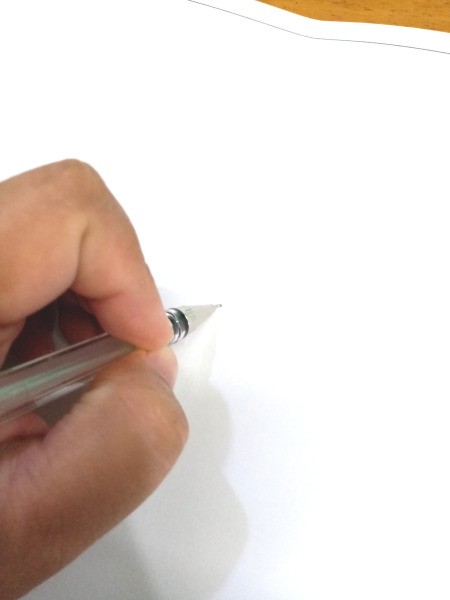
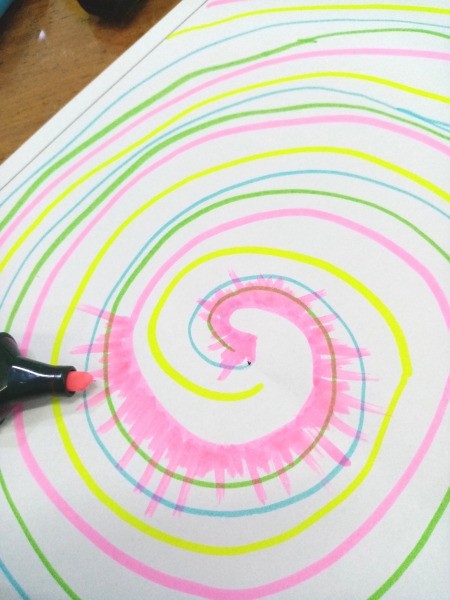
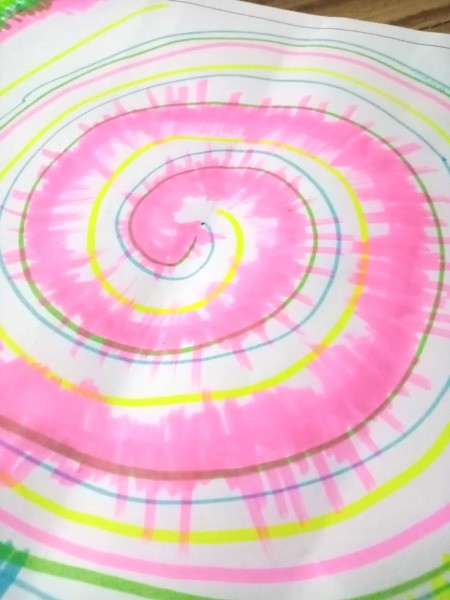
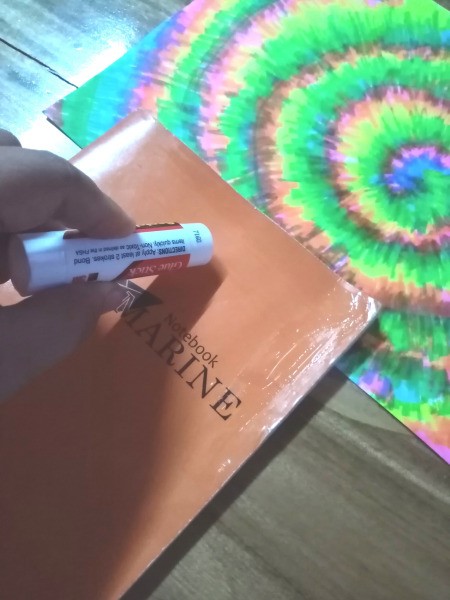
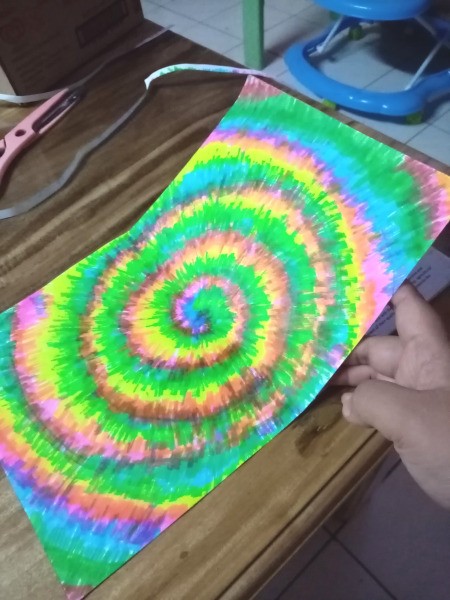
Steps:
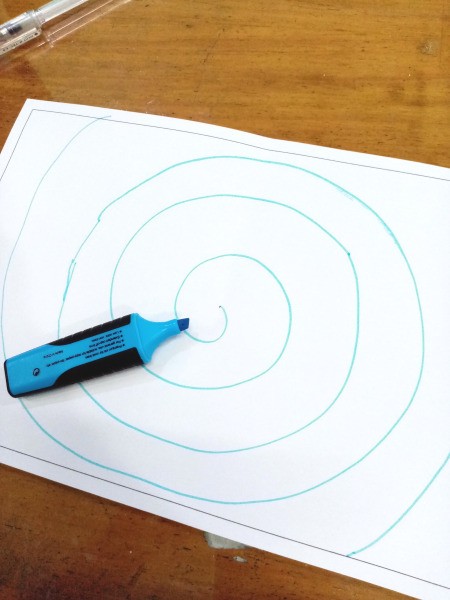
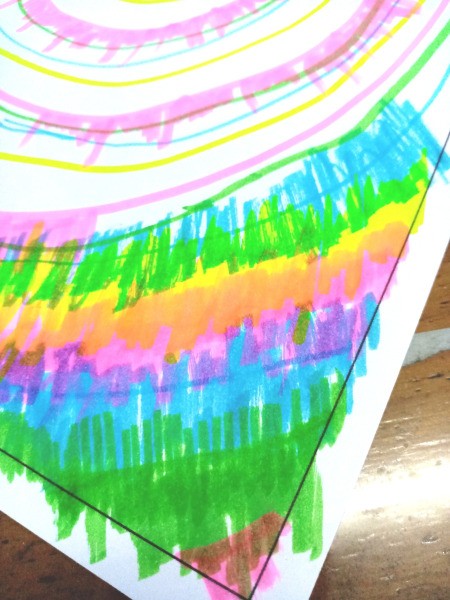
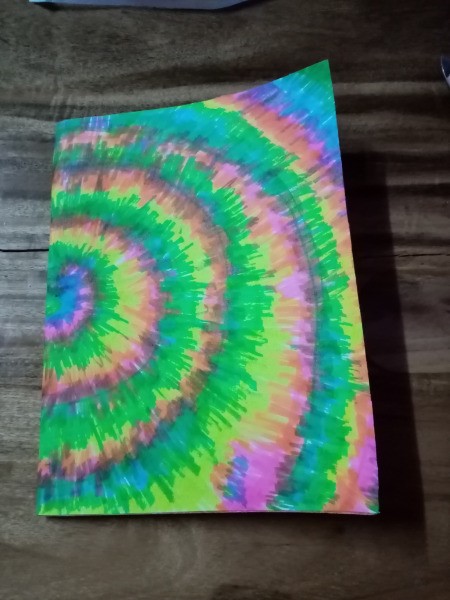
Thanks robyn! the steps are so simple which I even didn't think it would be that easy and fast for me to learn. Never even expected I could immediately create a good result at first try.