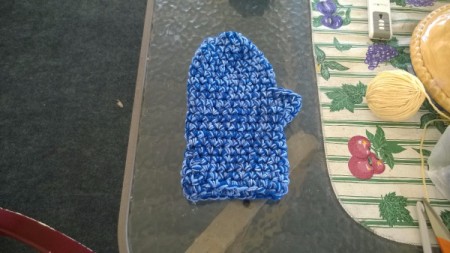
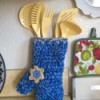
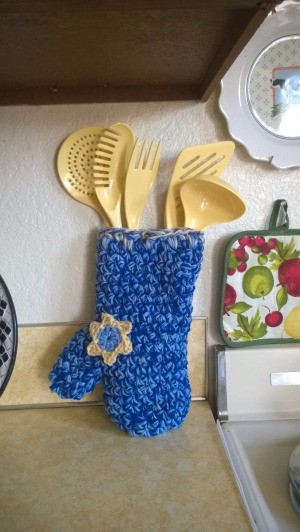
 This oven mitt is cute, and can be made into a gift for any cook!
Total Time: 1.5 Hours
Yield: 1
Source: modified from one I saw on Pinterest
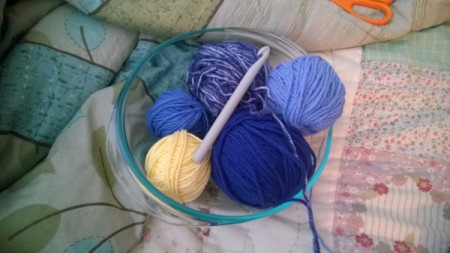
Supplies:
- 2 oz three strands of your favorite colors of yarn
- size N hook
- scissors
- hot glue gun
Steps:
This mitt SHOULD NOT be used for an actual oven mitt. It's for decoration only. The stitches are too loose for any heat protection.
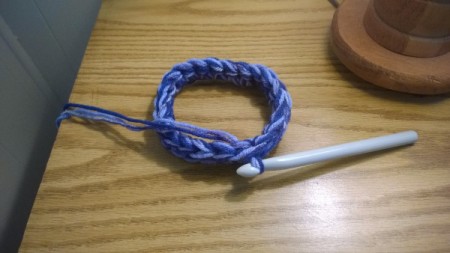
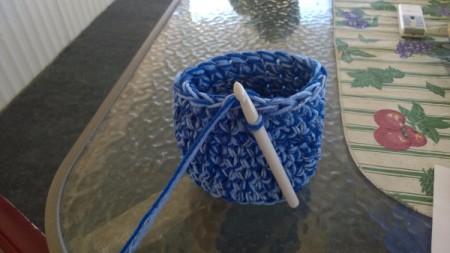
- With your strands, chain 25. Making sure the chain doesn't twist, join and chain 1. Make a single in each of the 24 stitches around, joining and chaining 1, for 7 more rows.
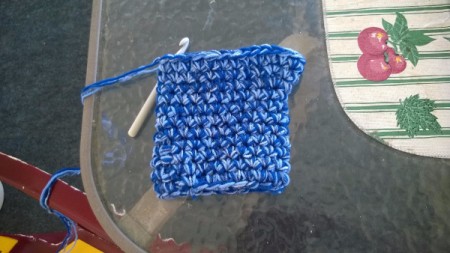
- To begin the thumb make a single in 11 of the stitches, then make 2 singles in 2 stitches then a single in 11 remaining. Join and chain 1.

- Make 11 singles, then repeat the row before but made 2 stitches in each other 2 you did before, essentially widening the thumb by 2 stitches each row. Do another two like this and we will close it on the next row.
- On the next row, you are going to keep doing the singles and then join the widest part of the thumb and cinch it together like you would if you didn't have the gap. Keep the singles going and join. Now make another 8 rows like before, singles and joining and chaining 1.
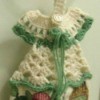
- To say the thumb is easy would be fibbing. You have to join at the base of the hole and crochet around a very tight area. Insert your hook anywhere and make a single in each stitch, and join. Make 3 more rows straight up, then begin to decrease. Decrease by inserting your hook in the stitch and the next stitch, drawing through 3 loops at once. Do that 1 time for each other last 3 rows. I like a simple draw string to close the end. I made a simple border with some yellow yarn, but you can leave it alone if you want. Chain 8-9 and tie to the edge of the top for a loop to hang it with.
- The flower is super simple. Chain 2 and make 10 doubles in 1st chain. Break off and tie in the back. For the petals, insert your hook and chain 3, making a half double in the 1st chain and then a double in the same chain. Skip the first stitch you see on the circle and slip stitch into the 2nd stitch. Repeat 4 more times for a 5 petal flower. Glue to the mitt. Fill with a pretty towel, and utensils. N-JOY!!
Add your voice! Click below to comment. ThriftyFun is powered by your wisdom!