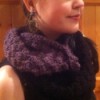
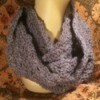
 I love making new cowls for my hubby. He usually prefers them over scarves, I suppose he thinks they look a little more "manly".
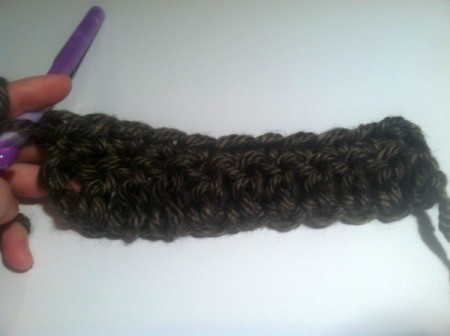
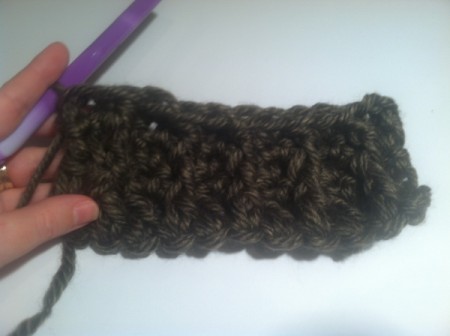
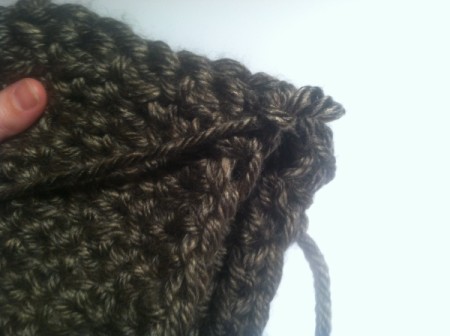
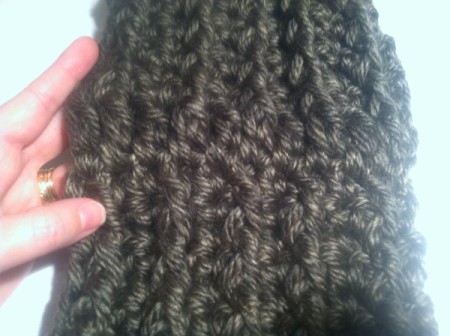
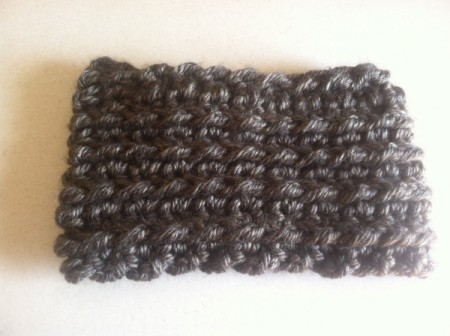
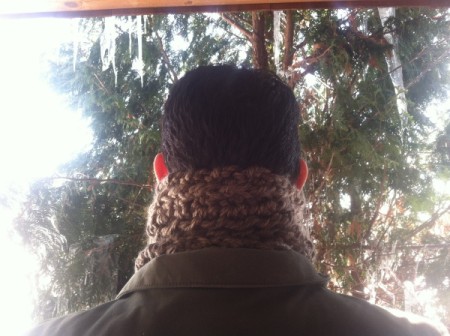
For this cowl, I used a nice big #6 yarn which I think made the cables even more prominent. Hubby likes thick, substantial stitch patterns and I think this one turned out pretty good. He looks cute to me!:)
Total Time: Less than 2 hours.
Yield: 1
Supplies:
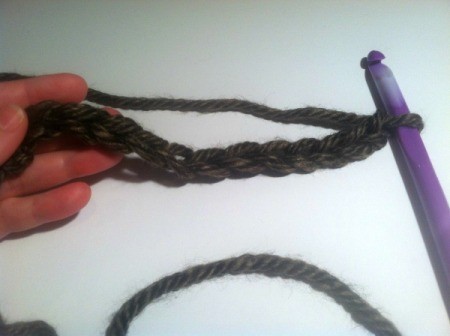
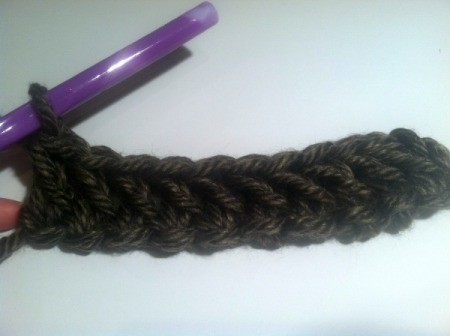
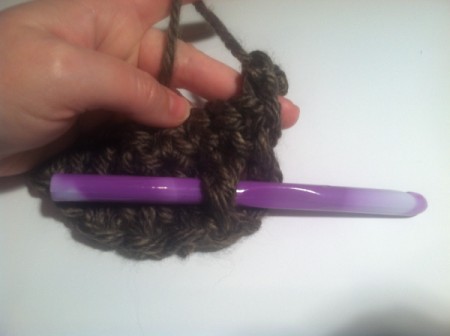
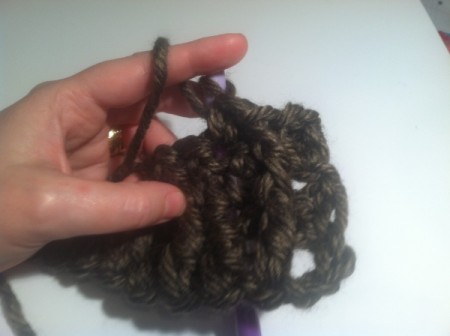
Steps:
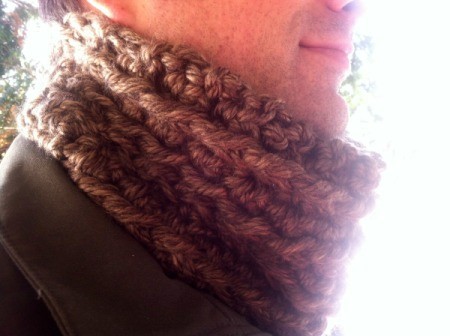


My husband works in a cooler at his job. I'll have to make one for him to keep him warm.