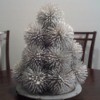
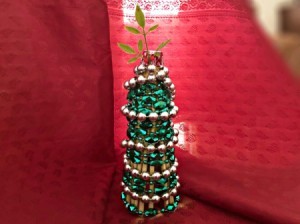
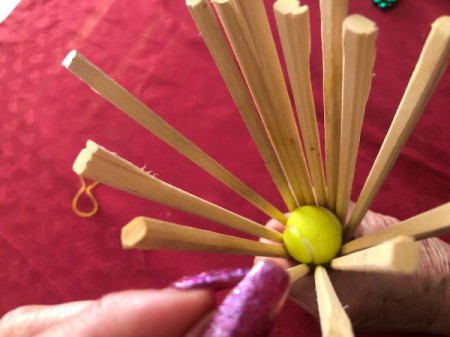
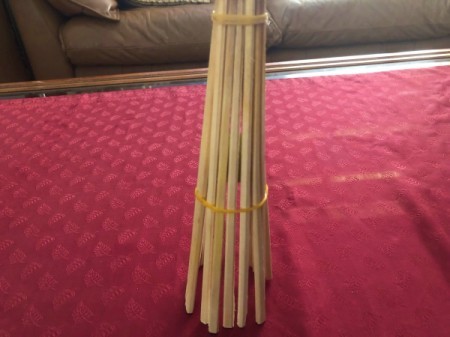
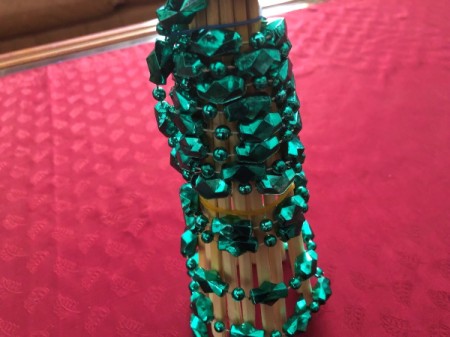
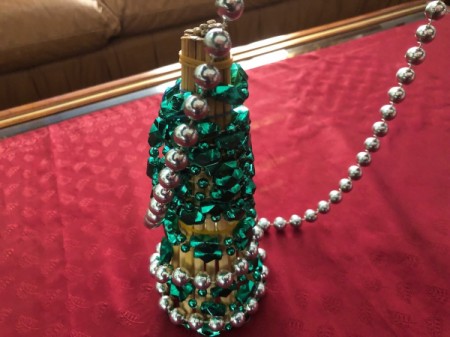
 This is a fun and quick way to make a little decorative Christmas tree, using stuff you might have saved in your house. I am a wooden chopstick hoarder. I find them so useful for crafts and projects. Here, I decided to rubber band them together to make this tree so I could use them again in the future! (No glue necessary!) Some Mardi Gras beads came in handy for the decorations, but you can use anything to adorn your baby tree.
Total Time: 25 minutes
Yield: 1 tree
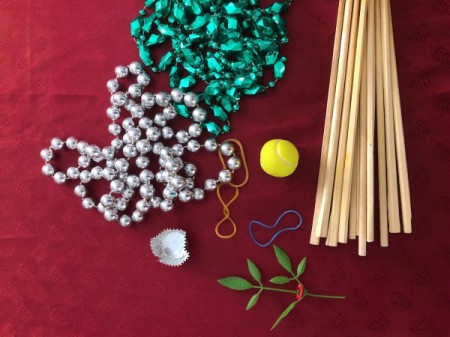
Supplies:
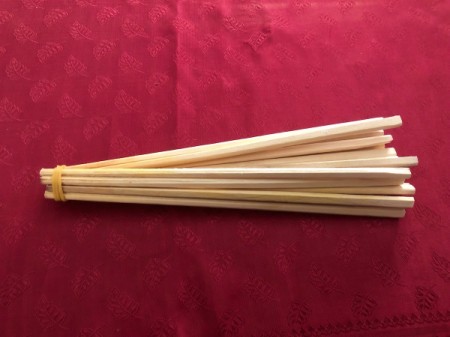
Steps:

Thanks, Robyn!!! :)
Amazing imagination. These can be preserved and put out in each room. Can even match the color or your room. They are delightful to look at and I admire your creative mind.
Thank you, Teri! What a lovely thing to say. :)