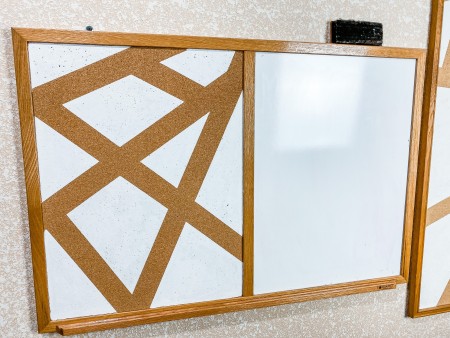
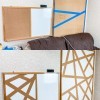
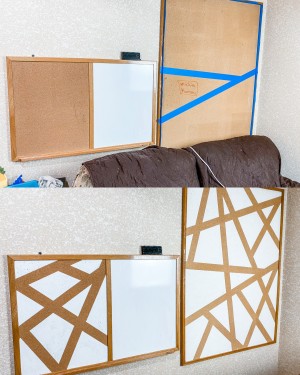
 We've had these cork boards up in the basement forever and I felt like they needed a little facelift, so I gave them just that.
Total Time: 3 hours
Supplies:
- Cork Board
- Acrylic Paint
- Paint Brush (I recommend a brush instead of a sponge, I tried both & the brush was A LOT easier to use)
- Painters Tape
Steps:
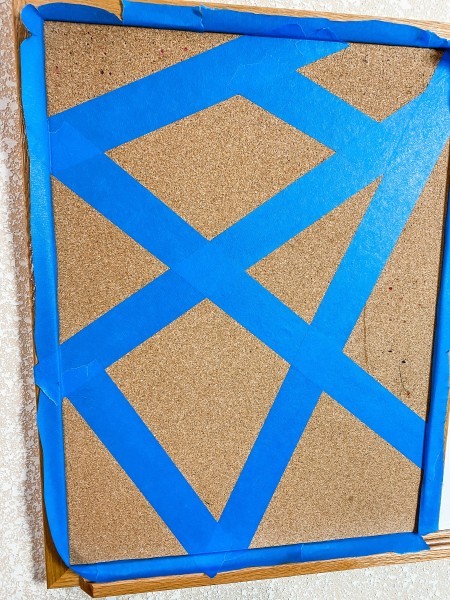
- Create Your Design: Use the painter's tape to create your geometric design.
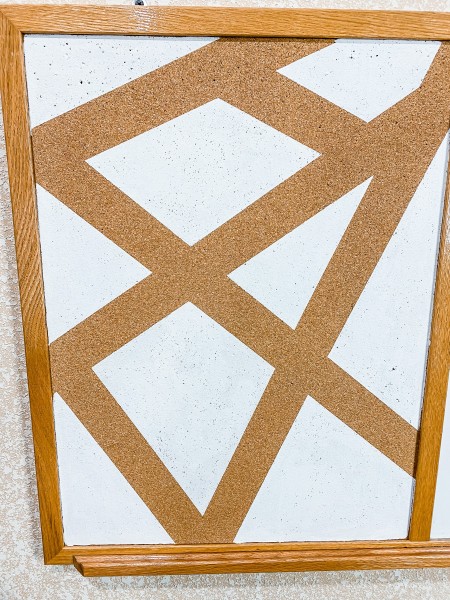
Make sure you press down the edges of the tape really good and secure so no paint is able to seep through. - Paint: Take your brush and begin painting away. Make sure your paint is completely dry before painting a new coat.
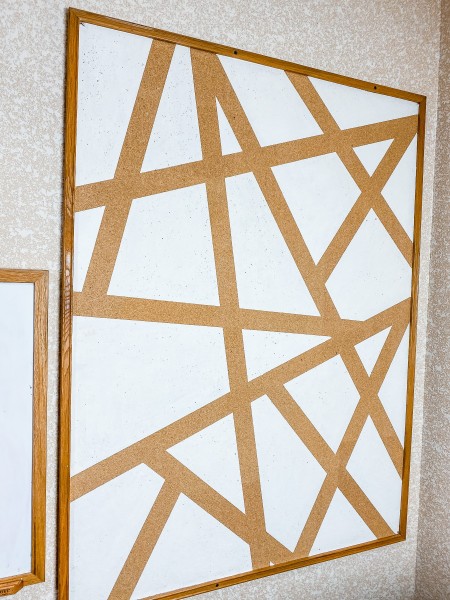
I used just one color, but you can use multiple colors if you'd like. - Peel Off The Tape: When your paint is completely dry, go ahead and peel off the painter's tape. That's it! You're done.
Add your voice! Click below to comment. ThriftyFun is powered by your wisdom!