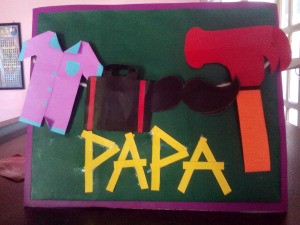
 I cannot find the right name for this type of card so I just named it "describe dad". It is another type of greeting card wherein you create different figures that symbolizes your father.
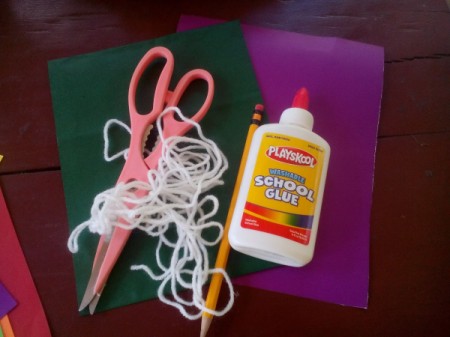
Supplies:
- 2 square pieces of cardboard (one is bigger than the other)
- scissors
- glue
- string
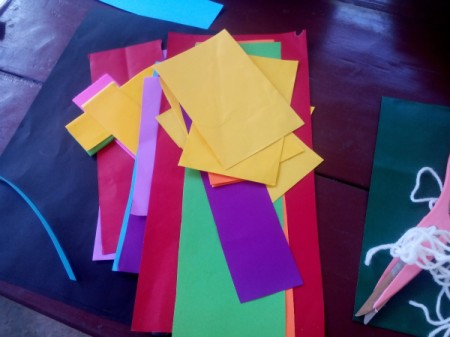
- colorful art paper clippings
Steps:
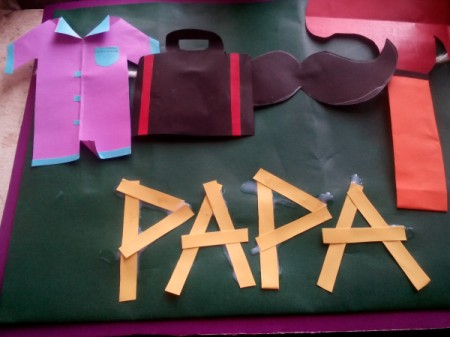
- In this project you will decide for the size of your card. Let's start making the figures. Think of 4 different things you think will best describe your father.
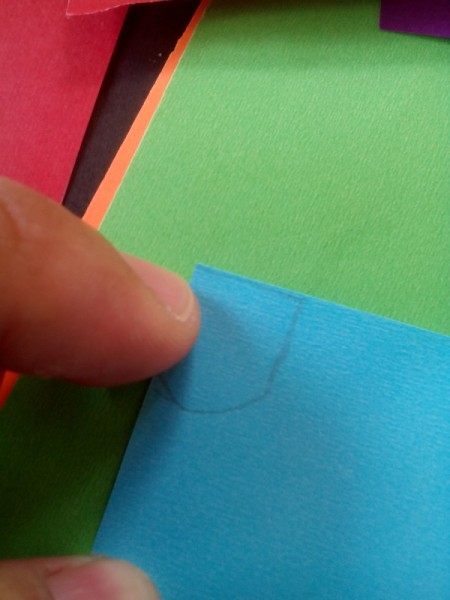
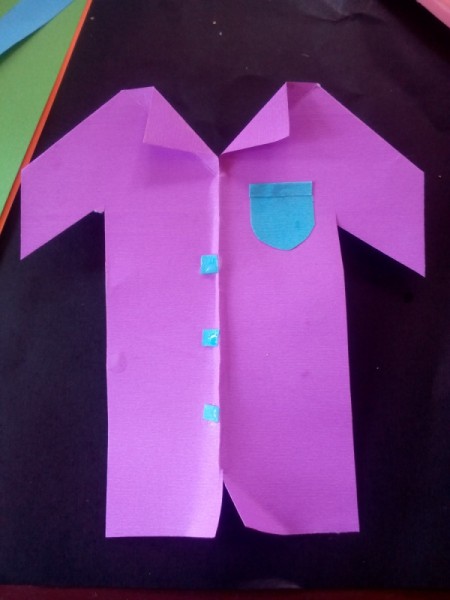
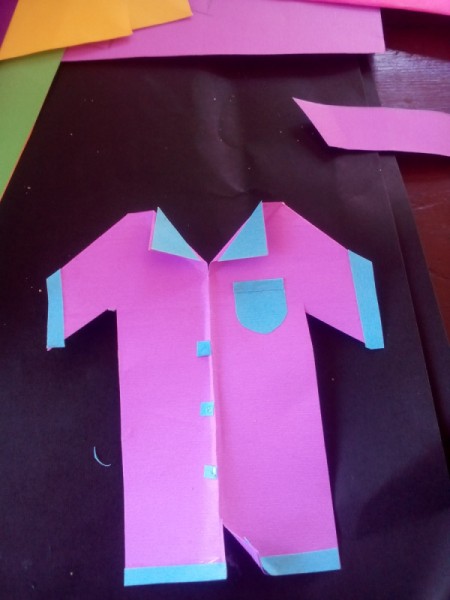
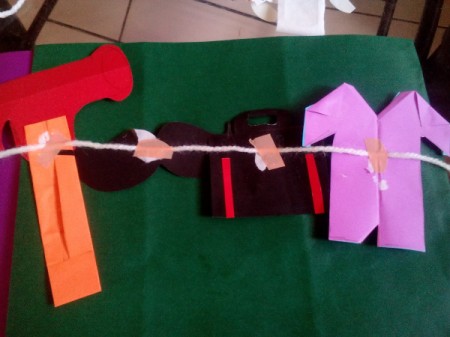
- The first figure I made is a polo shirt, what most fathers wear. To make this, just pick a rectangular piece of paper and fold it into half vertically. Cut the middle top portion and fold two tiny triangles. Draw a shape of a shirt and cut.
- Draw a tiny curved piece for the pocket and small squares or circles for the buttons. Use other colors to design the shirt and add more details.
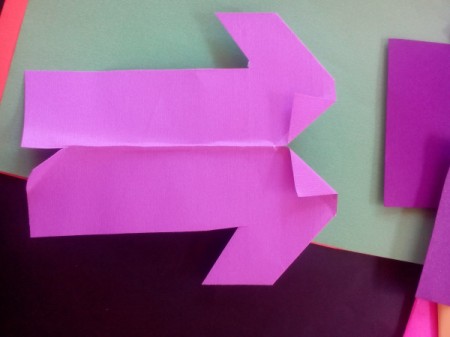
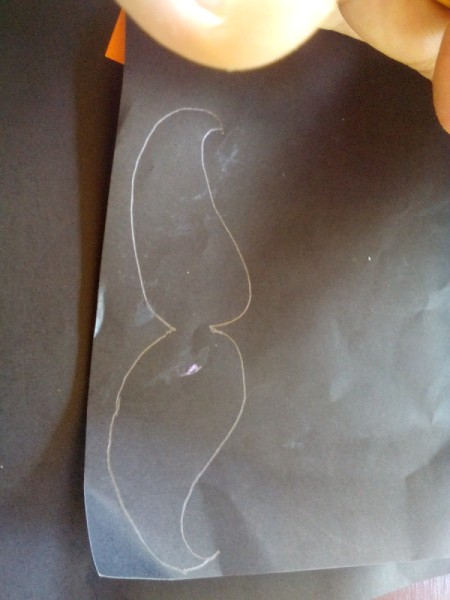
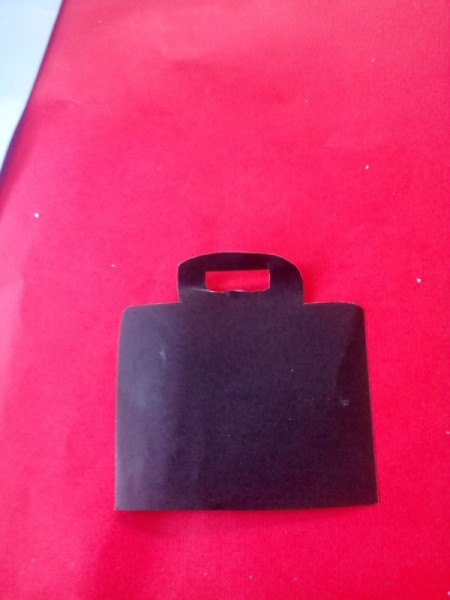
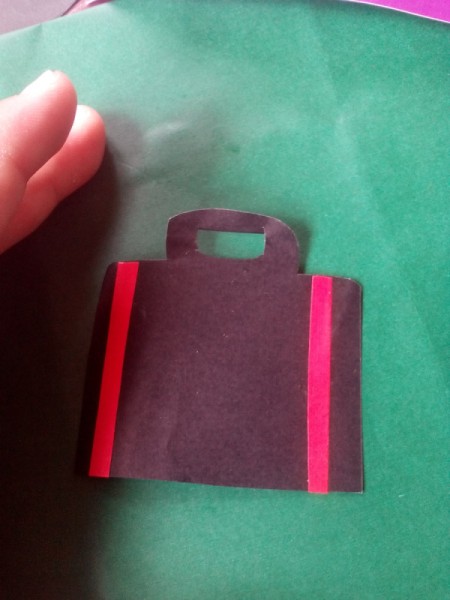
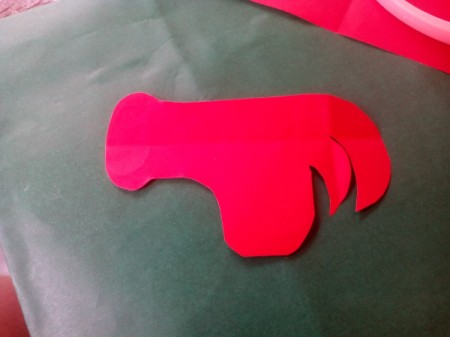
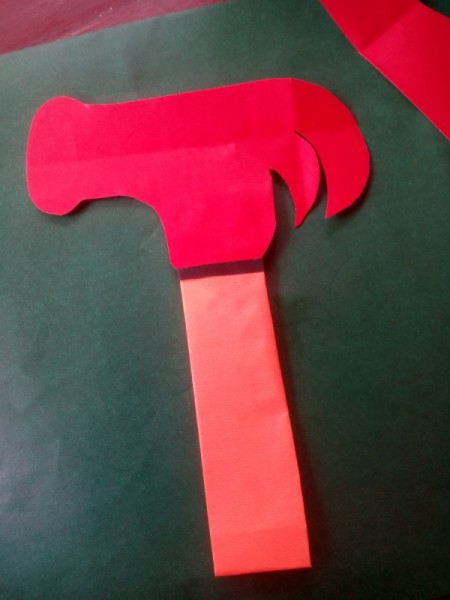
- Draw a mustache then cut, as well as the suitcase, and hammer. Take note that you will be the one to decide on the figures and add the details based on your creativity, so be as creative as you can.
- Flip all your figures and arrange them. Get a piece of string and tape it into the back of each figure.

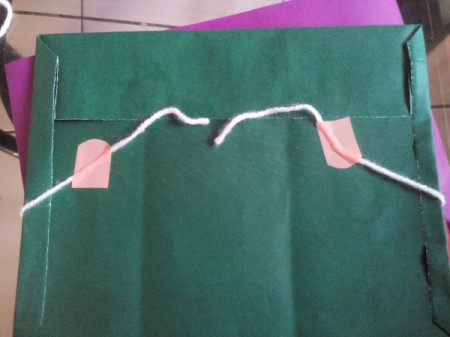
- Flip it back and wrap both ends of the string around the smaller piece of cardboard. Tape each end on the back of the cardboard.
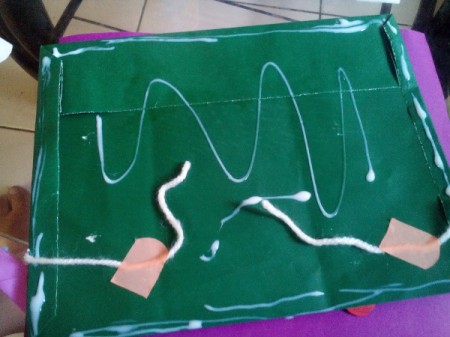
- Put glue all over the back of the cardboard and stick it onto the bigger one. Choose a different color for the bigger cardboard.
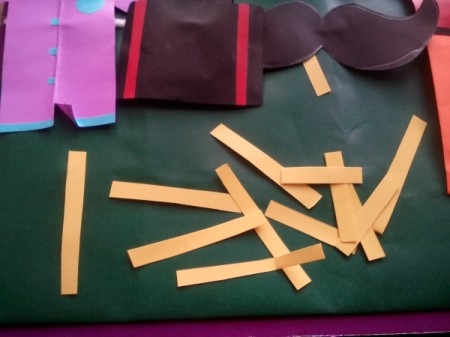
- Cut out tiny strips of paper and simply form them into a word(s).
Add your voice! Click below to comment. ThriftyFun is powered by your wisdom!