Celebrate spring with this colorful card. Use it to convey birthday wishes, or just give it to a friend to share happy thoughts on spring!
Approximate Time: 30 minutes
Advertisement
Supplies:
8.2 inches x 5.6 inches light green marbled cardboard
8.0 inches x 5.4 inches emerald green paper
1 sheet of double-sided glitter scrapbook cardboard
product code GP471, from Best Creations Inc 2011 CHA Winter Series ~ see http://www.bestcreation.us/
3.9 inches x 5.4 inches of ordinary soft pink cardboard
Faber Castell watercolor pencils: yellow (code 407); light green (code 470); black (code 499); brown (code 488), and dark blue (code 451).
acrylic paint in the following three colors: true red, white, and sweet memories (pink)
one fine paintbrush
Artline 210 Fineliner pen
pencil
ruler
eraser
a pair of standard scissors
egg-shaped object or cookie cutter
quick-drying glue
one matching envelope
Instructions:
Fold the 8.2 inches x 5.6 inches marbled cardboard in half to create a card 5.6 inches x 4.1 inches. Use the ruler to make the fold neat and smooth.
Advertisement
Cut a piece sized 3.9 inches x 5.4 inches from the glitter scrapbook cardboard. Use an egg-shaped object (I used an egg-shaped cookie tin) and with the striped side of the cardboard facing up, trace an egg onto the cardboard. Cut out the egg that you have traced on the cardboard.
Lightly trace the same sized egg-shape on the pink cardboard.
Print the included pattern of the bird and copy it in pencil onto the pink cardboard, making sure that it fits nicely into the egg-shape that you have traced onto the pink cardboard.
Advertisement
Use the Artline 210 Fineliner pen to trace the outlines of the design. Wait a few minutes for the ink to dry completely, and then erase any remaining pencil lines.
Use the Faber Castell pencils to color the bird. Do not wet the pencils, use them dry as one would use ordinary color pencils:
First, add yellow to the belly and head.
Add light green to the back, top of head, and tail feathers.
Highlight certain parts of head, back, and tail feathers with the dark blue.
Add some detail in black to the wing and tail feathers.
Color the twig brown and add some detail to the twig with the black.
Lightly color beak and claws with the black.
Advertisement
Use the acrylic paints and the fine paintbrush to add some flowers to the twig.
Glue the piece of 3.9 inches x 5.4 inches glitter scrapbook cardboard onto the pink cardboard with the picture of the bird, ensuring that the two egg shapes line up correctly.
Glue the glitter scrapbook and picture combination to the front of the card, carefully ensuring that it is an equal distance from the edges.
Fold the 8.0 inches x 5.4 inches emerald green paper in half and glue it to the inside of the card to write a message.
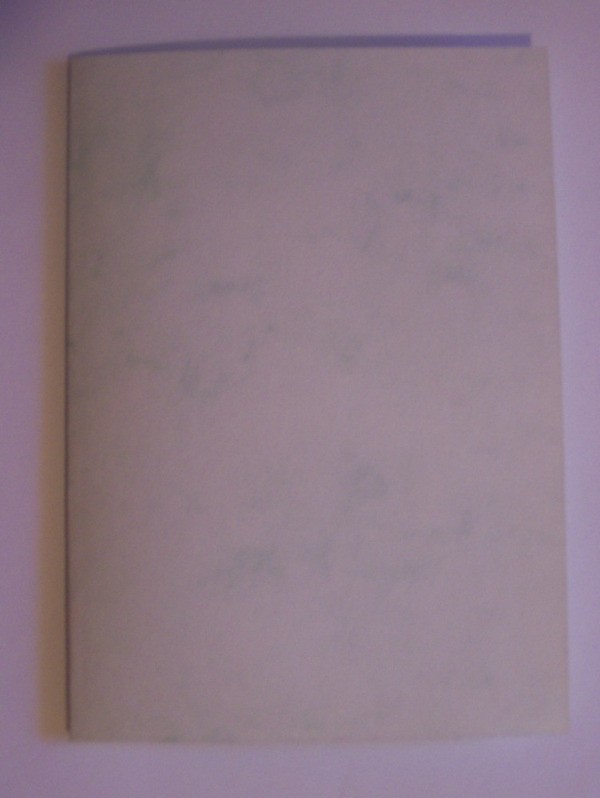
Photos included: Photo 1: Fold the marbled cardboard in half to create a card 5.6 inches x 4.1 inches.
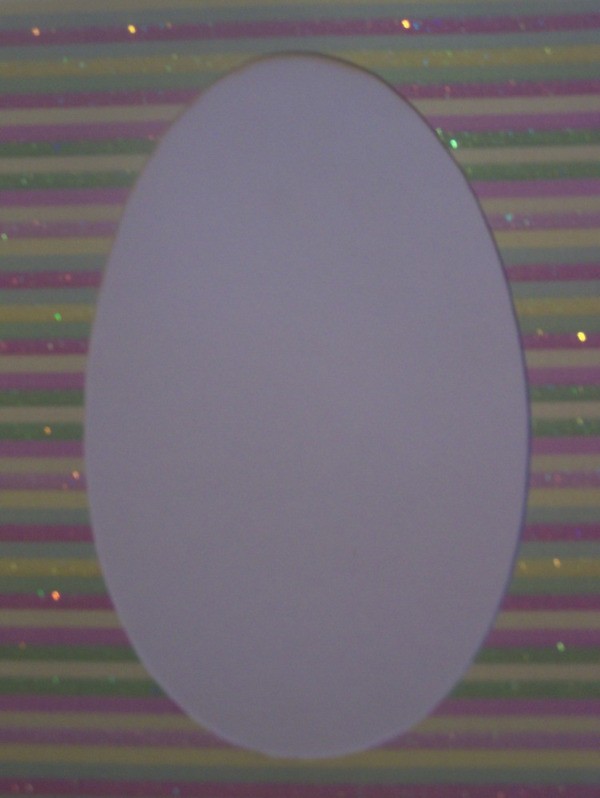
Photo 2: Trace an egg onto the striped cardboard and cut it out.
Photo 3: The design used for this project.
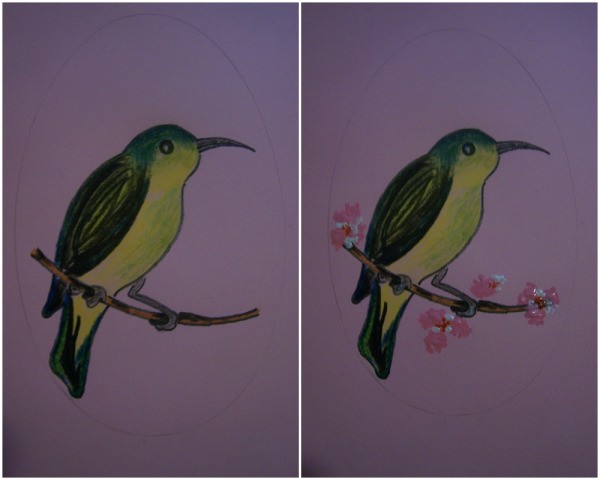
Photo 4: Add some color to the bird.
Advertisement
Photo 5: Finish the design by adding some flowers to the twig.
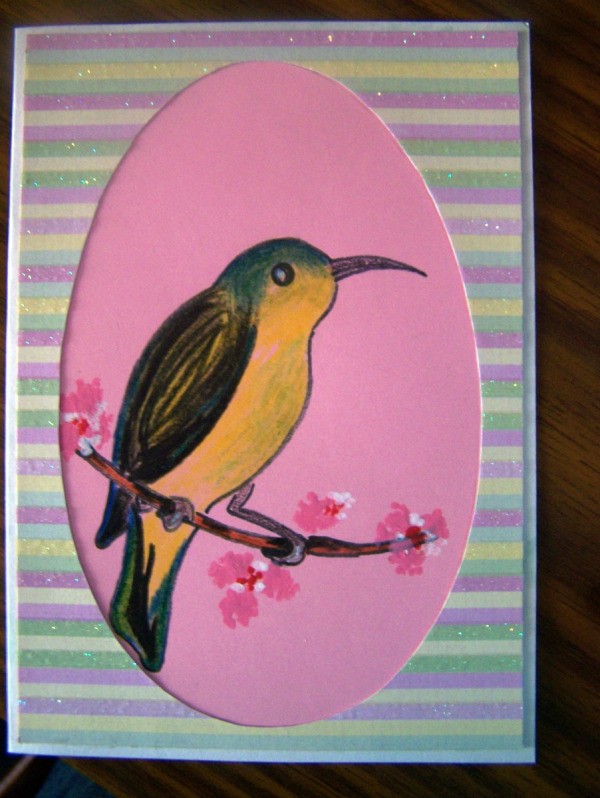
Photo 6: The completed card.