15mhhm15
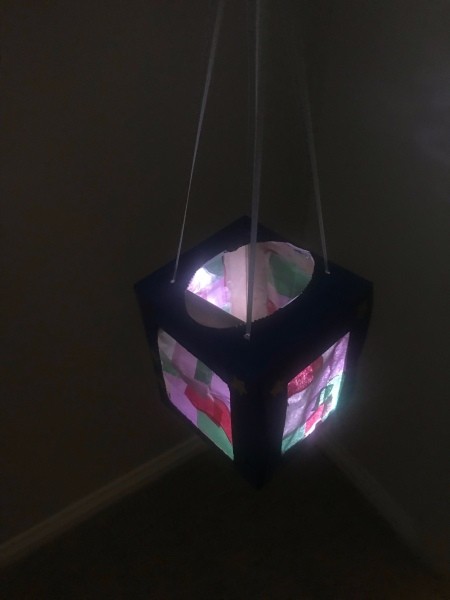
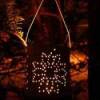
Diamond Post Medal for All Time! 1,298 Posts 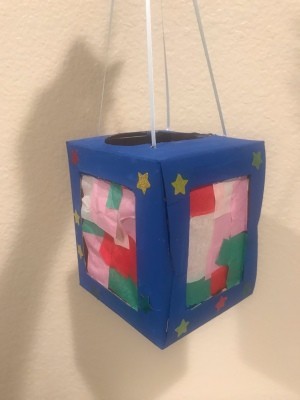 Transform a tissue box into a lantern, or hanging light box. My son had a lot of fun painting this lantern as well as decorating it. He did need a little help.
Total Time: 40 minutes
Supplies:
- tissue box
- ribbon
- scissors /eXacto knife
- stickers
- pen
- acrylic paint + paint brush
- packaging tape
- tissue paper (assorted colors)
- flash light
- hole puncher
Steps:
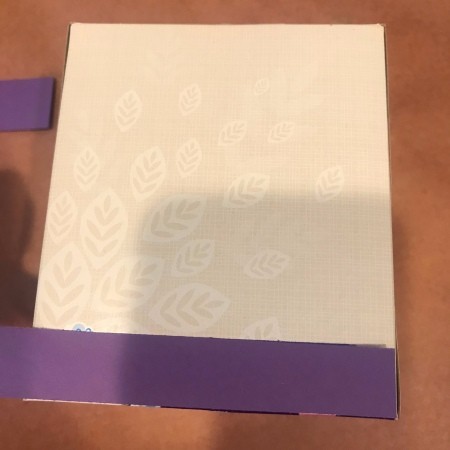
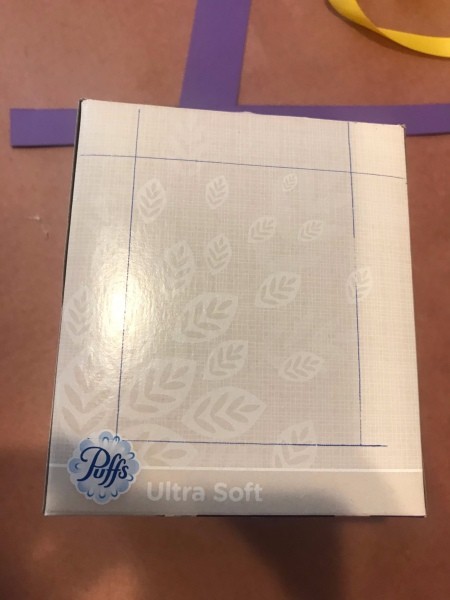
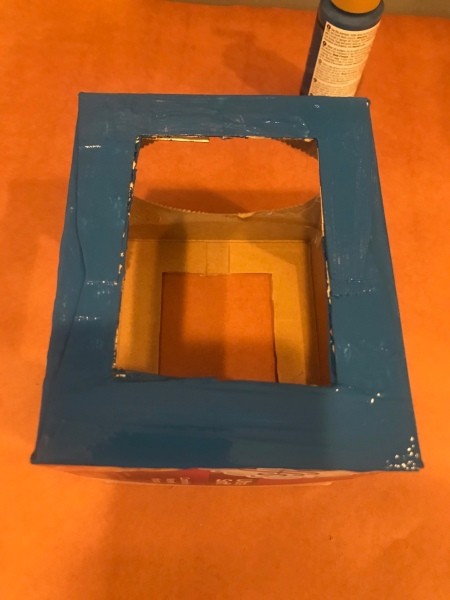
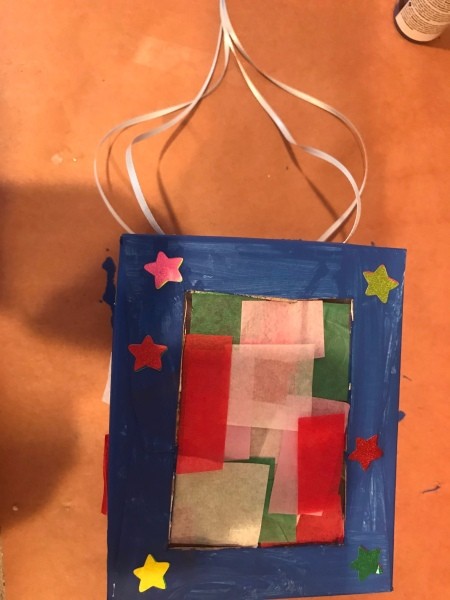
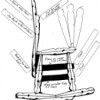
- Determine what length you want your box border to be. I cut out a strip of paper to trace around all sides of the box. Mine is approximately 3/4" all around.
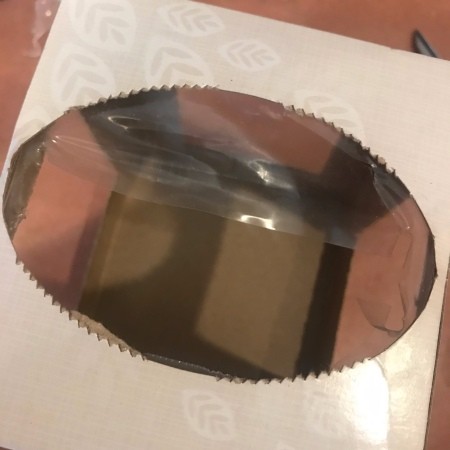
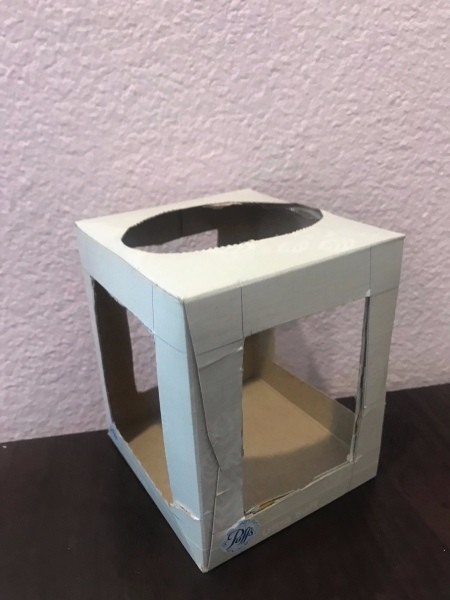
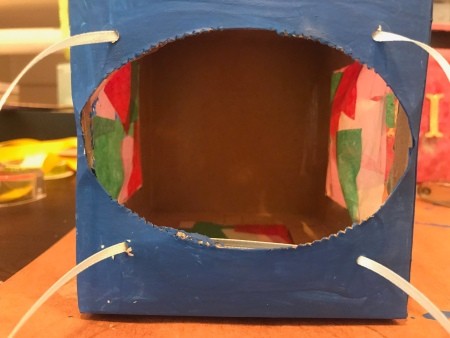
- Cut plastic piece out on top and cut all the squares out.
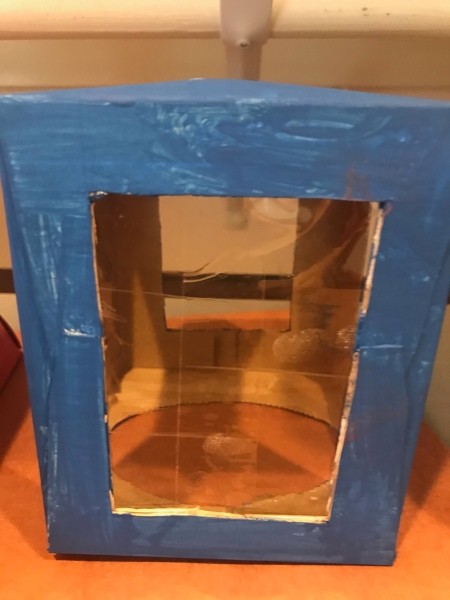
- Ready to paint box all over with your choice of color. My son selected blue. Allow box to dry.
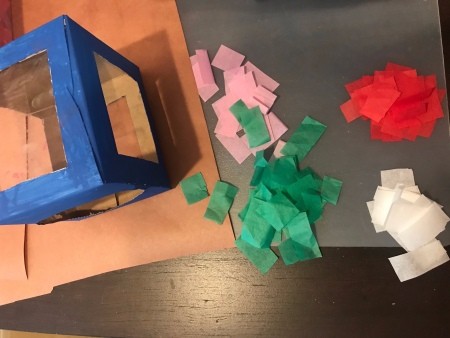
- In the mean time, cut up assorted color tissue paper into squares/rectangles (or your choice of shape).

- Using packaging tape, tape two pieces side by side and then tape on the inside so the sticky side is facing out. Repeat on all sides.
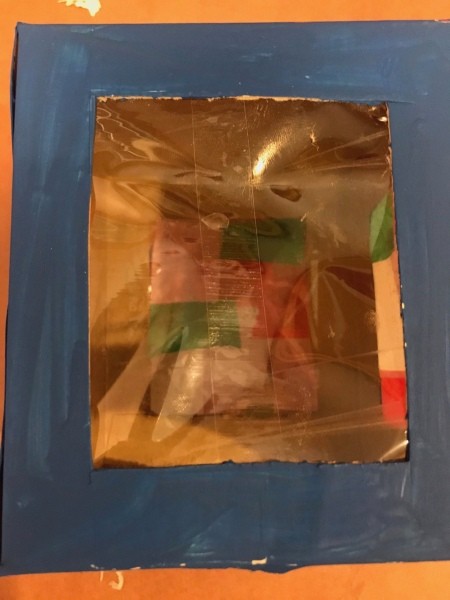
- Ready for your child to place tissue paper on the sticky tape. Repeat on all 4 sides.
- Using a hole puncher, punch out 4 holes in the top of the box. Cut 2 ribbon strips the same length. Thread 1 ribbon strip through the top holes and thread 2nd ribbon strip through the other holes.
- Combine the ribbons and knot at the top.
- The lantern is complete and ready for you to place a battery candle or flashlight inside. It is perfect to play in the dark, tent, or castle. Note: Do not leave your candle or flashlight inside overnight. Remember to turn off candle/flashlight after done playing and always watch if your child is playing with this.
Add your voice! Click below to comment. ThriftyFun is powered by your wisdom!