I have got lots of old magazines at home so I thought of making something out of them instead of throwing them away. I remember when I was in high school, one of my teachers taught us how to make accessories from magazines to add a little touch to our costume for the Panangbenga Flower Festival Street Dancing Parade.
Back then, we made it simple because we only wore it once, but now I add some things to it. I don't really know anything about jewelry making, but I learned the basics from YouTube. I am so satisfied with the outcome of my first jewelry project.
Approximate Time: 45 minutes to 1 hour
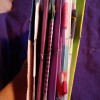
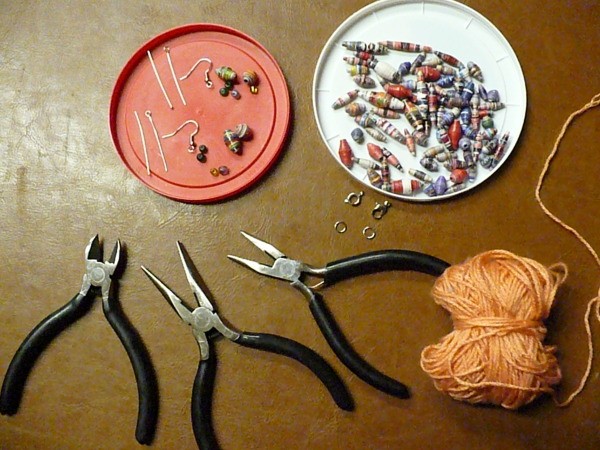
For making beads:
For the earrings:
For the bracelet and necklace:
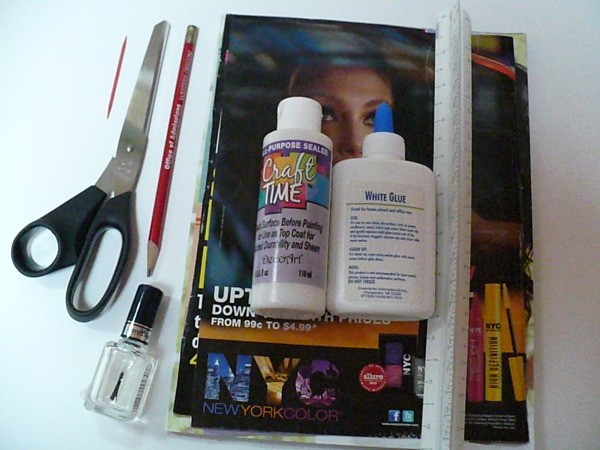
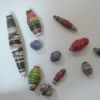
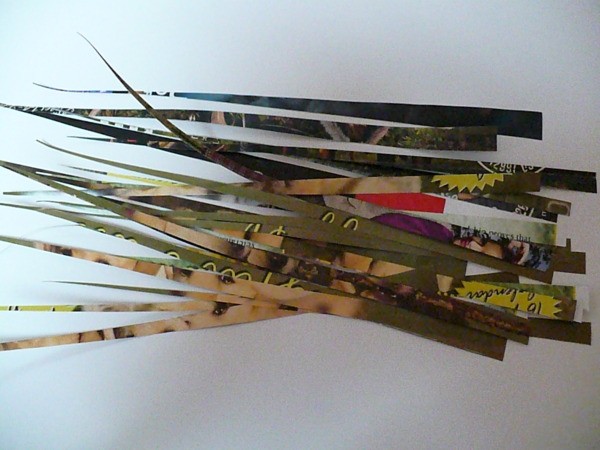
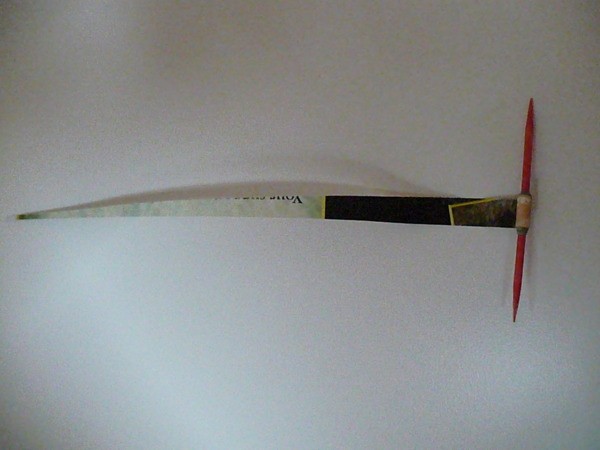
Making the beads:
Note: If you want a longer size beads, make the base wider and if you want shorter beads, make the base narrower. If you want wider diameter size beads, use thicker paper magazine and vice versa.
Caution: When using the nail polish, use a mask because the fumes are so strong.
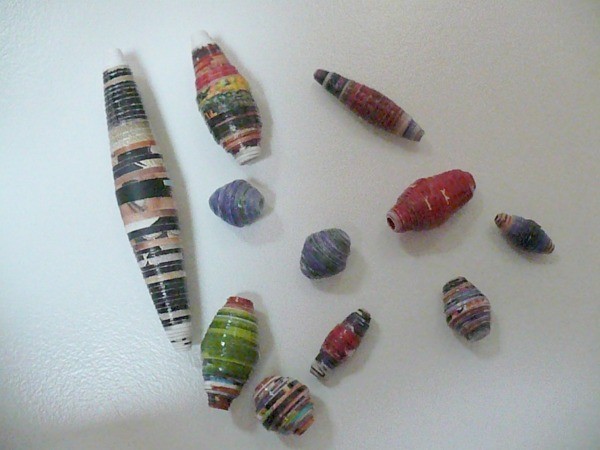
*You can use any paint color you desire. I did not use colored paint on my beads because I used multicolored magazine pages and I liked it the way it is.
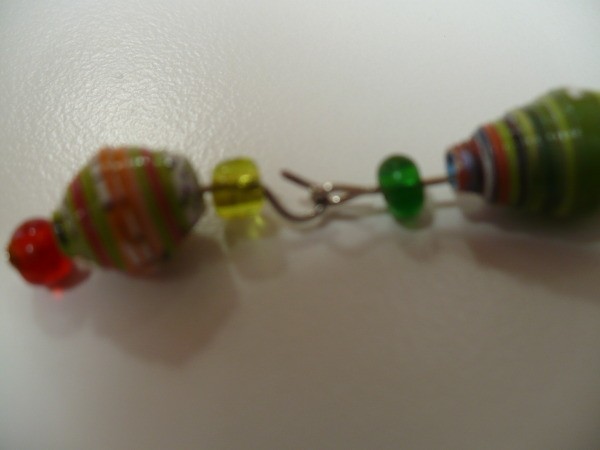
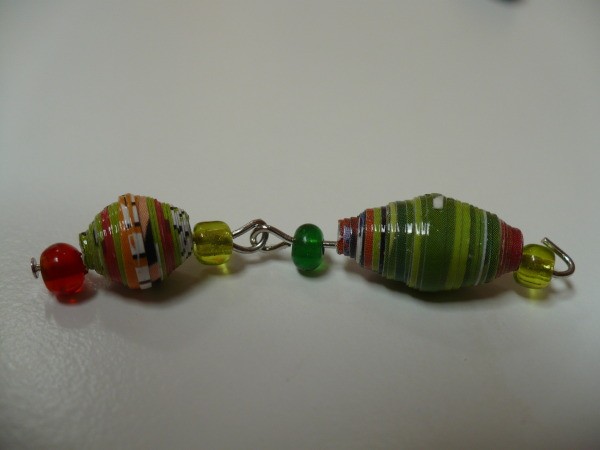
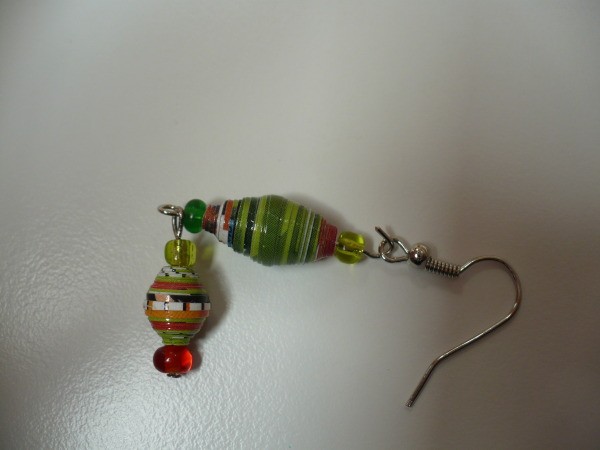
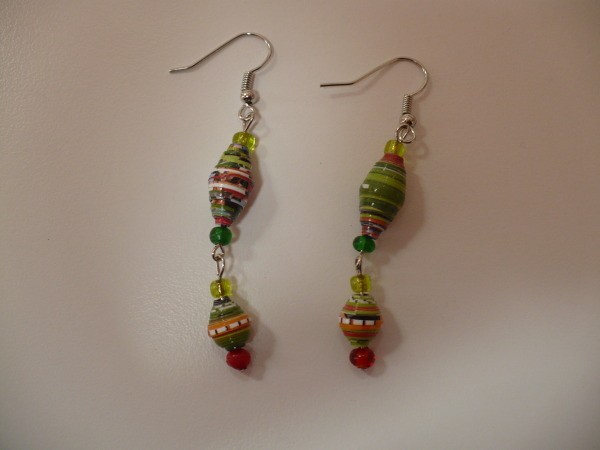
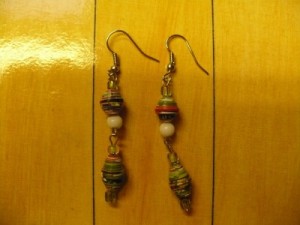
Earring assembly: Lower part (make two)


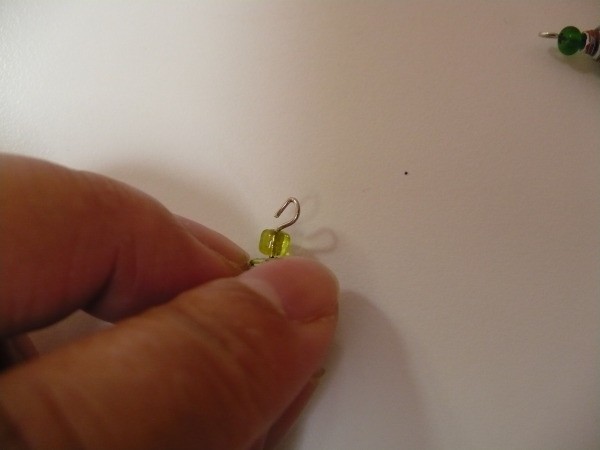
Upper part (make two)
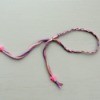
Bracelet assembly:
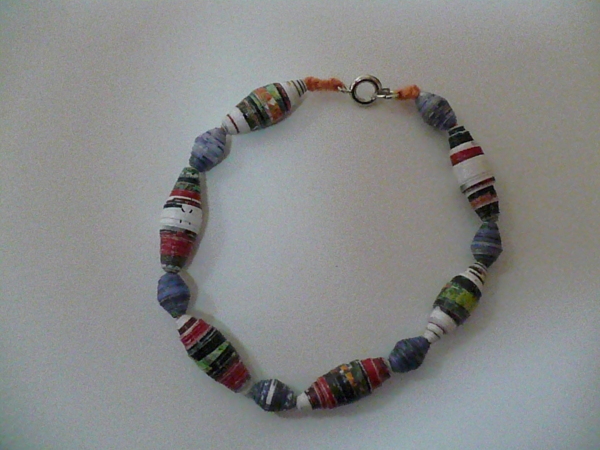
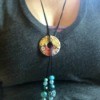
Necklace assembly:
By Nelly from Estacada, OR
Add your voice! Click below to comment. ThriftyFun is powered by your wisdom!
Your jewelry is beautiful! And I love the step-by-step pictures. I have a ton pf old magazines, and I'm going to try this as soon as possible.
This is a really nice craft to have mastered and your jewelry turned out exceptionally well. Easy to understand instructions and great pictures make this a winner. Thumbs Up, and thank you for sharing with us. You could continue making jewelry exactly this way and sell it at craft shows. if you were interested in a "Happy Buck".
Good Luck to you,
Pookarina
I am going to make some to to put on my walking sticks I make out of tree branches. I garnish them with beads on ribbon to keep flies and bees away from me when I walk. I love beads. I don't wear earrings or necklaces but the bracelets are darling.
Knowing my endless curiosity, I am going to see how big of one of these beads I can make for art, and then try to make one that is microscopic.
Thanks for sharing! I can tell I am going to have fun with this!
Robyn
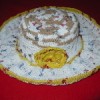
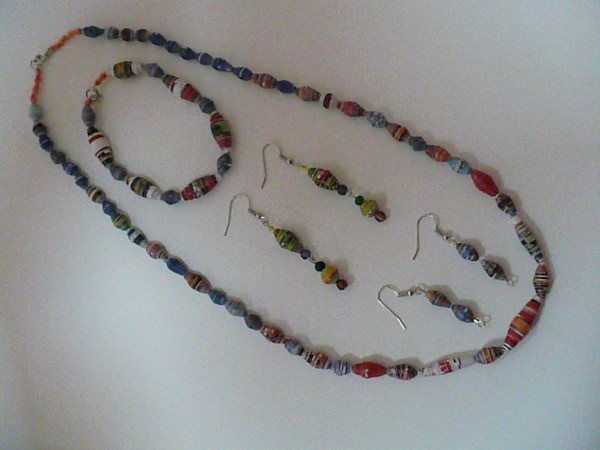
Thank you for liking my craft. Here are some of my creations. I used some glass beads in it too.
Beautiful! Good tutorial too.
Gem
Beautiful! I love these beads and to think, you will never run into anyone who has jewelry like yours! I also cut 1/4" strips the entire length of the magazine and used a 1/4" punch to cut out circles and put on the ends of the beads after they were coiled and sealed. I coated them with shellac after I sealed them. Sometime if you felt like doing something different with the magazines, make a purse. The crafts are endless with these types of beads. Thanks for sharing.
I don't make or wear jewelry but I think this idea would be wonderful to use in my mixed media paper mosaic art! Thanks for a great tutorial!
I make paper beads and make necklaces for the Operation Christmas Child shoebox gifts. They are so colorful. Each one is different and I too add inexpensive store bought plastic beads to highlight them. Used Martha Stewart magazines are the best I have found.
Nicely done Nelly. I much prefer making my own beads to purchasing mass produced stuff. I make mine using dichroic glass with a micro kiln.
Love your jewelry. I have lots of magazines and now i know what to do with them! Thanks for sharing. Dorothy
I read you can use straws you stir coffee with to roll the paper on. Gives you a hole but it's not too big.
Wow its realy lovely
Add your voice! Click below to comment. ThriftyFun is powered by your wisdom!