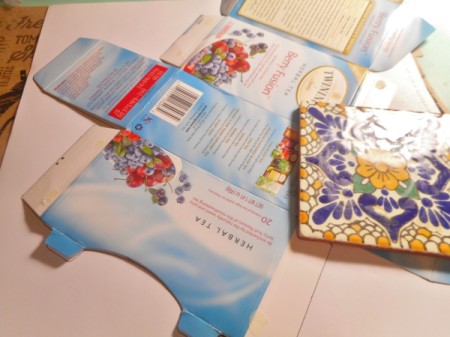
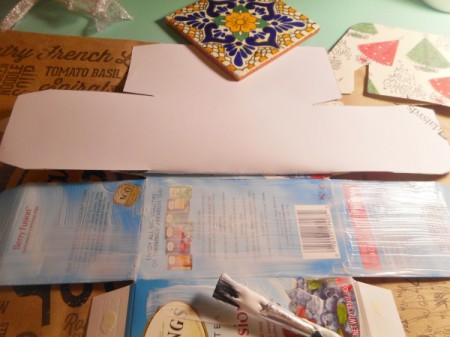
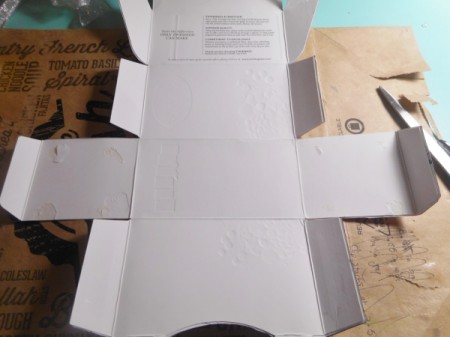
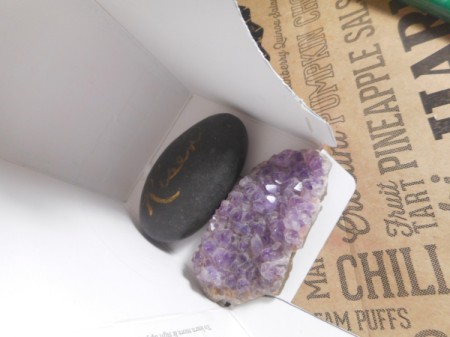
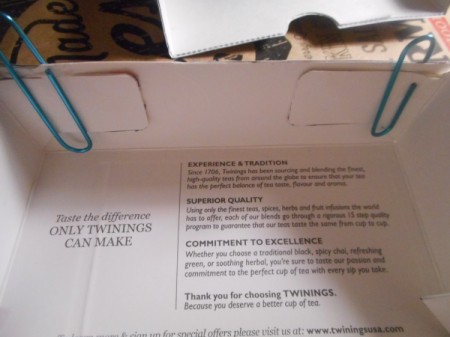
 This used to be a tea box! I first made these when I was dead broke and in a pinch to help out with a family Christmas. Someone on ThriftyFun had once posted about re-using a sugar bag for sugar cookies, which got the gears turning. So many possibilities! Since then, making these has become less a matter of necessity and more a matter of being kinder to the Earth. A labor of love.
Total Time: about 1 1/2 hr to assemble (There's a lot of wait time. You should multitask.)
Supplies:
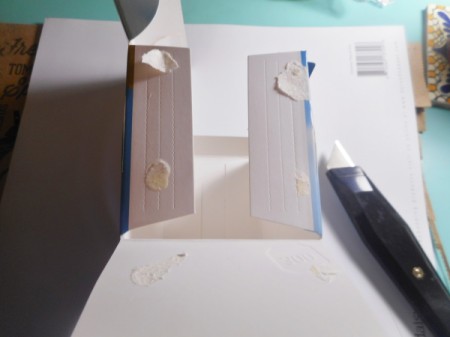
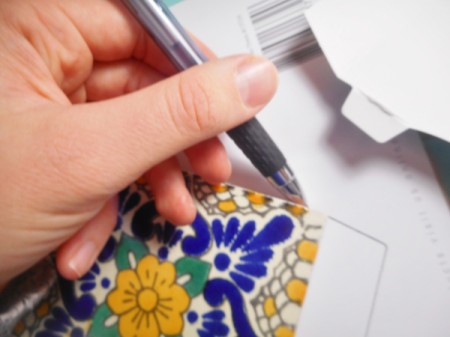
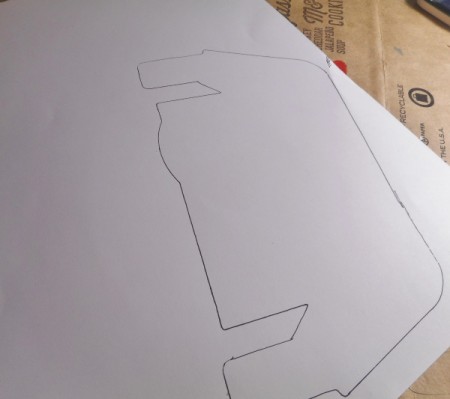
Steps: