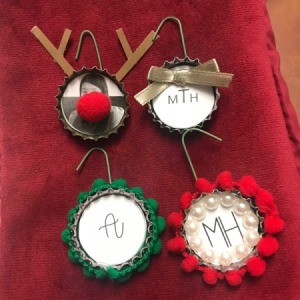
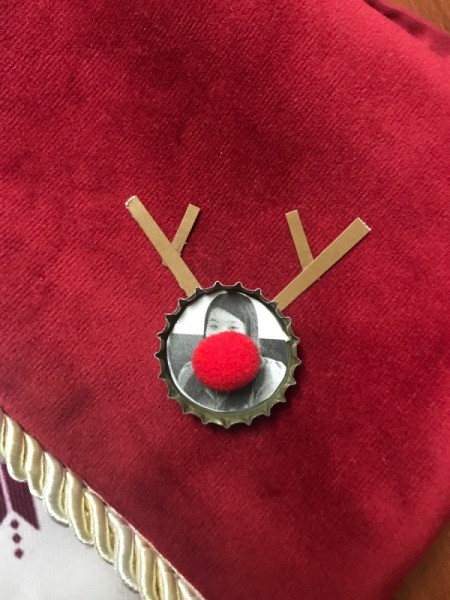
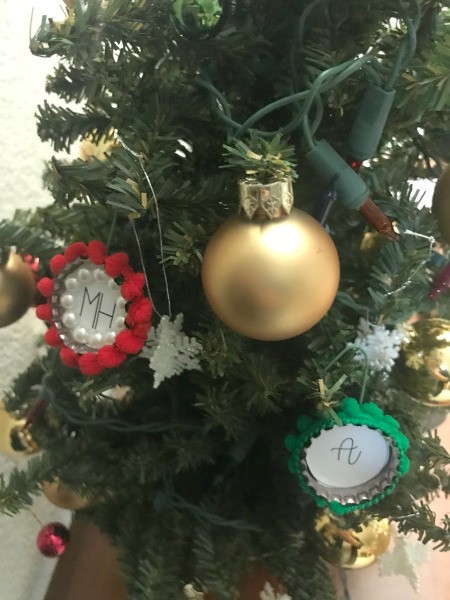
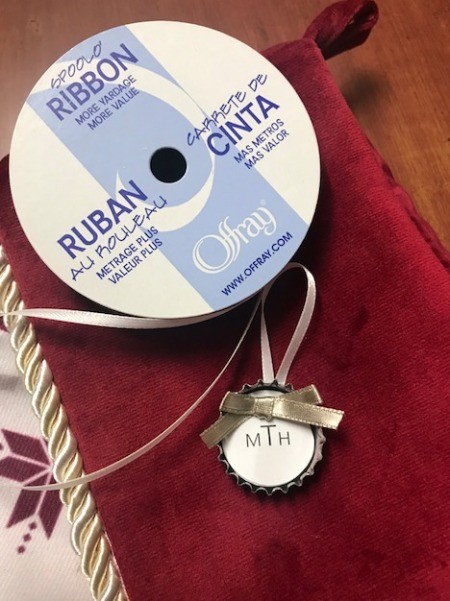
 Instead of tossing out the bottle caps, you could make ornaments. These ornaments are the perfect size for a mini Christmas tree. You could also use this as an accent when wrapping presents too.
Total Time: 30 minutes to 1 hour
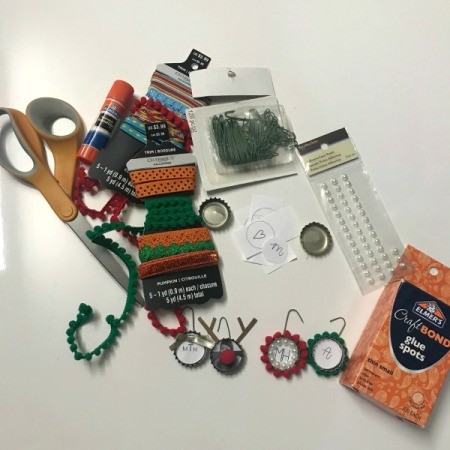
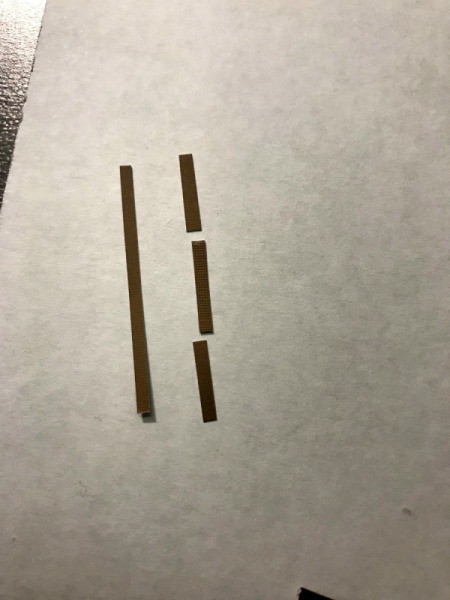
Supplies:
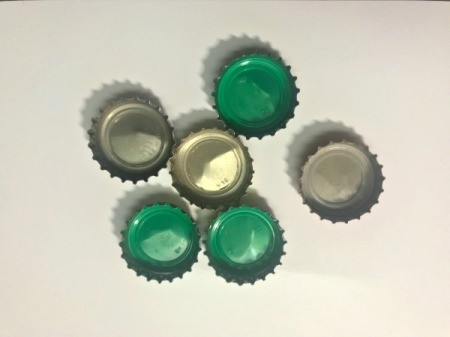
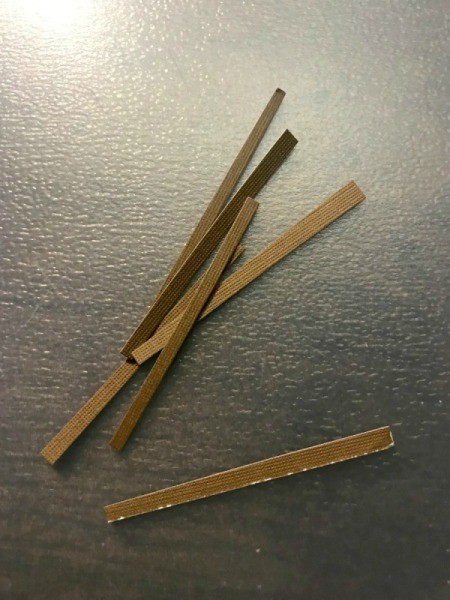
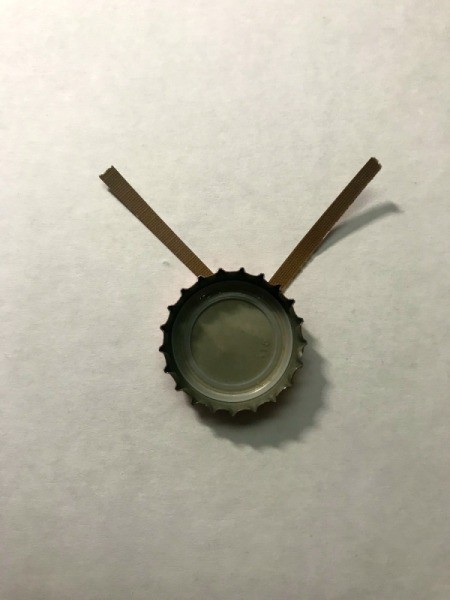
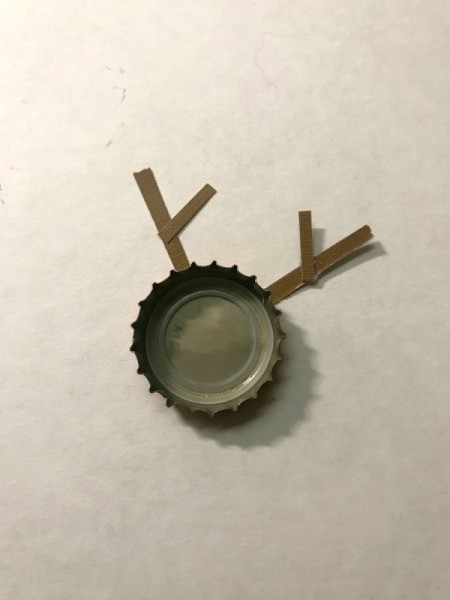
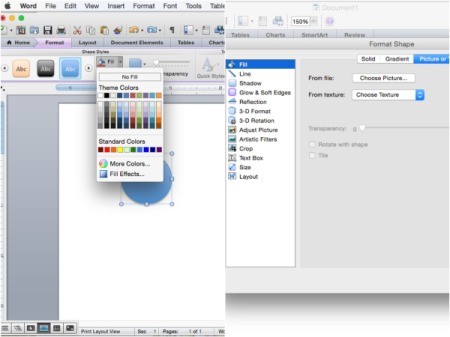
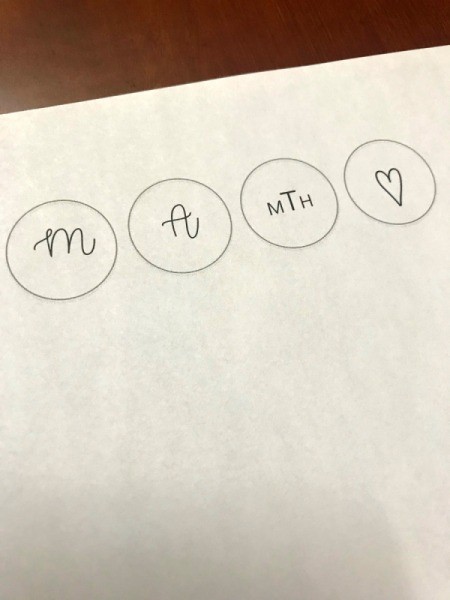
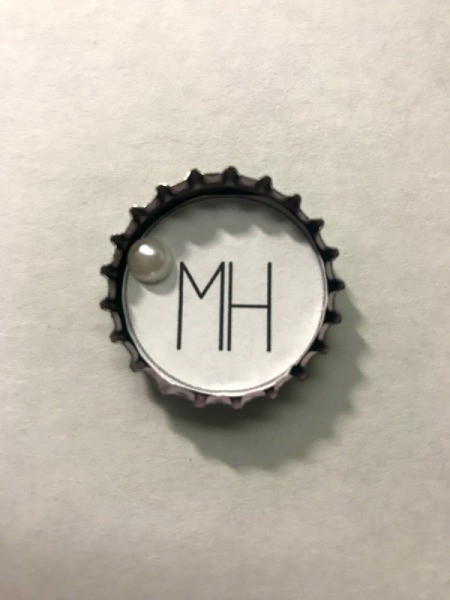
Steps:
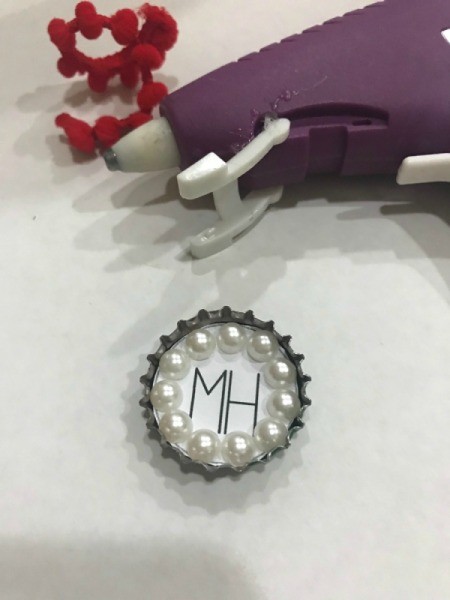

super thrifty and well done!