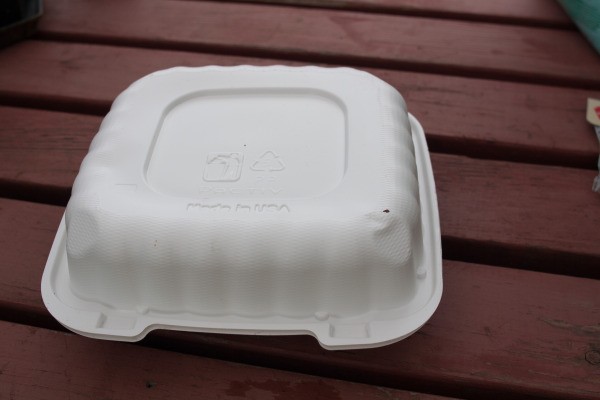
Reuse "To-Go" container clam shells as molds to make lovely decorative stepping stones for your garden.
Materials:
clamshell or "To-Go" containers
Advertisement
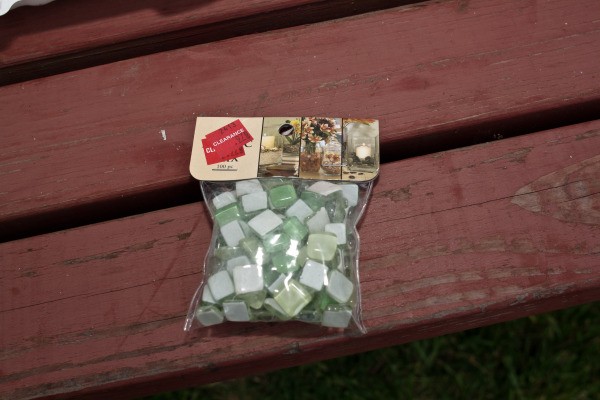
decorations for stepping stones (glass beads, glitter, marbles, shells, etc.)
Portland cement
peat moss
Perlite
bucket
stirring stick
dust mask
gloves
wire brush
plastic wrap
Instructions:
First, collect clamshell "To-Go" containers to use as molds.
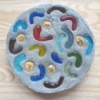
Then select your decorations for the stepping stones. If you are using glass, make sure there are no sharp edges that someone could injure themselves on.
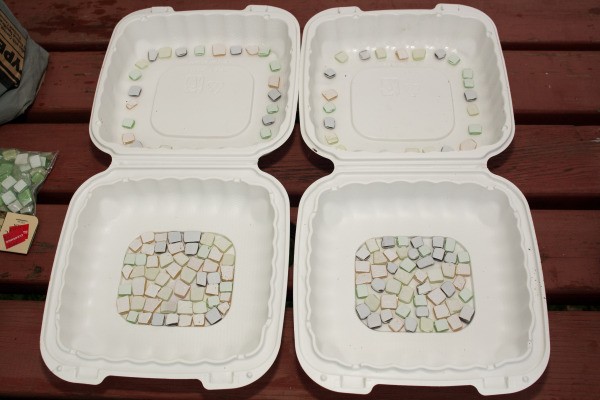
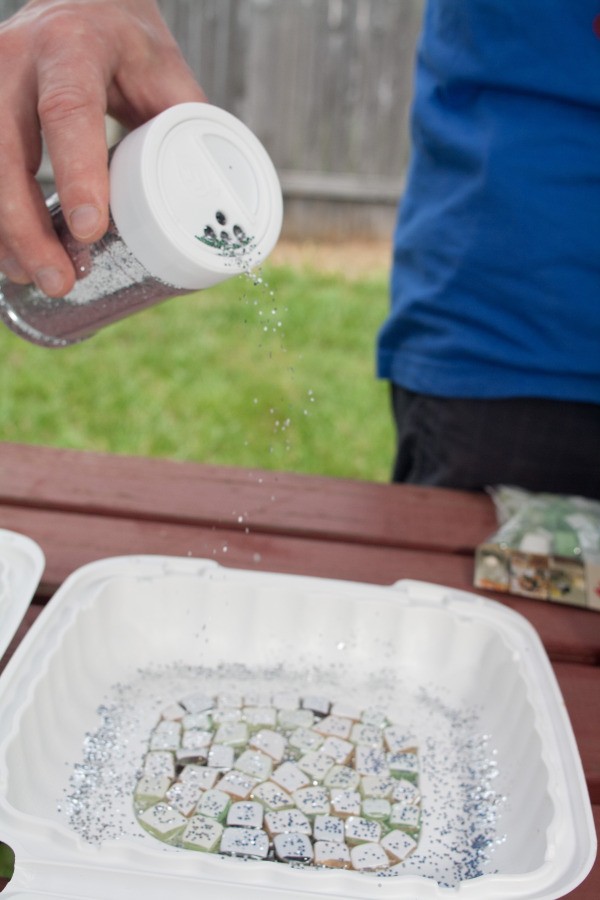
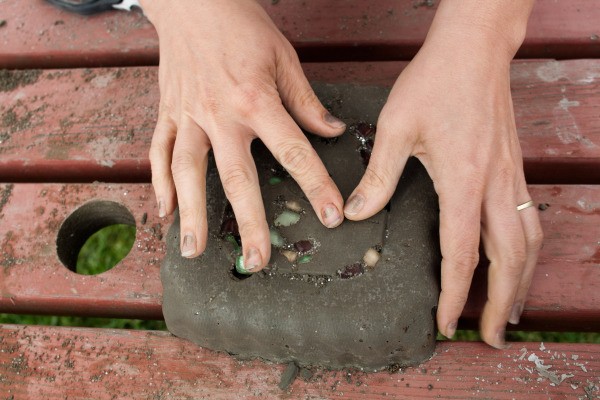
Place the decorations in the open clamshells as you want them to appear on the top of the stepping stones. This is a great time for the kids to help. Be creative!
Advertisement
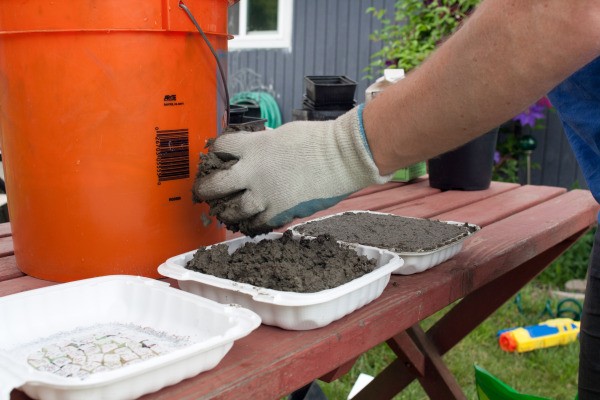
Mix the hypertufa in the bucket; 2 parts cement, 3 parts peat moss, 3 parts perilite. Add water and stir until the consistency is right. be sure to wear the dust mask when adding or stirring the cement.
For more detailed instructions about making hypertufa concrete see our previous post here: Making Hypertufa Planters
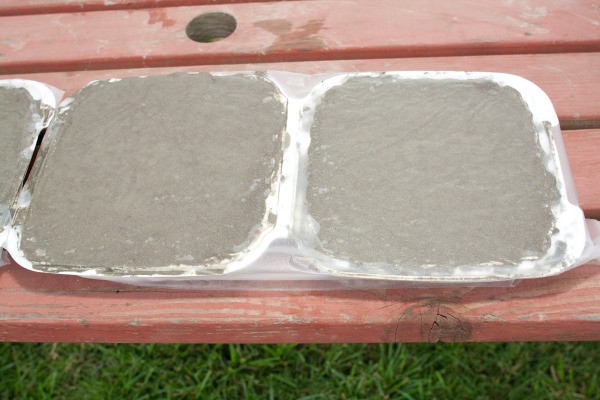
Once the hypertufa is mixed up properly, use it to fill the clamshells. The mixture is very heavy so it will move around small decorations if you are not careful. I found it best to add the mixture in small handfuls and press gently from the top to fill in the edges and corners.
After filling the clamshells, cover them with plastic wrap and let them set-up for 24-48 hours.
Advertisement
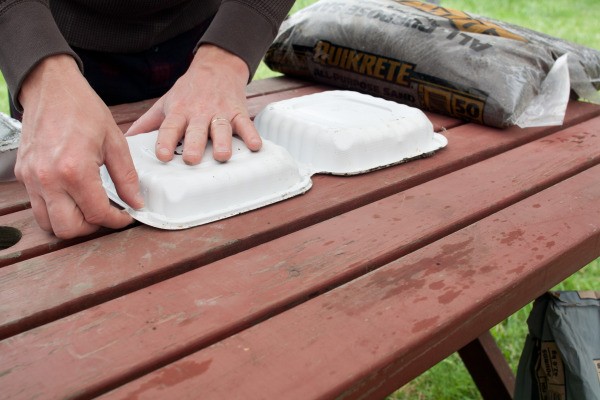
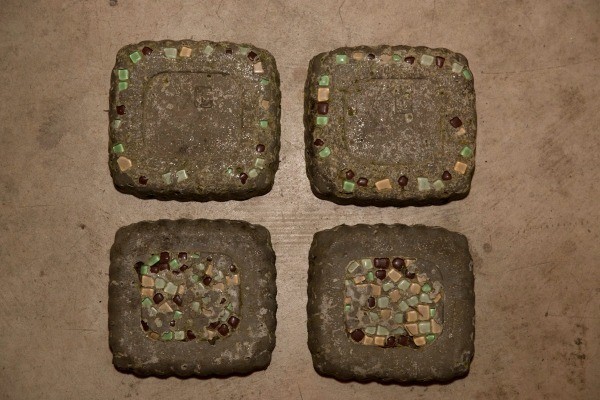
Flip the clamshell over and gently press the stepping stone out of the mold. If they feel like they are going to crack or are soft at all, you should let them set-up longer.
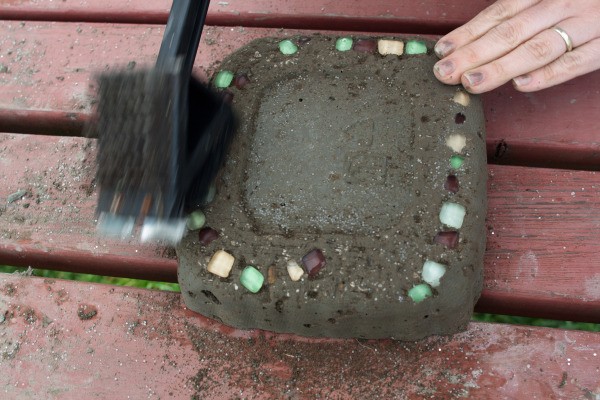
When the stepping stones are out of the clamshells, use a wire brush to smooth out any rough edges or reveal any decorations that may have gotten covered up. You can even use your fingers some for this step if the hypertufa concrete is not completely cured.
Advertisement
Lastly, let the stepping stones cure for another day or so before placing them in your garden.