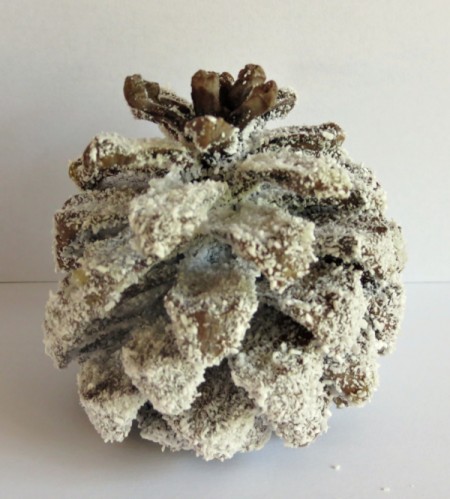
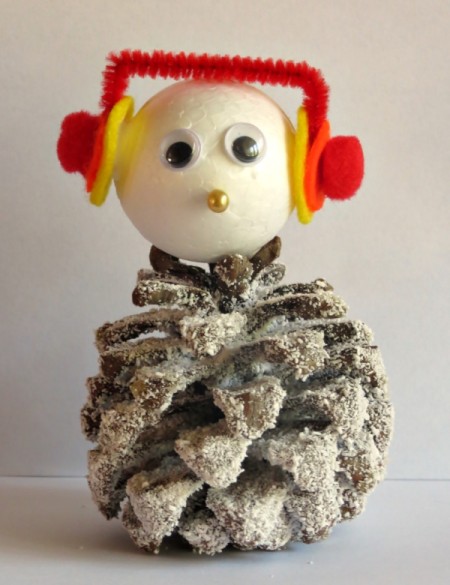
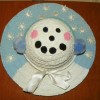
This Christmas, turn a pine cone into a cute little snowman. This poor fella is cold. Even his mouth and cheeks are blue, so you will have to knit him a nice scarf to try and help him to get warm. Add him to your window sill or mantelpiece, and bring some cheer to your winter décor.
Total Time: one hour
Yield: one frosted snowman
Supplies:
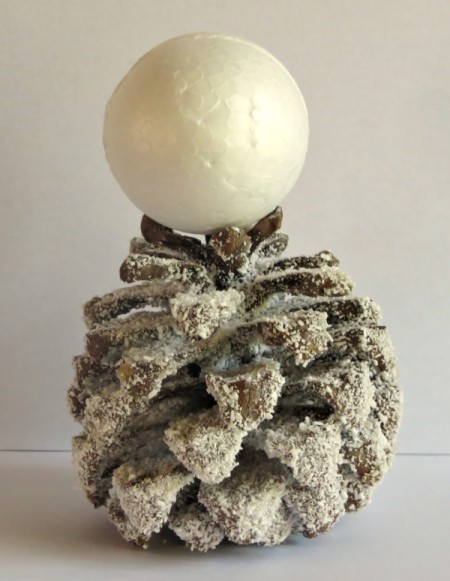
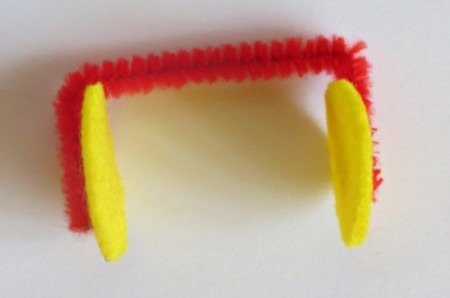
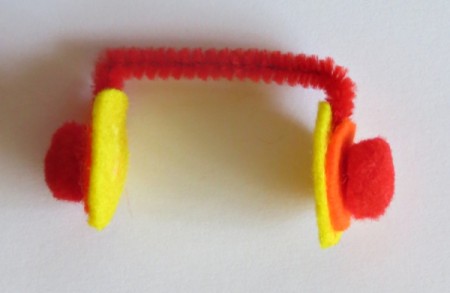
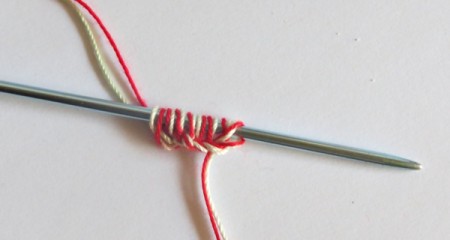
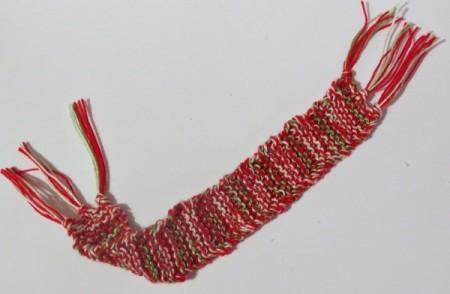
Steps: