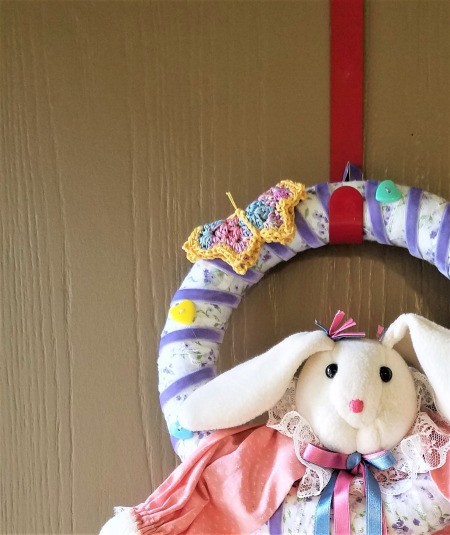
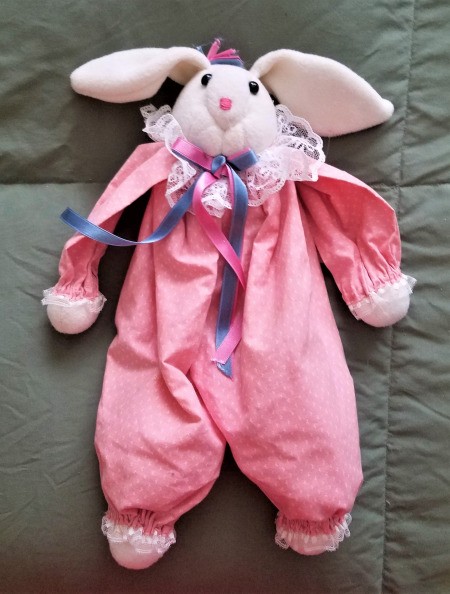
 I found this cute bunny at a thrift store, and had the wreath form and all the rest at home. Every pastel color is represented here and I hope you like it!
Total Time: 1.5 Hours
Yield: 1
Source: I have seen one with a crocheted cat but none like this.
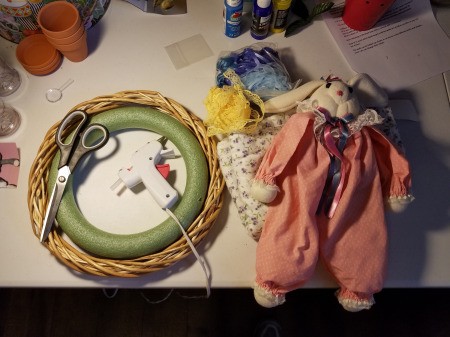
Supplies:
- 1 stuffed critter ($1.00)
- 12 in foam wreath ($1.00)
- 6 yd fabric strips ($.25)
- 6 yd ribbon ($.25)
- 5 buttons: heart shaped ($.10)
- 1 hot glue gun/stick ($.25)
- scissors
- 20 Yards crochet thread ($.10)
- size G hook
- 1 darning needle
Steps:
- This is one of those projects where I didn't have things so much ahead of time...more of "Oh that would be cute". But, I won't leave anything out!
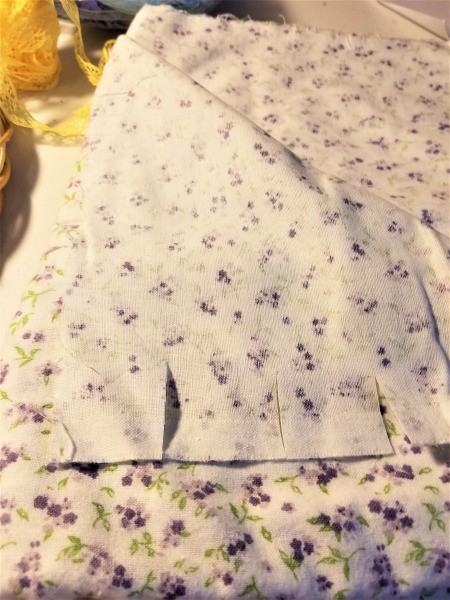
- I found this bunny at a thrift store. I had seen people who crocheted the critter of their choice, but I was not "that" dedicated, having too many other things on my "to do" list. I then fished out a foam ring and found a pretty fabric that just screamed "spring"! I started the strips by cutting, then went to town on ripping the strips.
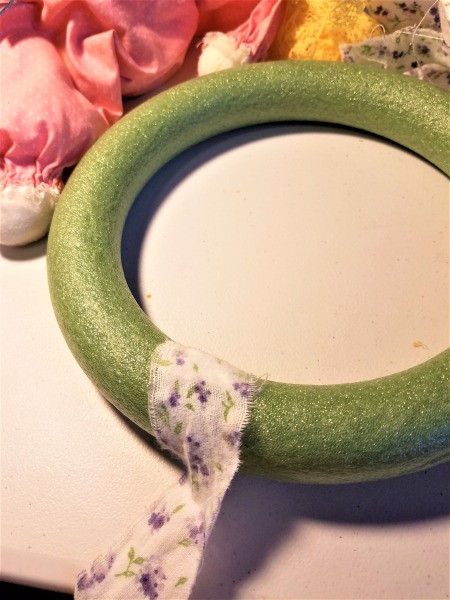
- Once the strips were ripped, I wound them around the foam wreath, hot gluing the graft places.
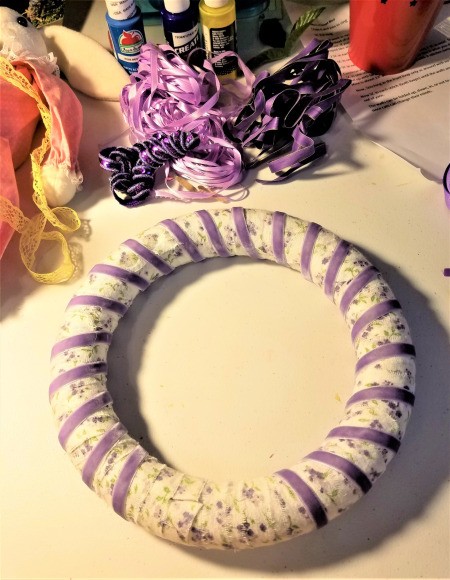
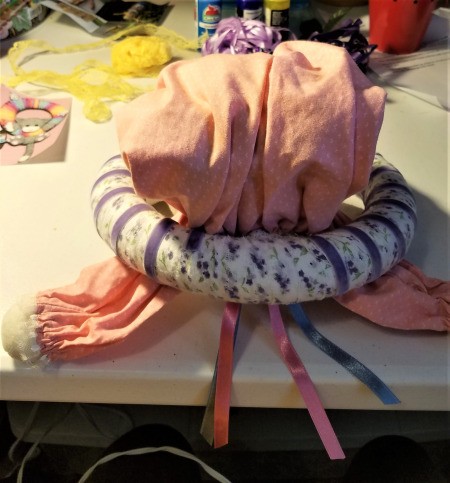
- Once that was done, I found the ribbon I wanted. It was sort of "velvet" and it made me think of The Velveteen Rabbit". As it turned out, I didn't have quite enough, but knew the bunny would cover it. It is always good to 'pre wrap' to make sure you have enough. Now it's time for the bunny to be permanent. My bunny has a block of wood inside to sit on a flat surface like a shelf. Taking it out would have ruined it, so I had to be very sure I knew where to glue. I got lucky. Most likely, you critter will be 'sans' wood.
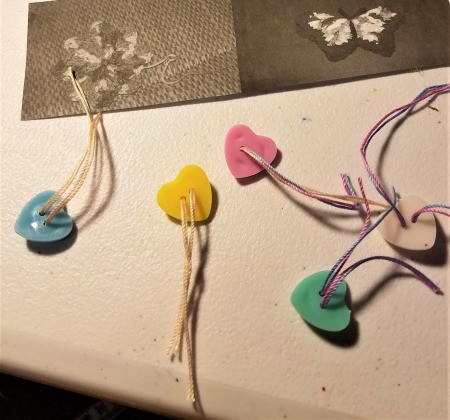
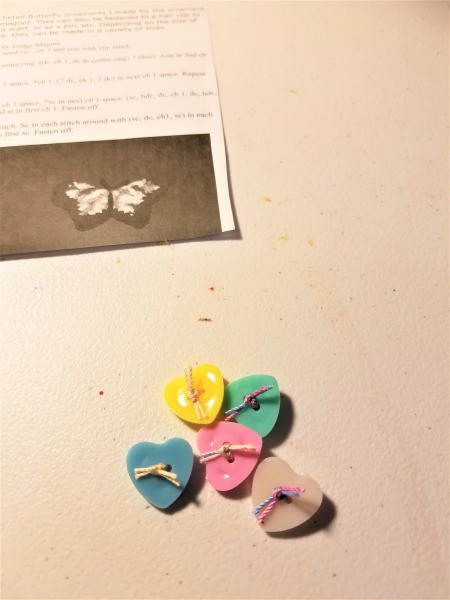
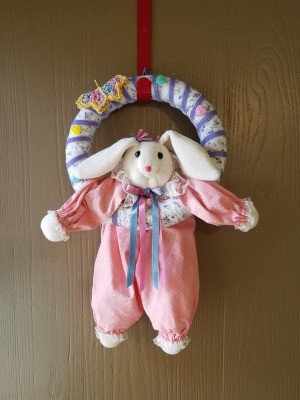
- Once the arms were done, I wanted to make sure it was secure underneath, so I ran a bead of glue on the back of the ring so the bunny's tummy would be forever secure. I had some pastel heart shaped buttons and used some pastel colored crochet thread to make them look like they were sewed on. Then it was "Hot Glue to the Rescue!!" I glued them around the wreath.
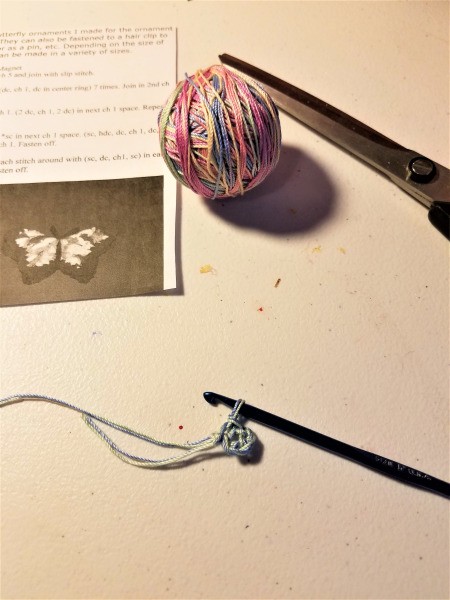
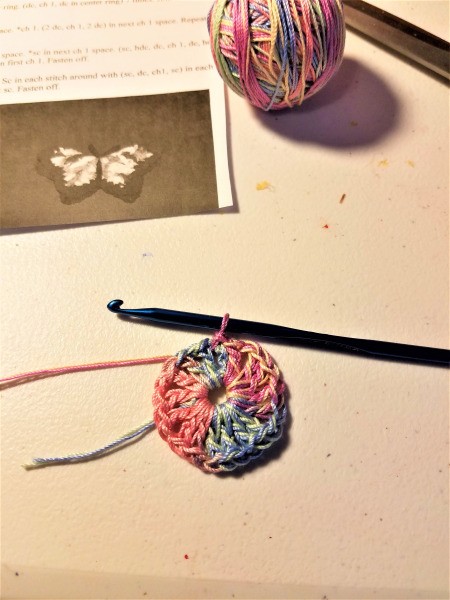
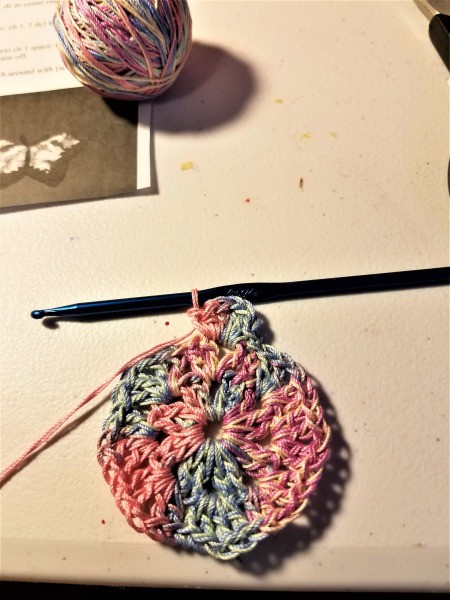
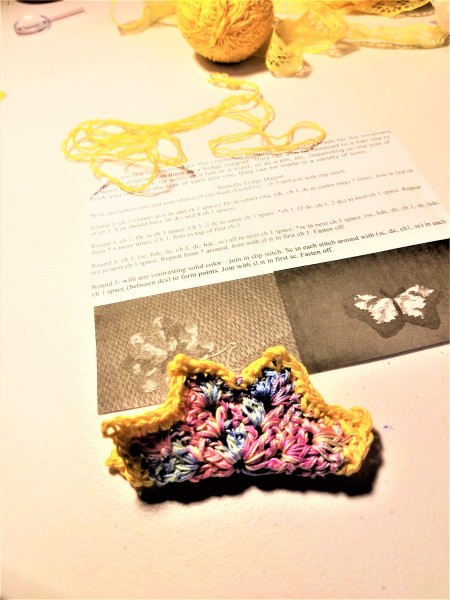
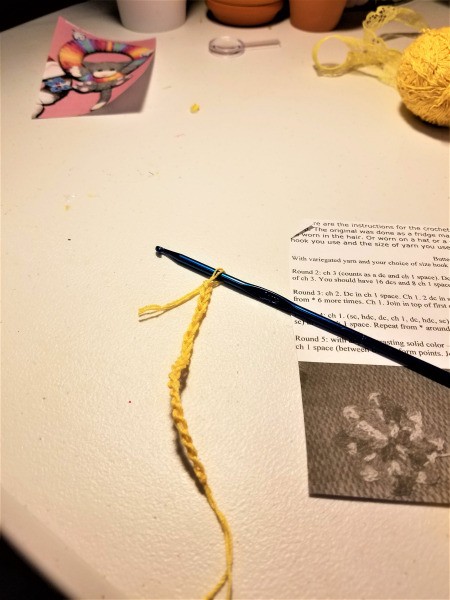
- The butterfly took almost as much time as the rest of the wreath, but I think it made the finishing touch. With two strands and a G hook, chain 5 and join with a slip stitch. Chain 3 (counts as first double crochet=DC), DC in center ring. Make a DC, chain 1, DC in center ring 7 more times. Join at 2nd chain of first chain 3. You should have 16 DCs and 8 chain 1 spaces.
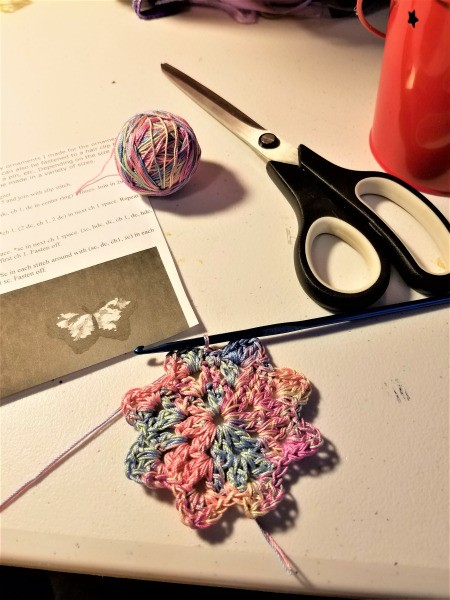
- Chain 2, DC in chain 1 space. Do a chain 1, 2 DCs, chain 1 and 2 DCs in next chain 1 space. Repeat 6 times and join in to pf first chain 2.

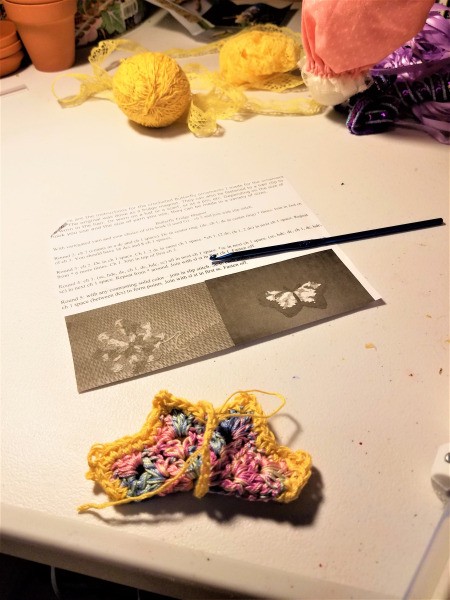
- Then, chain 1, SC, HDC, DC and chain 1 and DC, HDC, and SC in same space. This is going to be your wing tips. Repeat this in each chain 1 space around of 6 total.
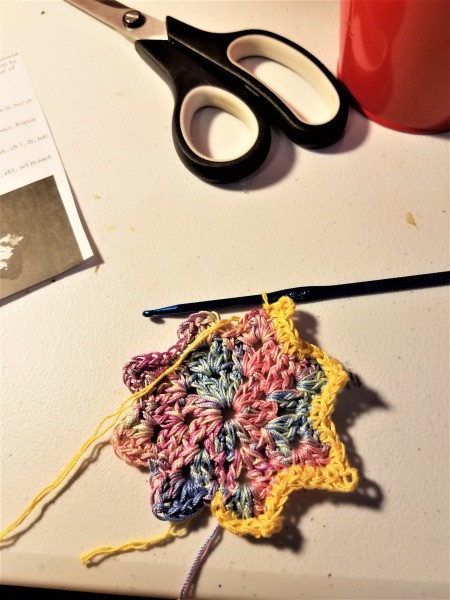
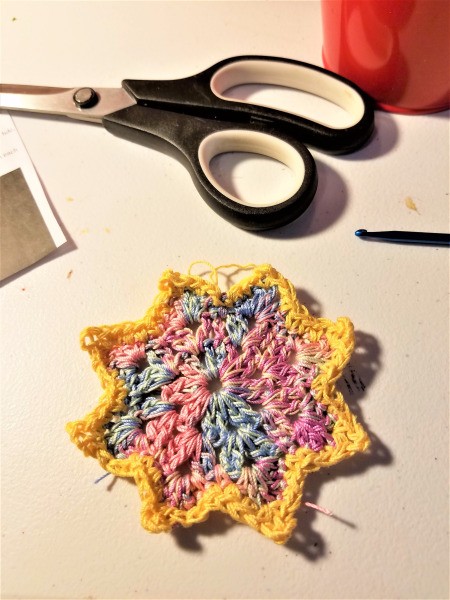
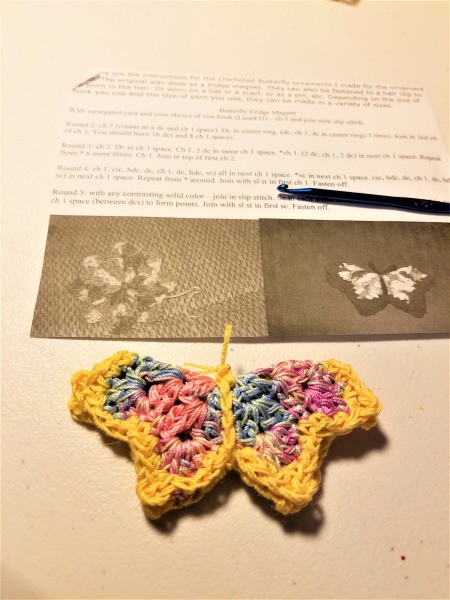
- For a contrasting color, put your thread in any SC on the piece, and make a SC around. Join and tie off or weave in your tails. Once the butterfly is ready to fold over, put a touch of glue on the inside of each tip, and make sure the tip it's glued with matches. See the photos and you will know what I mean. Chain the "body" in a chain long enough to enclose the center and "tighten" just a bit. Mine was 30 but when it's tied, you can trim if you have too much. When it's done, glue to the ring, add a little hanger and voilà!!
- Once the butterfly is done, you can hot glue it wherever you want. I like things asymmetrical, but you can put it on the very top center if you want. Just make sure that what you hang it on or with doesn't cover all the pretty work! N-JOY!!