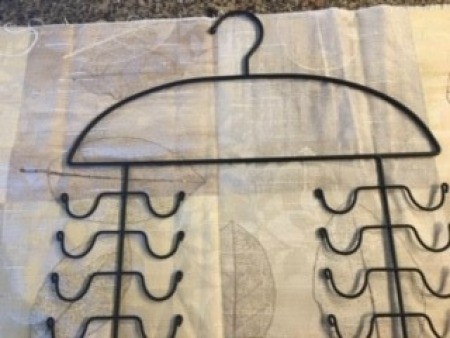
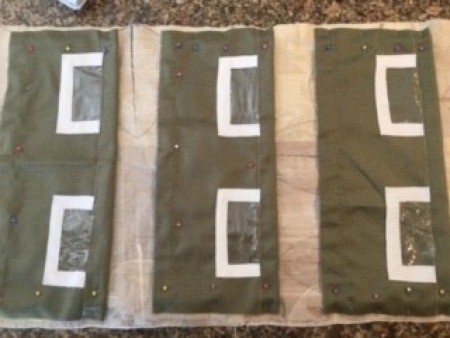
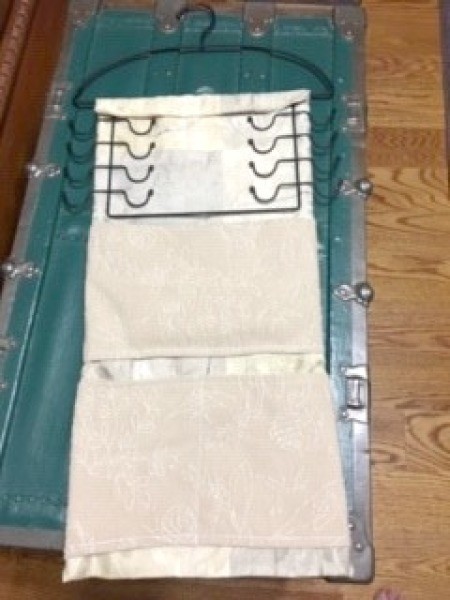
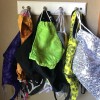
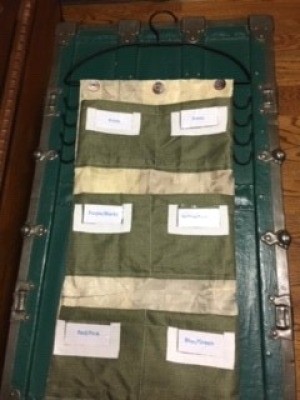
 My daughter has about 30 masks because she works at a school and must change them out daily, sometimes more than once a day. In order to keep them organized, I came up with this organizer/mini mask hamper which she can hang in her closet. It also helps her choose what color she wants to coordinate with what she wears each day. It has a front and back for efficient storage!
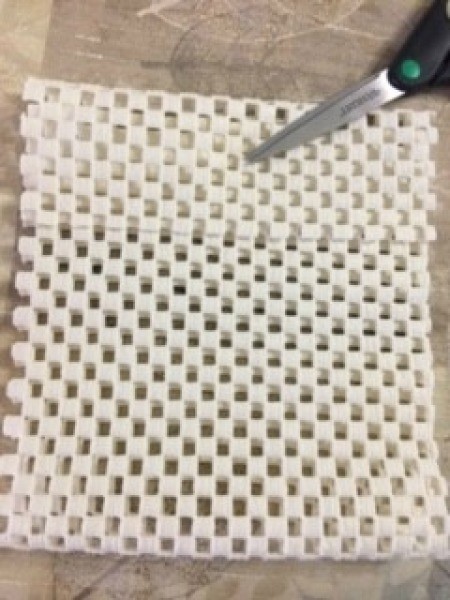
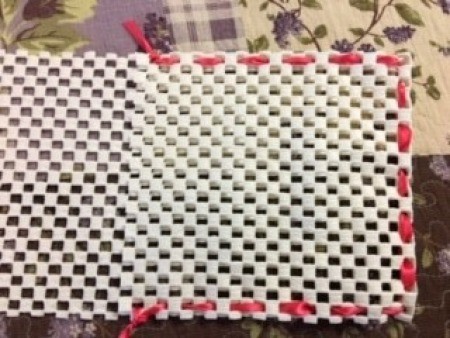
A true "stay at home" COVID19 sewing project! Everything was made from leftover fabric scraps and supplies I had on hand, so I didn't have to "go out" and buy anything.
Total Time: 2 to 3 hours
Yield: 1
Supplies:
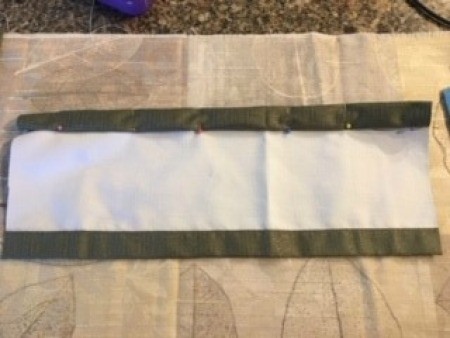
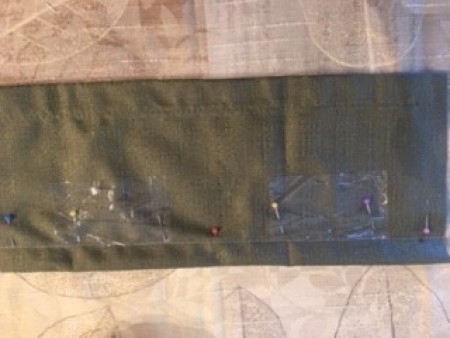
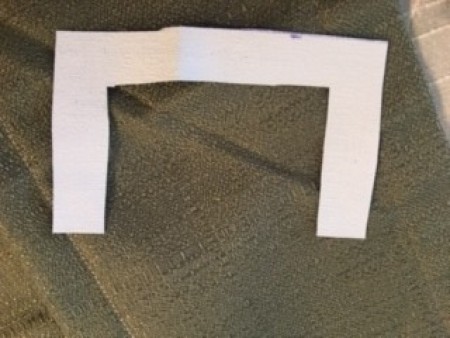
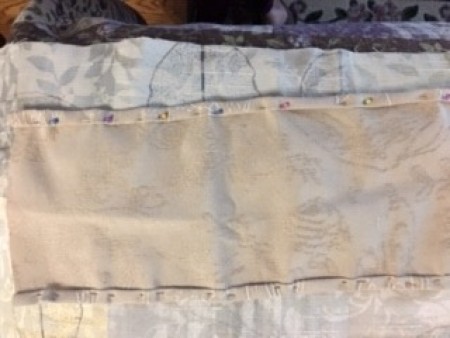
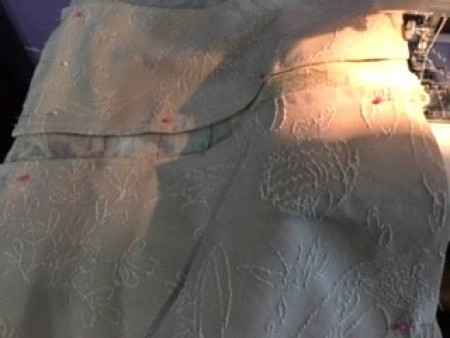
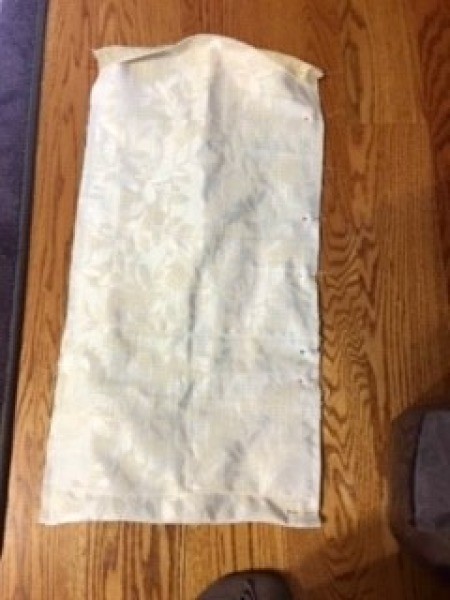
Steps: