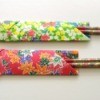
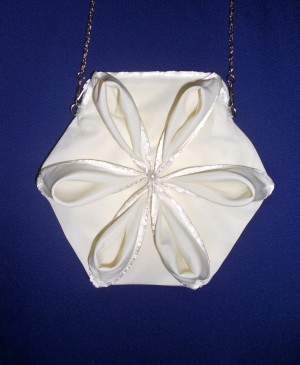
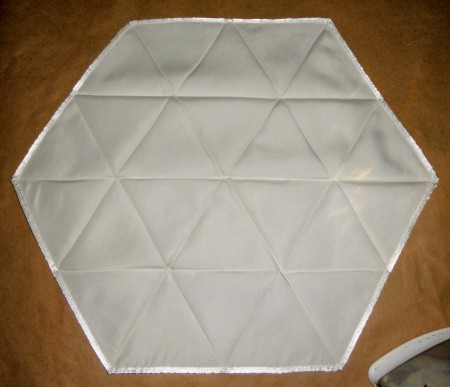
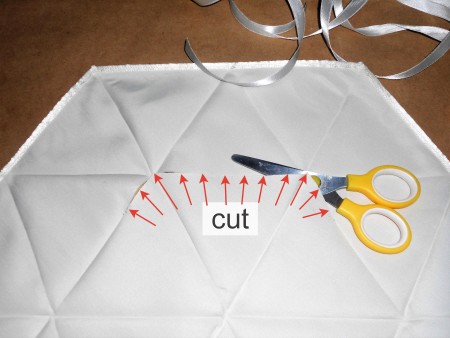
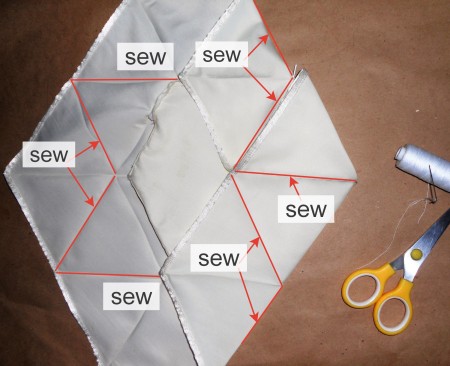
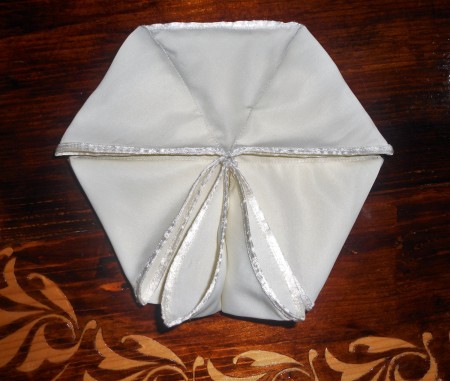
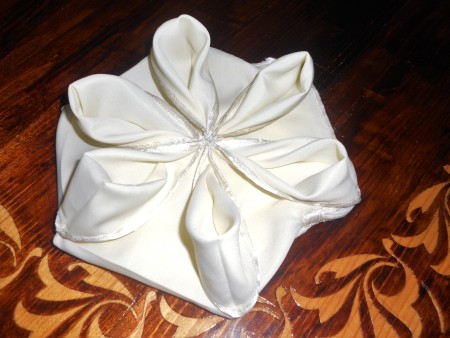
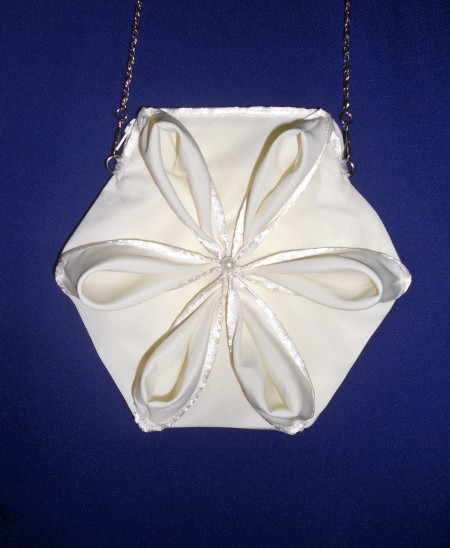
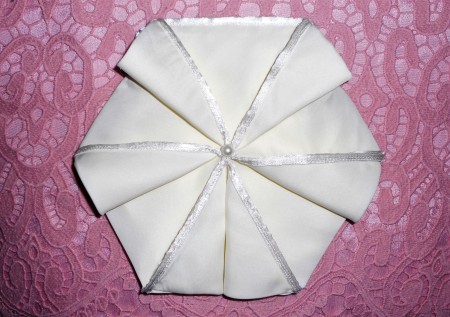
 The design of this bag was inspired by origami. The bag has the shape of a regular hexagon. I decided not to overload the design of this bag with unnecessary décor, since the flower formed from the folds of fabric is a sufficient decoration for it. You can change the look of this bag and use it as a purse or a shoulder bag or wristlet or pouch or minaudière.
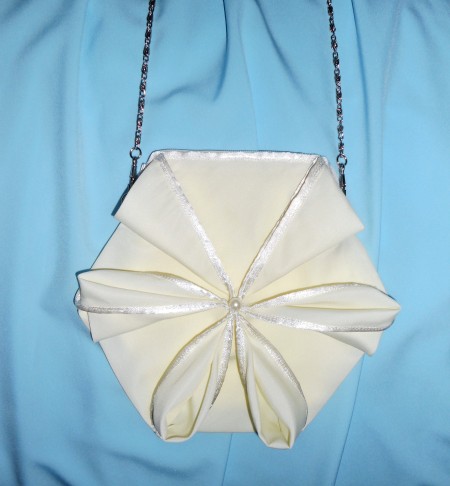
Total Time: 2-3 Hours
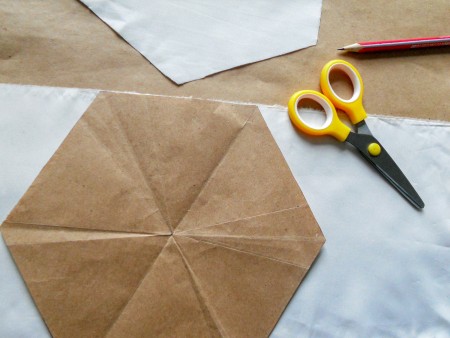
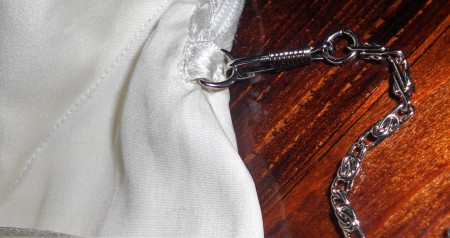
Supplies:
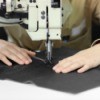
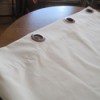
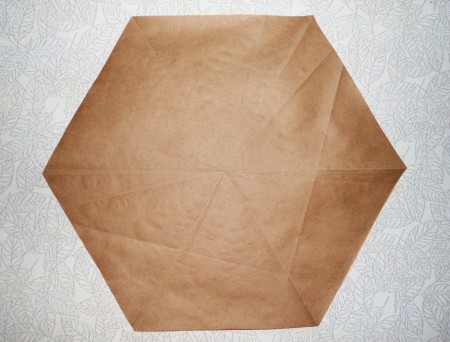
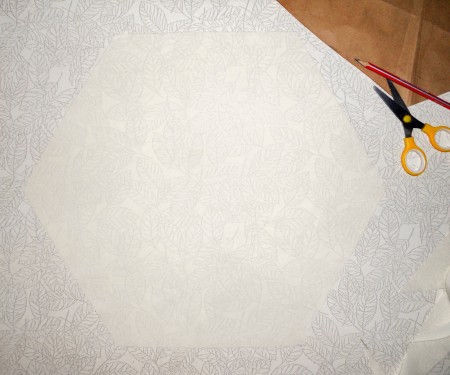
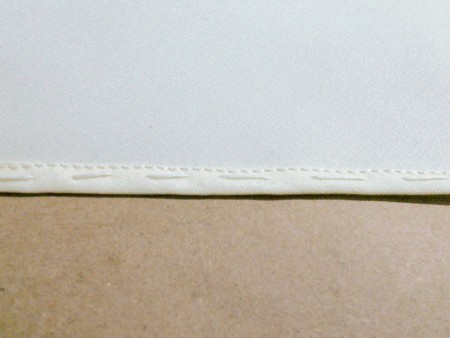
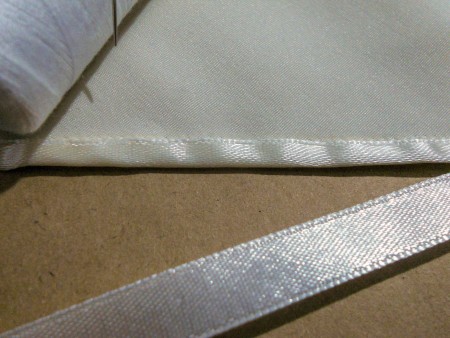
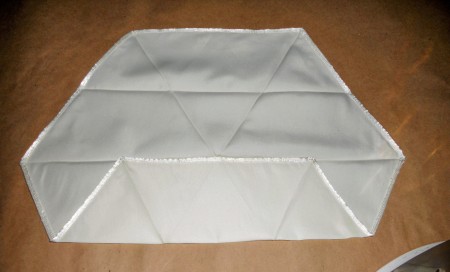
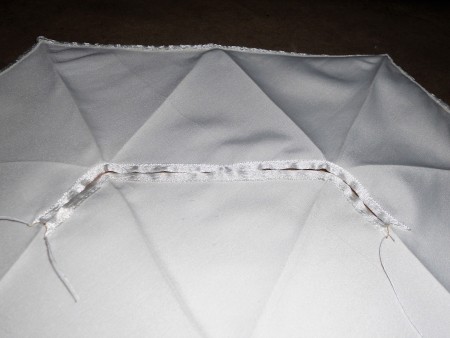
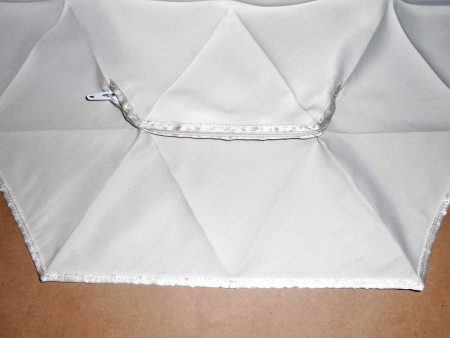
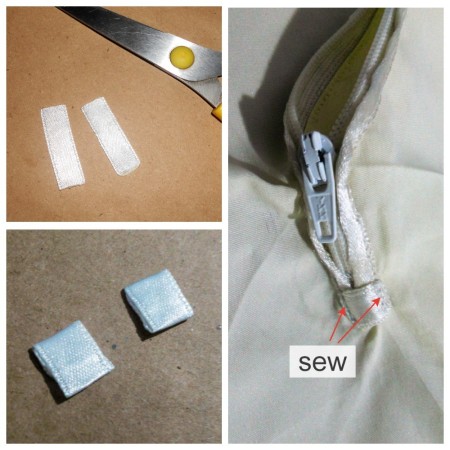
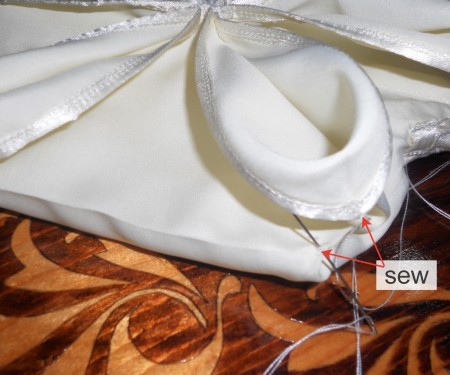
Steps:


Add your voice! Click below to comment. ThriftyFun is powered by your wisdom!