ShirleyE
Bronze Post Medal for All Time! 239 Posts 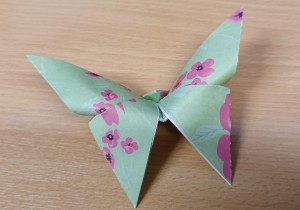 With just a few simple folds you can make this easy and impressive paper butterfly.
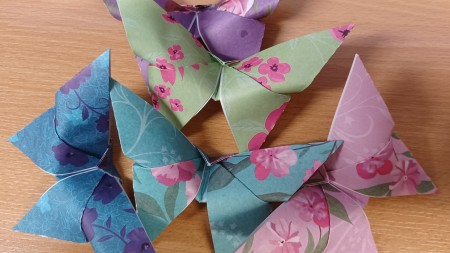
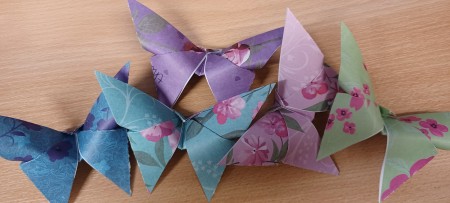
They take only minutes to fold and you can make them in different colours patterns and sizes to decorate walls or gifts or for hanging as a mobile
Total Time: 5 minutes per butterfly
Supplies:
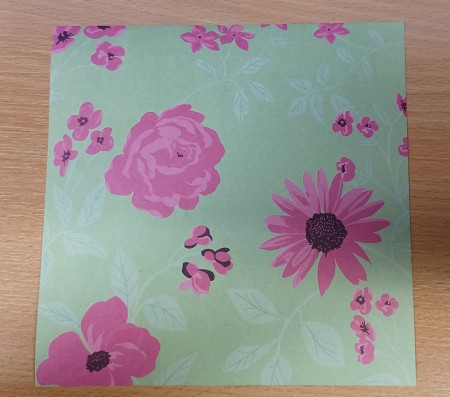
- One square of paper
- optional - adhesive such as glue, double sided tape or a glue dot
Steps:
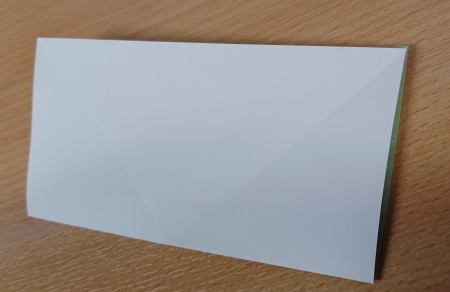
- Fold your square of paper corner to corner with the plain side to the inside if your paper is patterned
- Crease the fold well

- Repeat in the opposite direction
- Crease well again
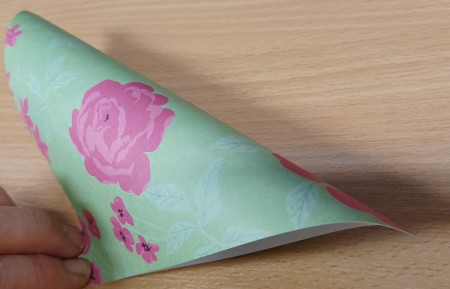
- Open it out and make another fold. this time bring the sides together with the patterned side to the inside
- Crease it well
- Open it out again
- Then fold edge to edge in the opposite direction
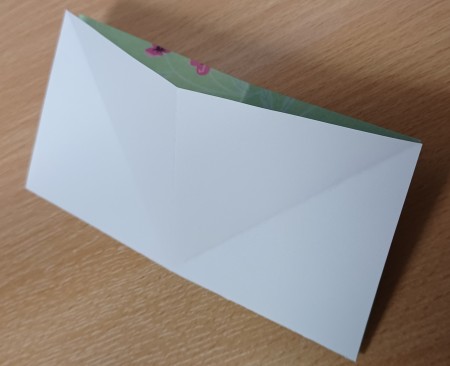
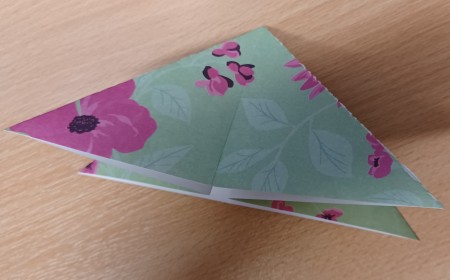
- Your folded paper should now look like this
- Pull it all together
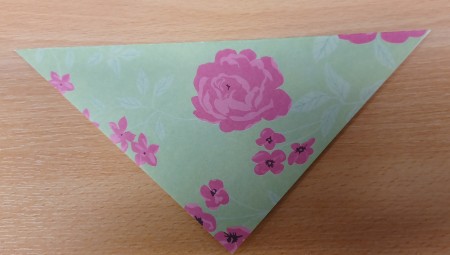
- Then lay it flat like a triangle
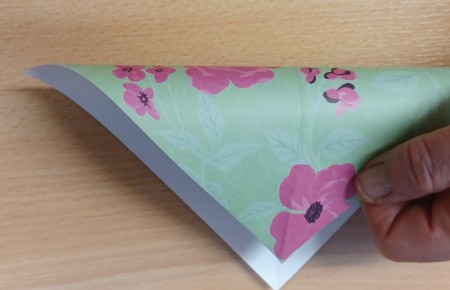
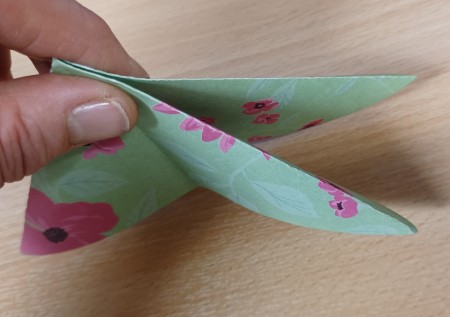
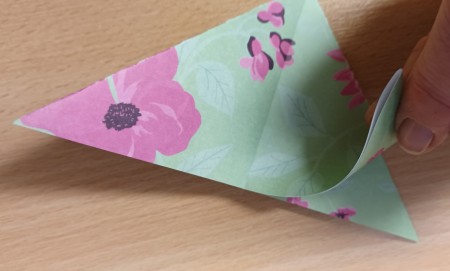
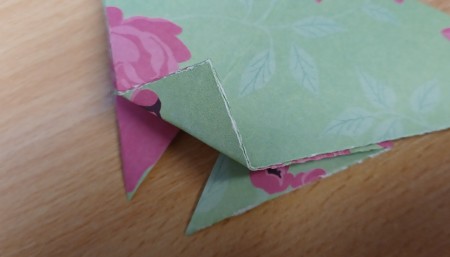
- Pull up one of the corners like this
- Fold it up to the top point but pull slightly to one side to offset it. Then crease it flat
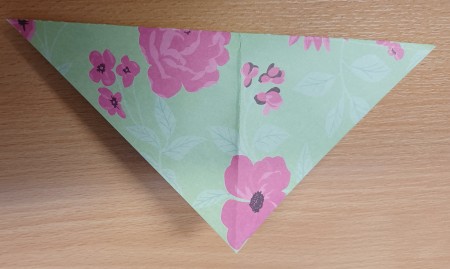
- Do the same with the other point
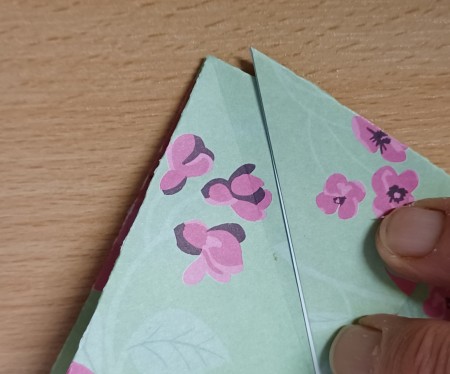
- Turn the whole thing over and it will look like this from the other side
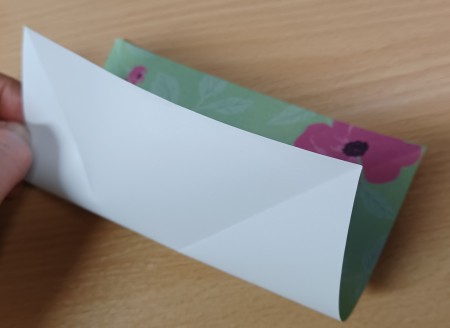
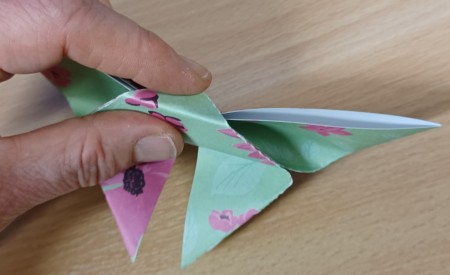
- Fold the top corner down and crease
- Pull this folded corner up and over the top to the front. Do not crease it this time
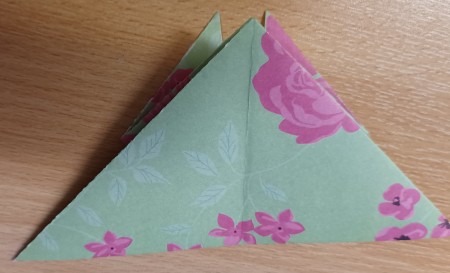
- This is how it will now look from the front with a slight curvature
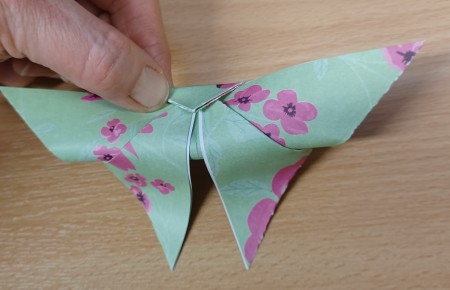
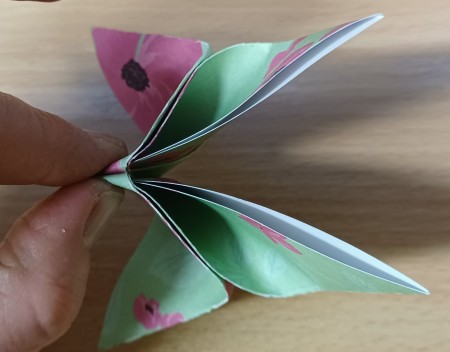
- Pinch the centre top
- And crease together firmly at the back
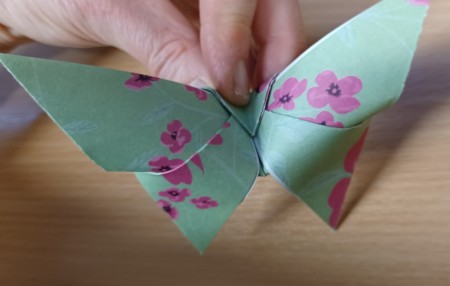
- If the top corner that you folded to the front isn't staying in place very well, you can secure it with glue, double sided tape of a glue dot
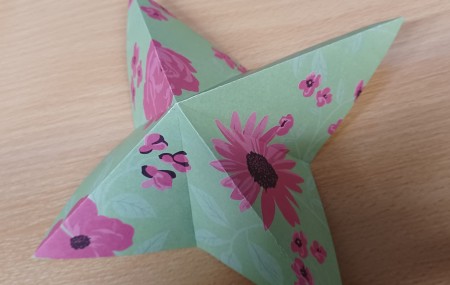
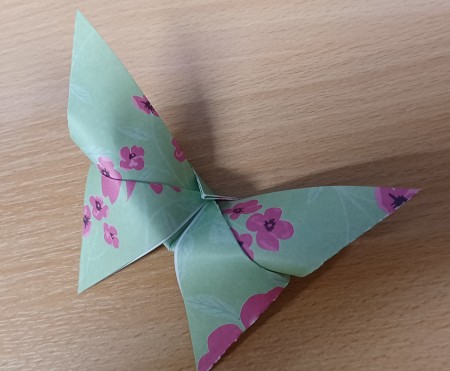
- Make them in different colours and designs for an amazing and pretty display
Add your voice! Click below to comment. ThriftyFun is powered by your wisdom!
Anonymous
January 2, 20220 found this helpful
Your directions are wonderful. I am an origami lover and will begin this type of butterfly right away. Ma y thanks. Karen
wordswork
Bronze Feedback Medal for All Time! 170 Feedbacks April 28, 20230 found this helpful
Absolutely beautiful, Shirley! Thank you very much for providing such detailed and easy to follow instructions.
Add your voice! Click below to comment. ThriftyFun is powered by your wisdom!