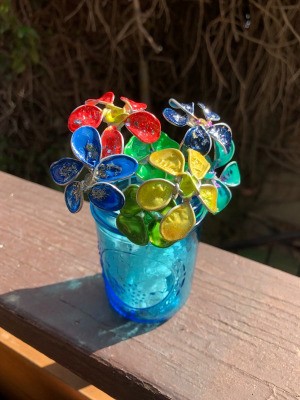
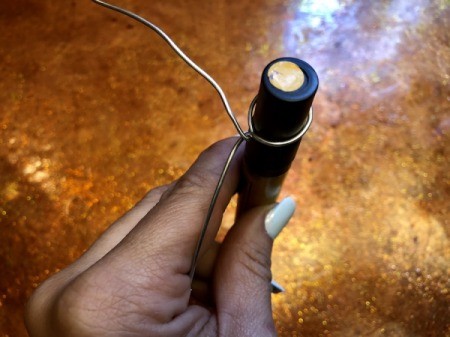
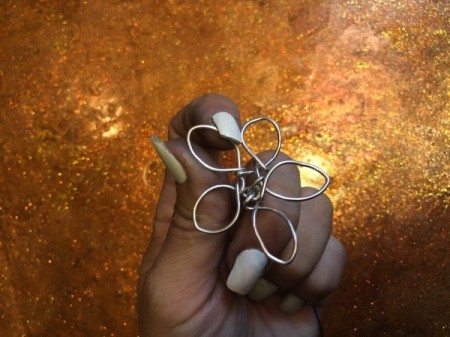
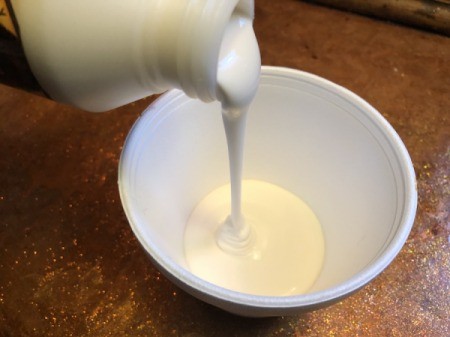
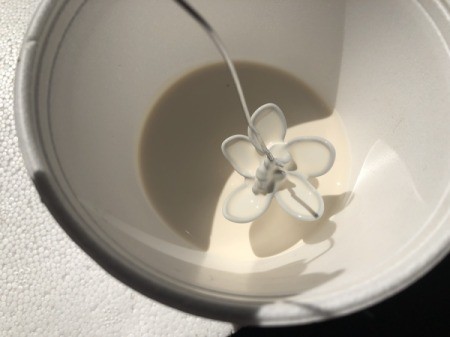
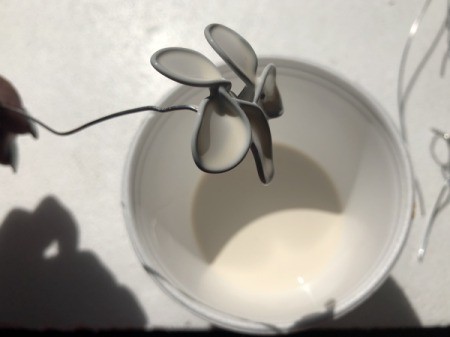
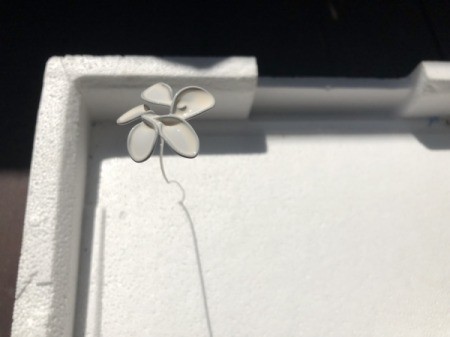
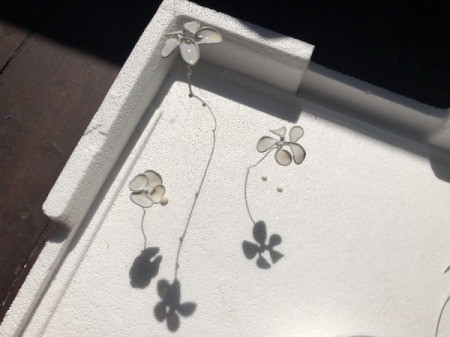
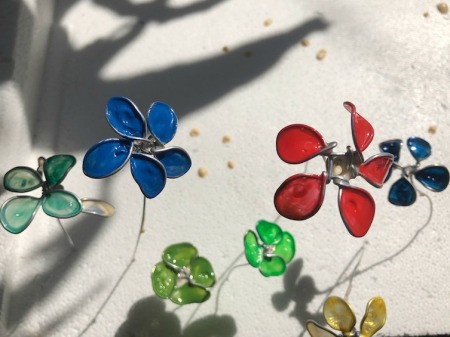
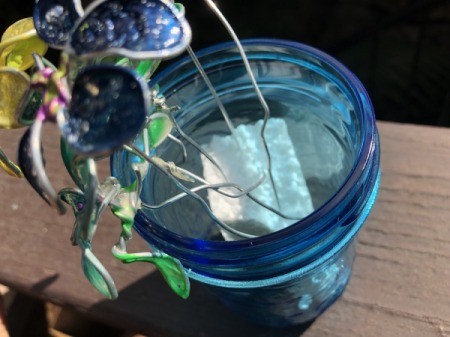
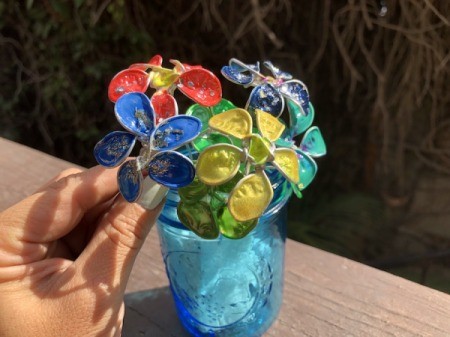
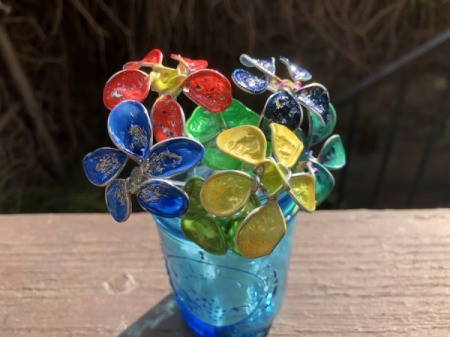
 This is a super fun and pretty craft using wires, wood glue, and nail polish. Bend the wires in whatever flower shapes you admire, dip in glue, then paint. They reflect such beautiful colours in the sun. I hope you give this a try!
Total Time: 90 minutes
Yield: 1 bouquet
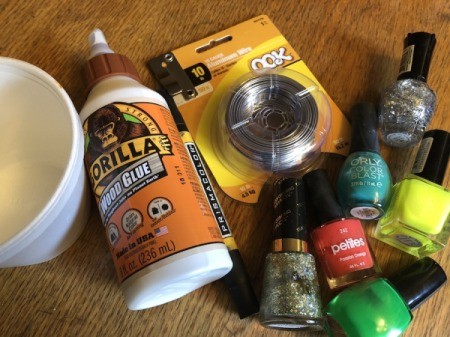
Supplies:
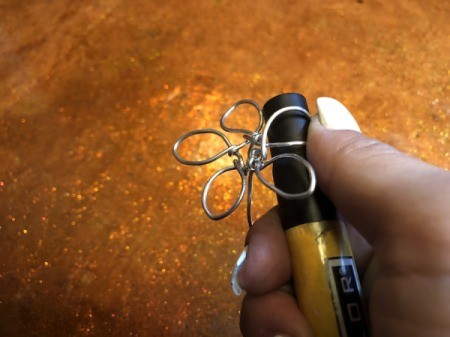
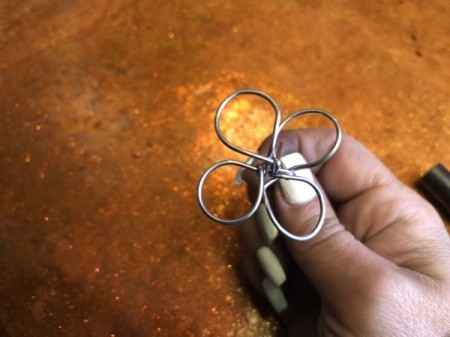
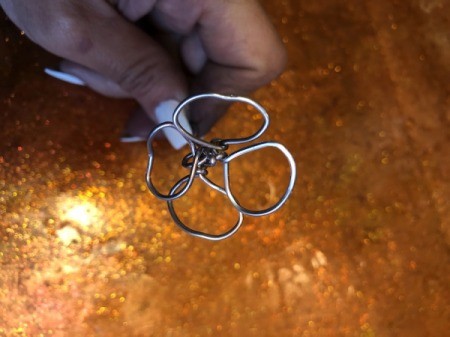
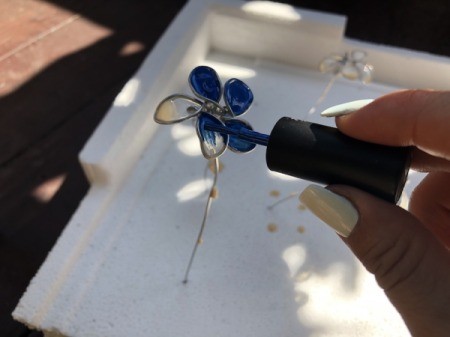
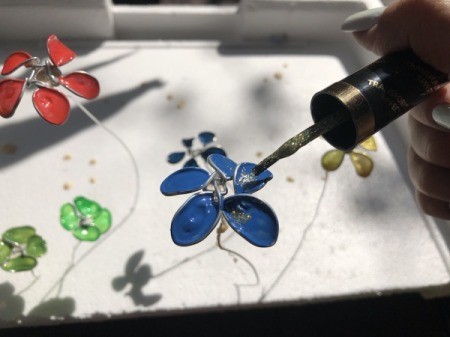
Steps:

Add your voice! Click below to comment. ThriftyFun is powered by your wisdom!
It is so pretty!
Thank you! I hope you give it a try. :)
our senior class did these and had lots of fun . We had lots of different color nail polish.
As a side note, if you make the wire flowers/shapes small enough, you can skip the wood glue and hold some thick nail polish over the holes and it will make a drape of paint right over the bent metal, then let it dry for at least 45 minutes. :)
Tried using this one for a similar project. Great technique! Simple but elegant.
Bravo!
Oh, I'm so happy you tried it! Thank you!
I'm thinking earrings, Toosa. Heart shaped. Thanks a bunch for suggesting this medium, and the step-by-step instructions!
You are so welcome! Please do try it! I'd love to try your heart shaped earring idea! If you do it, I want to seeeee!
Did something wrong . Glue not sticking to wire.
I cant get the wood glue to stay across the petal to dry
Me either. It just stays on the wire but doesnt go across :(
While I love these flowers, I ran into a few issues with the glue. it kept popping on me. So I dipped the flowers into the glue and used tissue paper on the back of peddles and leaves. I then filled in over that with the glue front and back, let dry and painted. All in all a fun project. Thank you for the inspiration.
Will these hold up outside?
Fantastic
Add your voice! Click below to comment. ThriftyFun is powered by your wisdom!