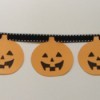
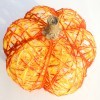
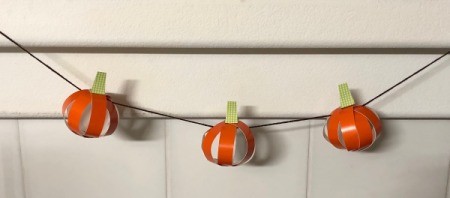
Here is a simple and easy to make pumpkin garland for fall and Halloween. It is perfect for decorating your fireplace area, or to use as table, party, or home decorations.
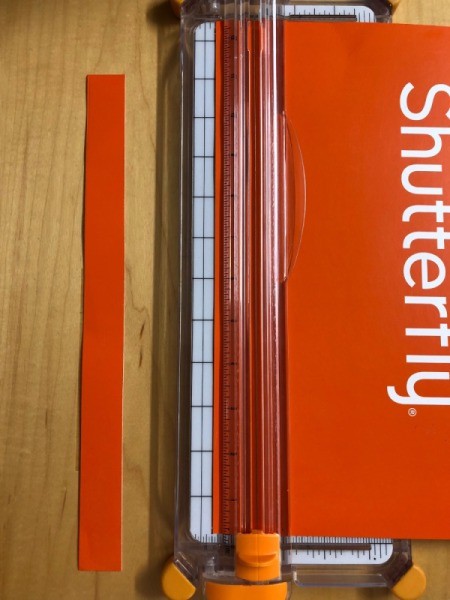
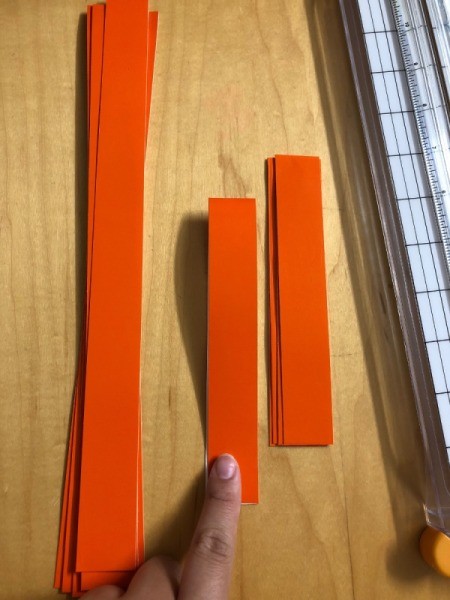
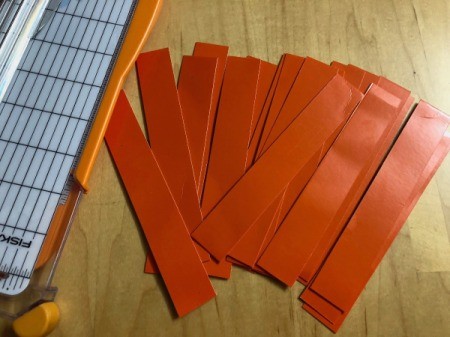
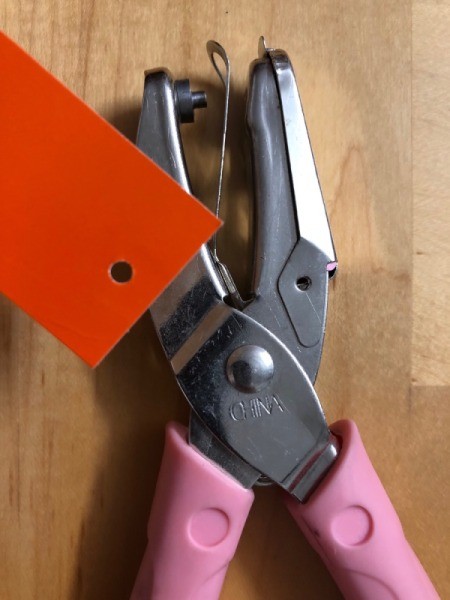
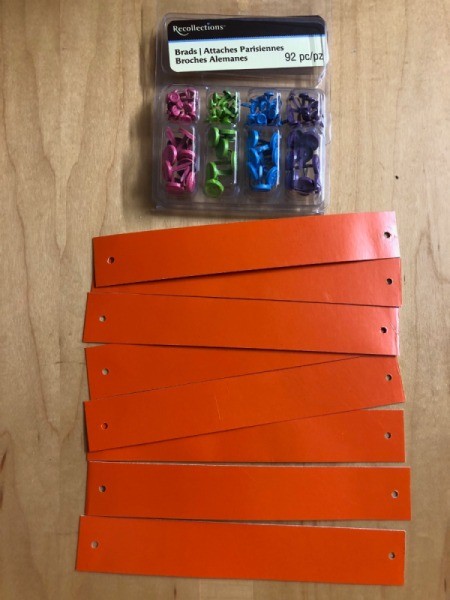
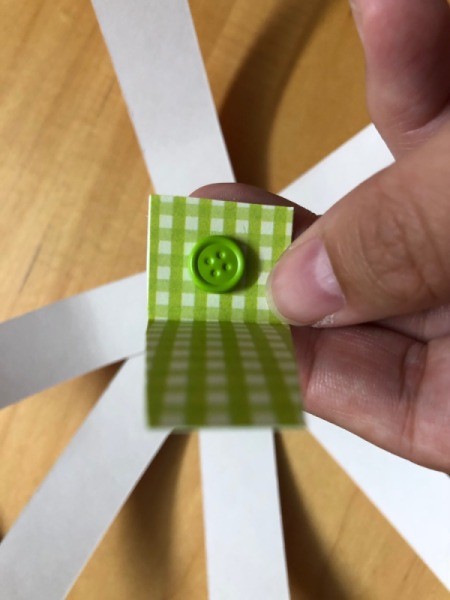
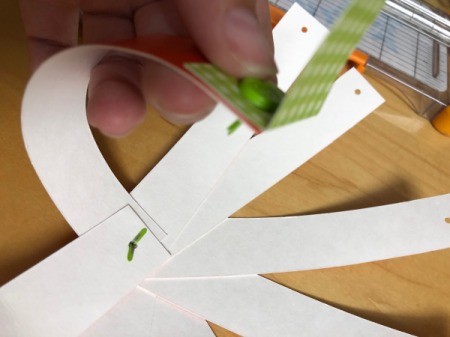
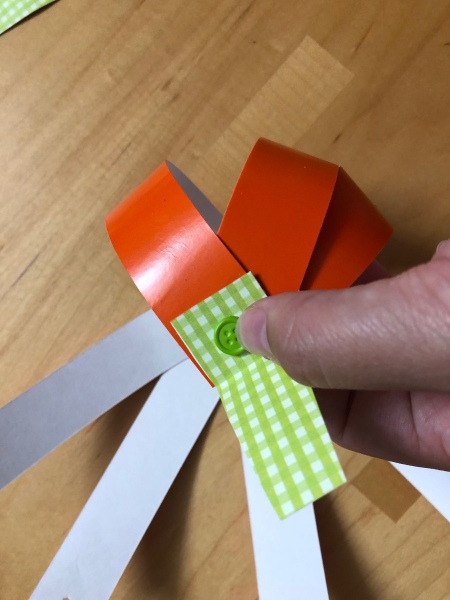
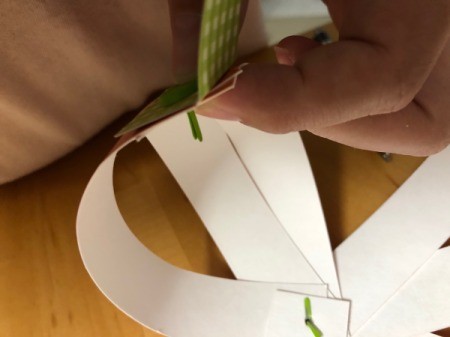
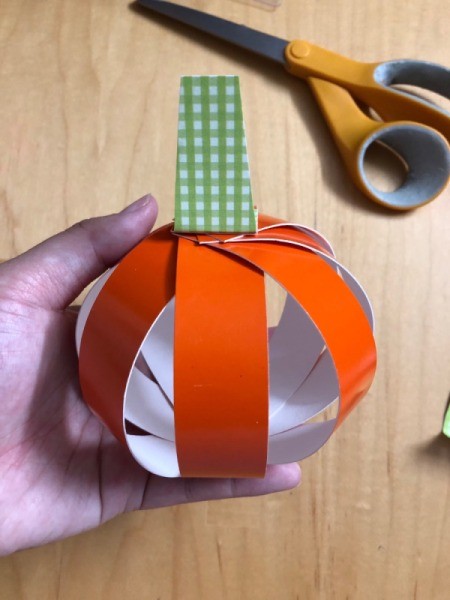
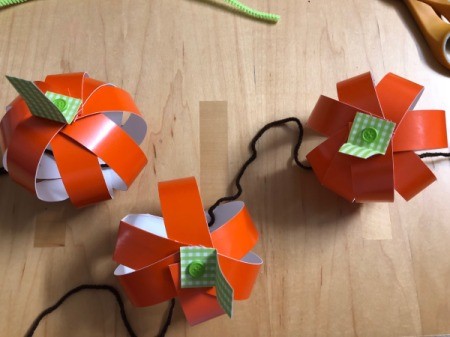
The pumpkins, I made from recycled orange cardboard packaging from a photo company I where had my photos printed. (Shutterfly) The rest of the supplies I already had at home.
Total Time: 45 minutes
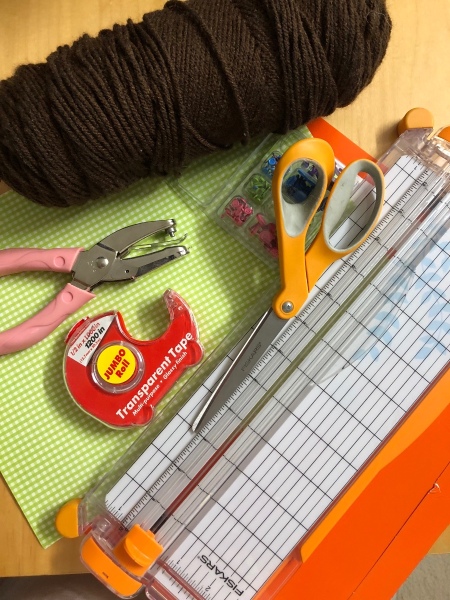
Supplies:
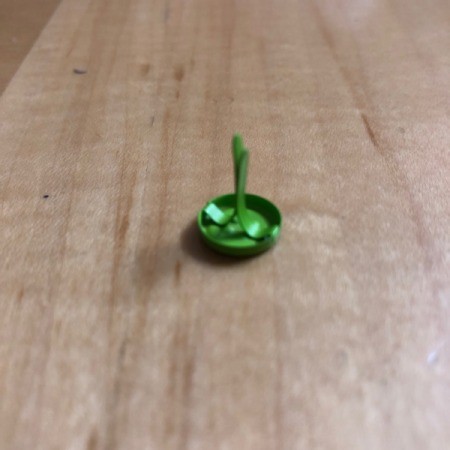
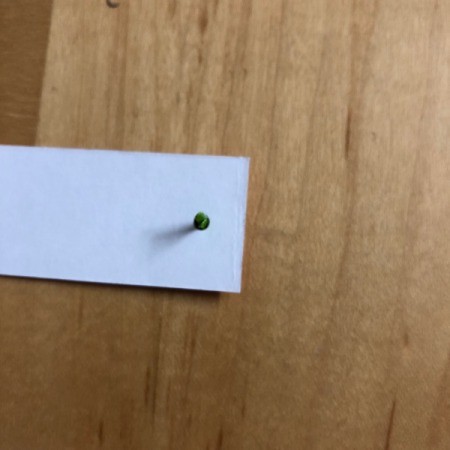
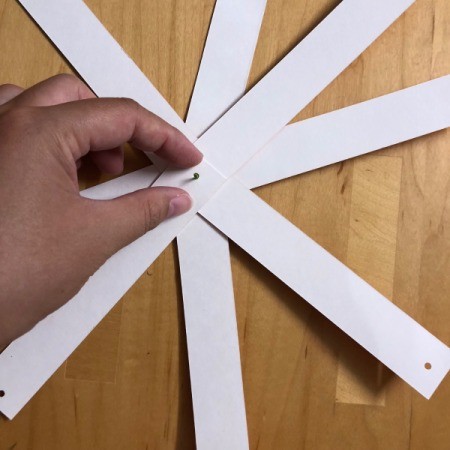
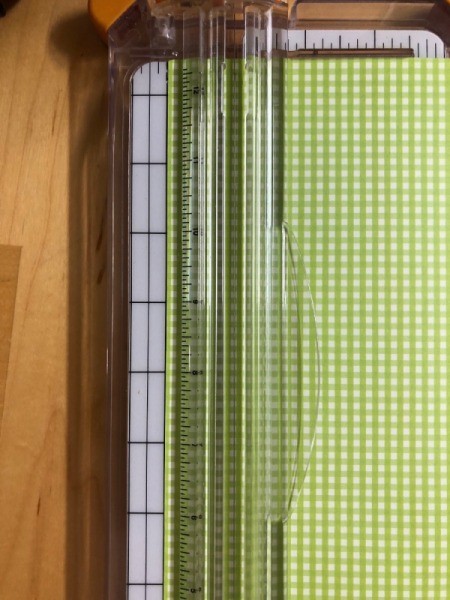
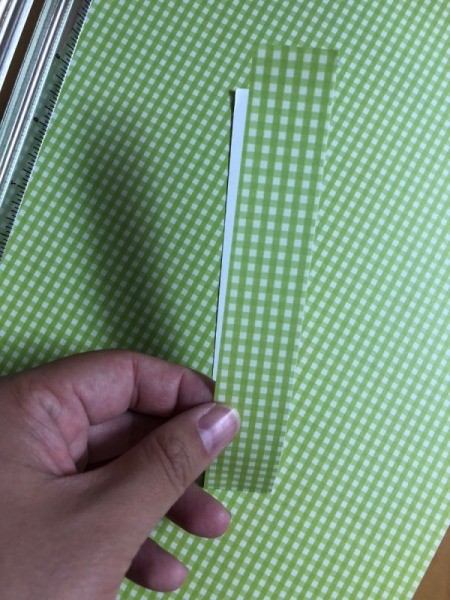
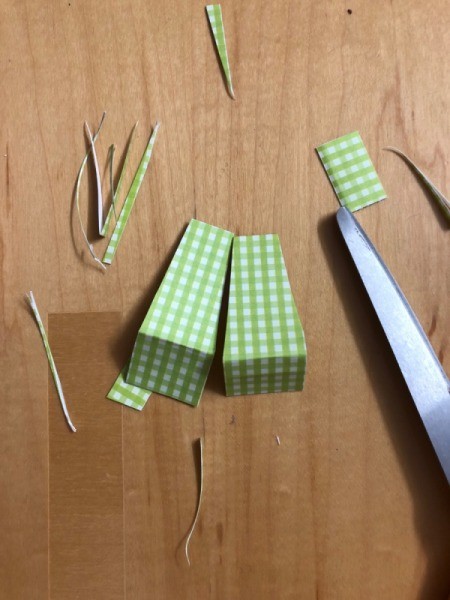
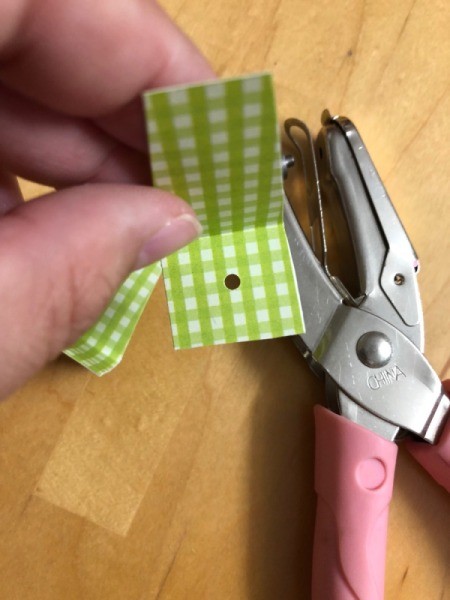
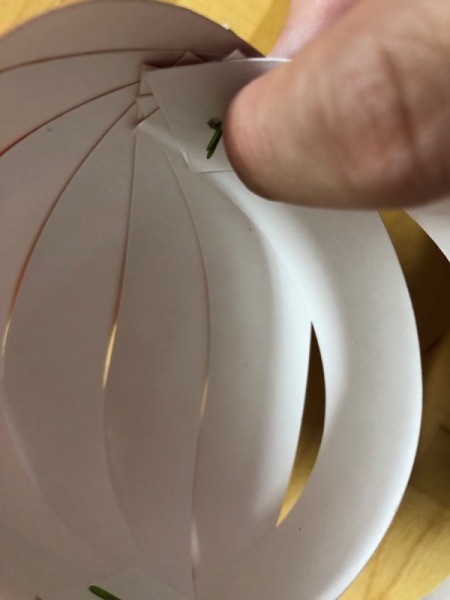
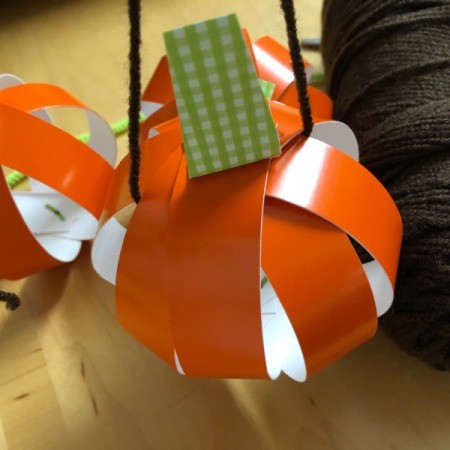
Steps:


Add your voice! Click below to comment. ThriftyFun is powered by your wisdom!
Add your voice! Click below to comment. ThriftyFun is powered by your wisdom!