Benetta
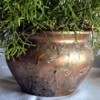
Silver Post Medal for All Time! 408 Posts 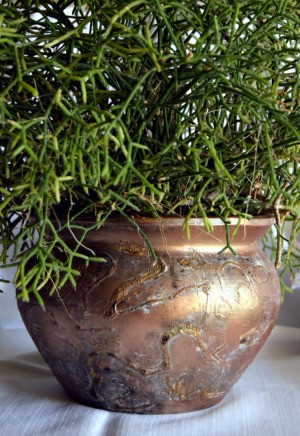 Here is a project that uses painting techniques and a clever trick with glue to turn an old clay pot into a vintage planter.
Note: The pot I used did not have a drainage hole, so I planted the plant in a separate plastic pot that would fit inside the clay pot. Then, whenever I need to water the plant, I can remove it from the clay pot, water the plant and allow it to drain before popping it back into the clay pot.
Total Time: afternoon project, drying time included
Yield: one planter
Supplies:
- unglazed clay pot
- broken white acrylic paint
- thick paintbrush
- candle and box of matches
- Pattex contact adhesive glue
- bronze ink glimmer mist
- Rolkem bronze dusting powder
- bit of vodka
- quick-drying clear matt spray varnish
- old cloth
- two small plastic bowls
- newspaper to protect the working area
Steps:
- Use the old cloth to wipe the pot clean.
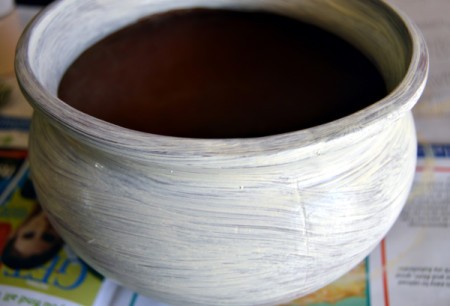
- You will first have to turn the pot into a workable canvas. Give the outside of the pot an uneven wash with the broken white acrylic paint. Do not paint the outer bottom or the inside of the pot, but make sure to paint the top edge of the pot too. Allow to dry thoroughly.
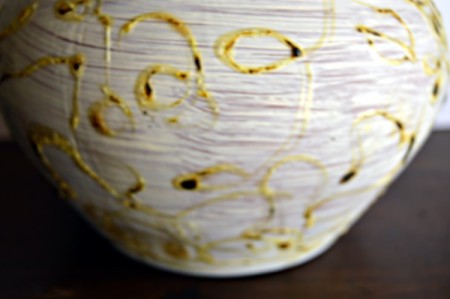
- Time to create some vintage texture! Light the candle first. Apply Pattex to random areas on the pot. While the glue is still wet, use the candle's flame to set it alight, and then quickly blow out the flame. Keep setting it alight and blowing out the flame until the desired effect is obtained. Note: Be careful, the pot might become a hot one to handle.
- Spray some of the ink mist into a plastic bowl and use the paintbrush to apply an uneven layer of ink mist to the pot. Allow to dry thoroughly.

- Now, make your own version of gilders paste. In the second plastic bowl, mix some of the bronze dusting powder with vodka. Use the old cloth to gently rub the paste on to some areas on the pot. Allow to dry.
- Spray the pot with the varnish and allow to dry thoroughly. Remember not to spray the outer bottom of the pot.
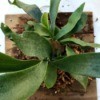
- Add the plant and voila!
Add your voice! Click below to comment. ThriftyFun is powered by your wisdom!
June 5, 20180 found this helpful
That pot is gorgeous!! How on earth did you learn how to do this?? I would love to have a pot or two like this, but as I am being pretty lazy, it's too much work and too many steps for me.
Benetta
Silver Post Medal for All Time! 408 Posts June 6, 20180 found this helpful
Hi LeeAnne67,
I learned how to do the glue technique when I attended watercolor art classes ~ we used it to create texture on rocks and bricks. I have never tried it on a clay pot before, but I love experimenting.
Also, my guilder's paste went dry, so it was another experiment using vodka and the dusting powder.
Add your voice! Click below to comment. ThriftyFun is powered by your wisdom!