attosa
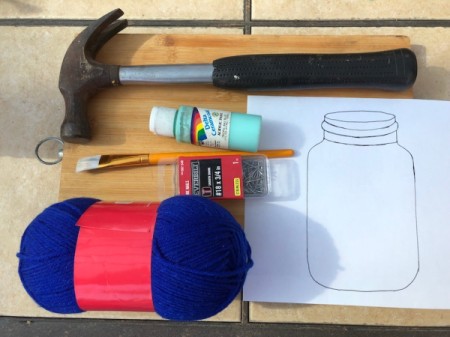
Diamond Post Medal for All Time! 1,246 Posts 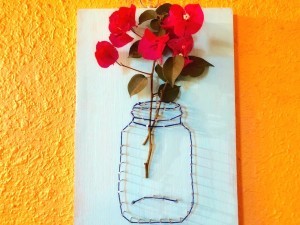 I made this wall-hanging flower vase out of a wooden cutting board that was a bit too banged up to use in the kitchen any longer. I painted mine, but you could leave the wood bare as it's also pretty. I created a mason jar template and traced it with some wire nails, wrapped yarn around the nails, then filled the jar with flowers. I've provided the template below for you to use. Enjoy!
Total Time: 90 minutes
Yield: 1 vase
Supplies:
- 1 wooden board, 8x12" or larger
- paint
- paintbrush
- mason jar template print-out
- wire nails, 3/4" size
- hammer
- yarn
Steps:
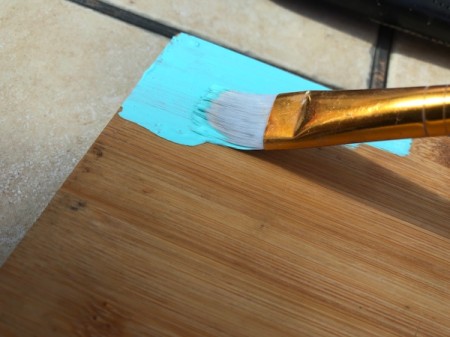
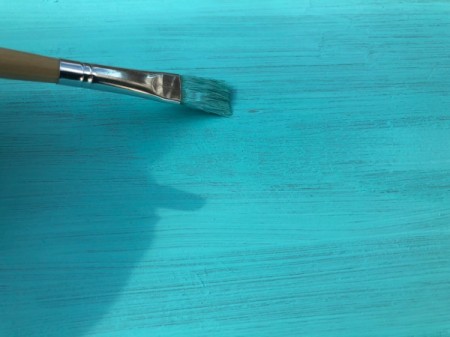
- Paint your wooden board.

- I made deep streaks in mine with a dry paintbrush to create an aged look. Allow to dry.
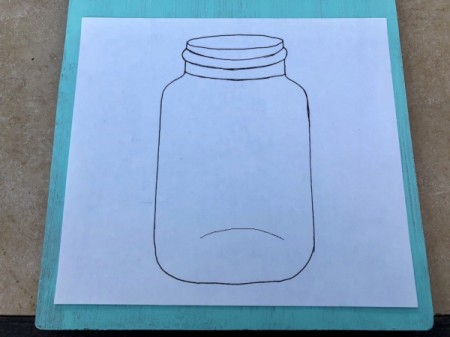
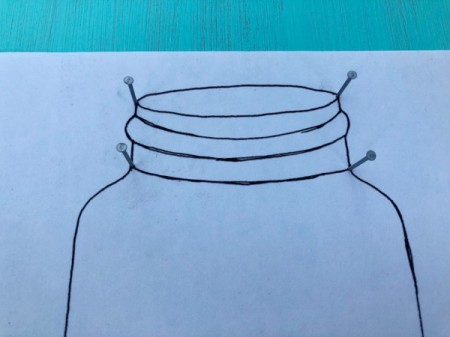
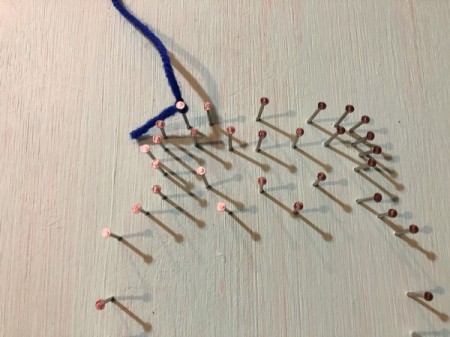
- Place mason jar template on the lower portion of the board.
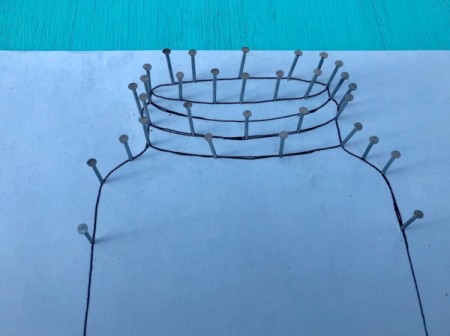
- Begin hammering in nails onto the template lines about halfway in.
- Start with the top corners and make your way down. You'll want a nail at every bend.
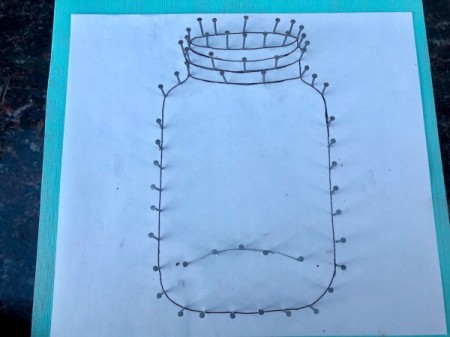
- Add nails down the sides and bottom.
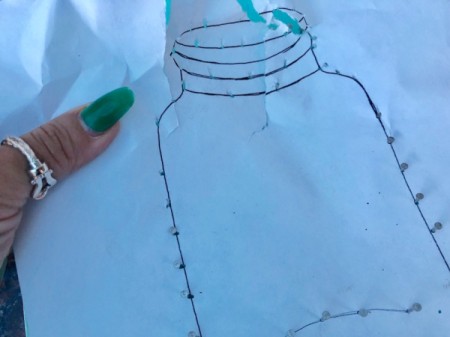
- Gently tear off the paper template.
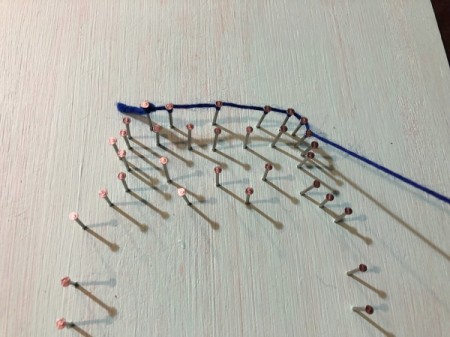
- Tie a knot at the upper left nail.
- Starting stringing the yarn around each nail, wrapping around each just once before moving onto the next.
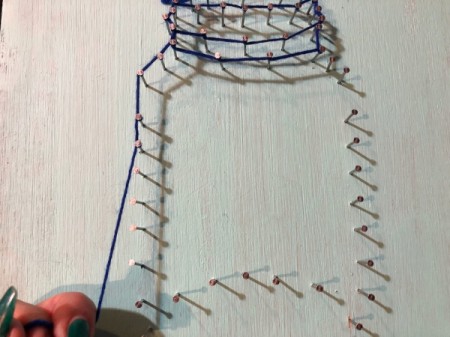
- Zig-zag wrap your way from the top to the side, to the bottom, then back up the other side. Tie another knot when you're done. Start a new knot at the leftmost nail for the line on the bottom back of the jar, go across the line, then tie another knot.
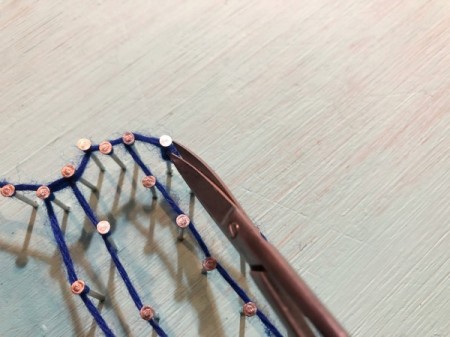
- Snip off all the knot string ends.
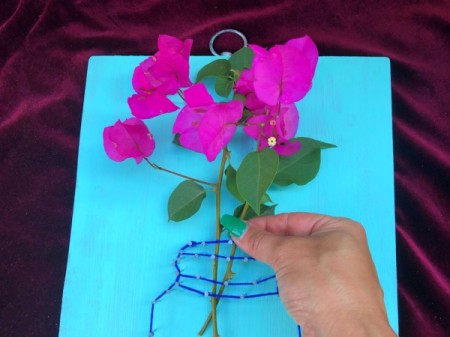
- Place cut flowers into the jar.
- Hang it up on the wall!
Add your voice! Click below to comment. ThriftyFun is powered by your wisdom!
15mhhm15
Diamond Post Medal for All Time! 1,298 Posts June 20, 20180 found this helpful
Very cute! I liked how this turned out. :) I'm a fan of the nail wall art.
attosa
Diamond Post Medal for All Time! 1,246 Posts June 20, 20180 found this helpful
Thank you so much! I am, too. I love strings and yarns in general. :)
Add your voice! Click below to comment. ThriftyFun is powered by your wisdom!