Benetta
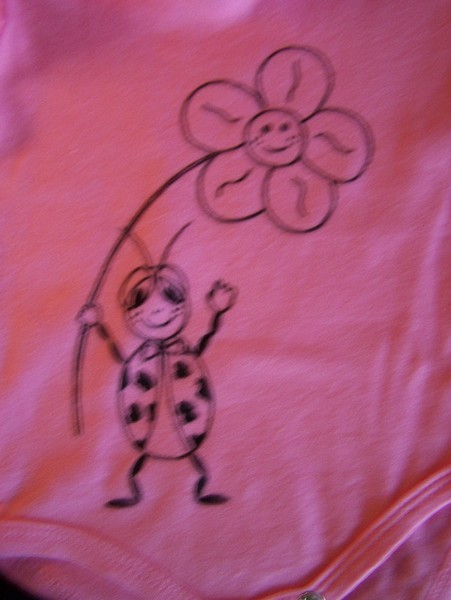
Silver Post Medal for All Time! 408 Posts Create a fun clothing item to welcome a new baby to the world, by drawing a ladybug on an ordinary pink baby-grow.

Approximate Time: 40 minutes
Supplies:
- design included in photo 1 or any other design of your choice
- a pink baby-grow ~ I used one for a baby of 0-3 months.
- Artline 750 laundry marker
- Pentel Fabric Fun pastel dye sticks
- pencil
- piece of old cardboard
- a sheet of unprinted paper
- iron and ironing board
Instructions:

- Before starting with the design project, wash the baby-grow in baby shampoo and rinse it thoroughly in cold water to remove any sizing agent from the material. Do not add fabric softener.
- Allow the baby-grow to dry thoroughly and iron it lightly to remove any wrinkles from the material.
- If necessary, resize the design and then print it out.
- Put the baby-grow flat on the working surface.
- Slide a sheet of cardboard inside the baby-grow, between the back and front sides of the baby-grow, this will prevent the ink from staining the back side. Keep this cardboard in place until you have ironed the design.
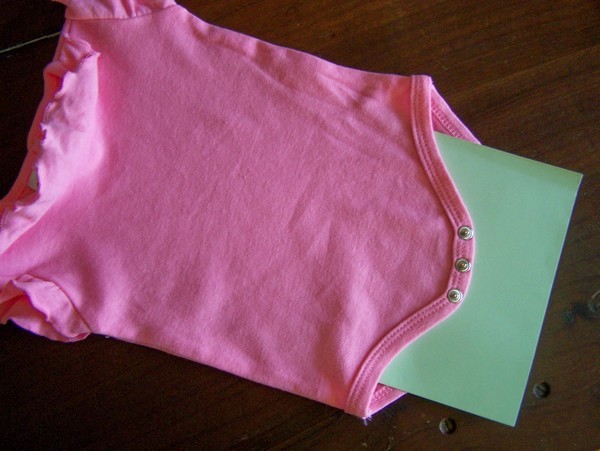
- Put the printed design on top of the cardboard, underneath the front side of the baby-grow, so that the design will show through on the front side.

- Trace the design with a pencil first.
- Now draw the design with the Artline laundry marker.
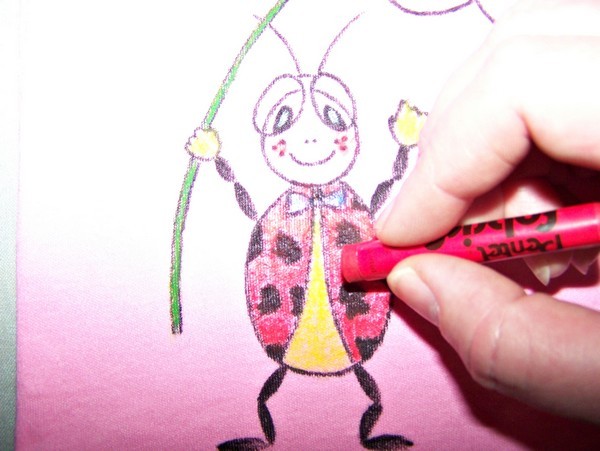
- Add some color to the design: color the bug's wings red; its body and hands yellow; the stem of the flower green; the inside of the flower orange; and add some white and yellow to the flower petals.
- Give the bug and the flower some rosy cheeks.
- Cover the design with a sheet of unprinted paper and iron it to set the dyes.
By Benetta from Pretoria, Gauteng
Add your voice! Click below to comment. ThriftyFun is powered by your wisdom!
Keeper
Gold Feedback Medal for All Time! 690 Feedbacks September 20, 20110 found this helpful
This is so cute and I will certainly put it on my "to do" list. Thanks for photos and easy to follow directions.
Keeper
Benetta
Silver Post Medal for All Time! 408 Posts September 21, 20110 found this helpful
Thanks for the nice feedback, glad you liked it! :-)
Add your voice! Click below to comment. ThriftyFun is powered by your wisdom!