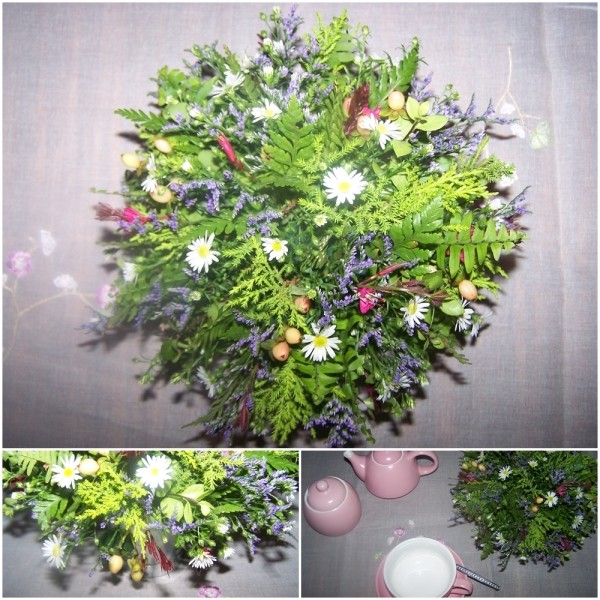
To celebrate the end of our summer break, and the start of a new school year, I invited some of my teaching colleagues for a morning tea. I made some delicious snacks and added miniature floral arrangements to make the day special.
A round floral arrangement has no front or back, so they are ideal to use as centerpieces for a tea table.
Approximate Time: 45 minutes
Supplies:
- one green water-retaining floral foam brick
The brick measures 3 inches x 4.4 inches x 9 inches. It is scored in 3 places for even sizing, but you can cut it to the desired size. See http://www.save-on-crafts.com/artesia.html for a possible supplier.
- galvanized mini tin bucket with a height of 2 7/8 inches
See http://bucket-outlet.com/Obo000.htm for a possible supplier.
- greenery
I used leatherleaf ferns, cypress twigs; pittosporum silver leaf twigs and herringbone ferns, but anything similar will do. Using different types of greens adds texture to a floral arrangement.
- flowers
I used hypericum berries; Limonium (sea lavender), and Michaelmas daisies, but any small flowers will be suitable for this project.
- a pair of standard scissors
- a sharp knife
- a large bowl of water
- one wooden kebab skewer
Instructions:
- Using the pre-cut score lines as your guide, cut off a third of the floral foam brick.
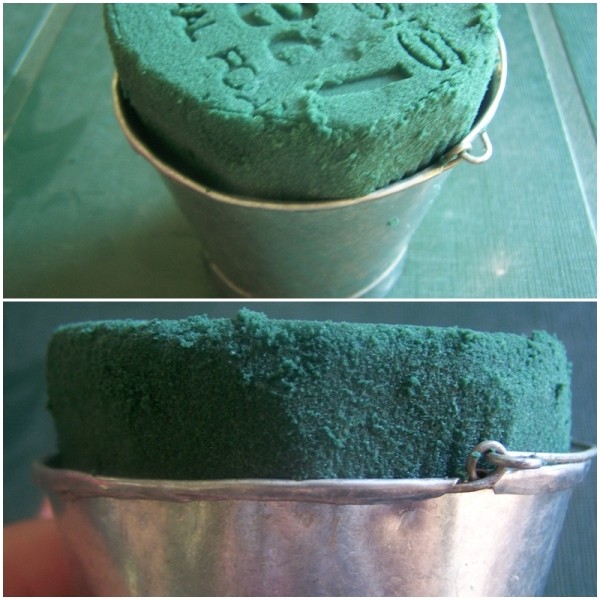
- Soak this piece of floral foam in the bowl of water. Do not push the foam under the water, but allow it to soak up the water on its own, or else it may leave dry spots in the foam which can't be detected from the outside.
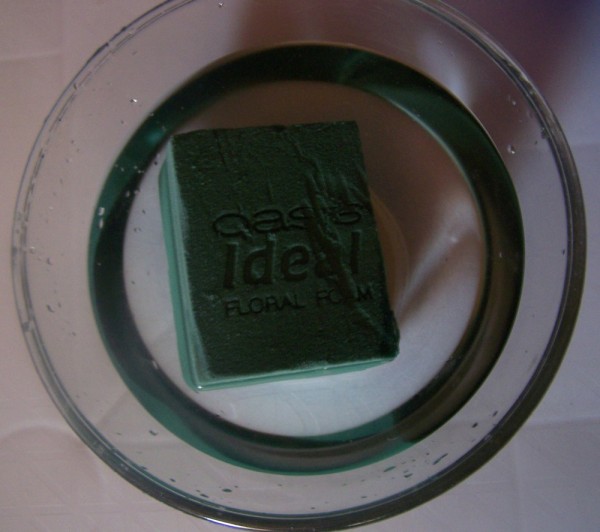
- After 20-30 seconds, or as soon as the top of the piece of floral foam is level with the surface of the water, remove the piece of floral foam from the water.
- Turn the mini tin bucket upside down and gently push the top of the bucket into the piece of floral foam, so that you will have left an imprint on the foam.

- Use the knife and cut the floral foam to the correct size, so that it will fit snugly into the mini bucket. You will have to cut the foam at a slant, to make provision for the fact that the bucket gets narrower towards the bottom. Do not cut away too much at once. Cut a few small pieces away, measure it to the bucket and keep on cutting and measuring until the foam fits into the bucket. The floral foam must not be level with the rim of the bucket, but must be about 1 inch higher than the rim.

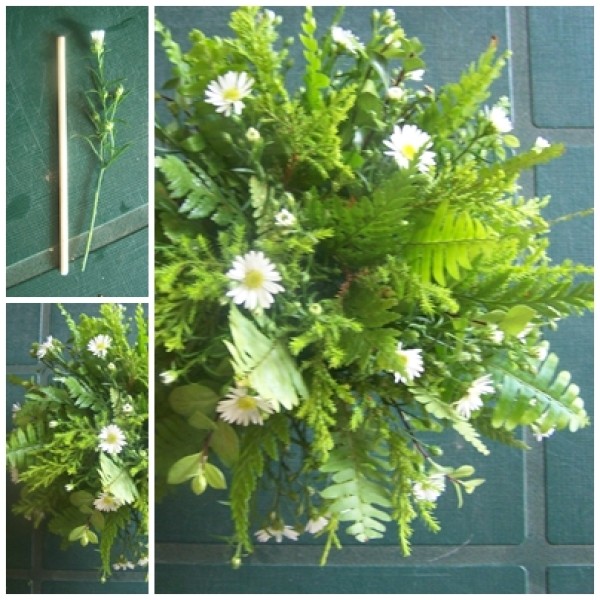
- To make a round floral arrangement, the greenery and flower stems should all be cut to the same length. Using the height of your mini tin bucket as your guide, make a measuring stick from the kebab skewer. Measure a distance of 2 7/8 inches from the one end of the skewer, and make a mark. Then, add 1.2 inches from the first mark and make a second mark; the 1.2 inches will represent the piece of stem that will be pushed into the foam, whereas the 2 7/8 inches will represent the length of the flowers and leaves that will form the decoration.
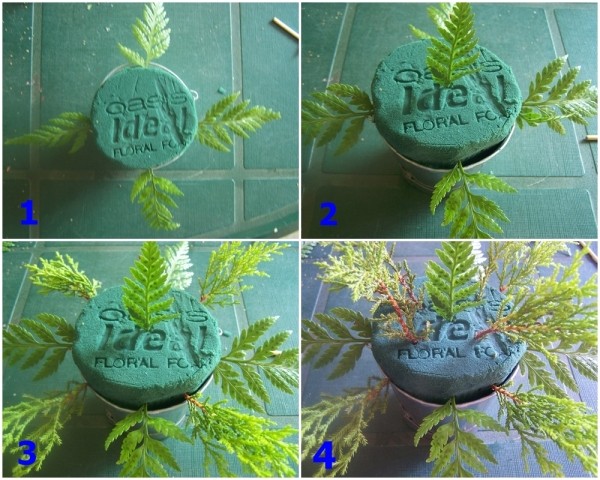
- Use the measuring stick to cut all the greenery stems to the correct size, and remove any leaves from the 1.2 inches part of the stems that will go into the floral foam.
- Gently stick the greens into the floral foam, and press down on each stem until only the 2 7/8 inches is left sticking out of the floral foam. Be careful not to snap a stem when pushing it into the floral foam.
- Work symmetrically; what you do on the one side, do the same on the opposite side of the arrangement.
- Keep on adding greens until all the floral foam has been covered, making sure to keep the circular shape of the design.
- Use the measuring stick to cut all the flowers to the correct size, and remove any leaves from the 1.2 inches part of the flower stems that will go into the floral foam.
- Gently stick the flower stems into the floral foam, again pressing down on each stem until only the 2 7/8 inches is left sticking out of the floral foam. Be careful not to snap a stem when pushing it into the floral foam and remember to work symmetrically.
Tips:
1. When using a small container, as was used in this project, do not use large flowers. Small flowers will lead to a more balanced result.
2. To make the arrangement last longer, add water to the foam daily.
By Benetta from Pretoria, Gauteng