When you get tired of hearing "how far is it now" pull this kit out to entertain them for a while longer. You can personalize it to suit your children or grandchildren.
Approximate Time: varies
Supplies:
- plastic tub with a lid
- felt scraps
- tacky glue
- scissors
- acrylic paints in various colors
- chalkboard paint
- chalk
- old sock
- crayons
- pencils, eraser, sharpener
- notepad
- magnetic sheet
- magnets
- foam brush
- buttons
- heavy string
- colored Sharpie paint pen
- snack size bags
- piece of corrugated cardboard
Instructions:
- Make a pattern of the inside shape of the box. Then use this pattern to cut your cardboard and magnetic sheet.
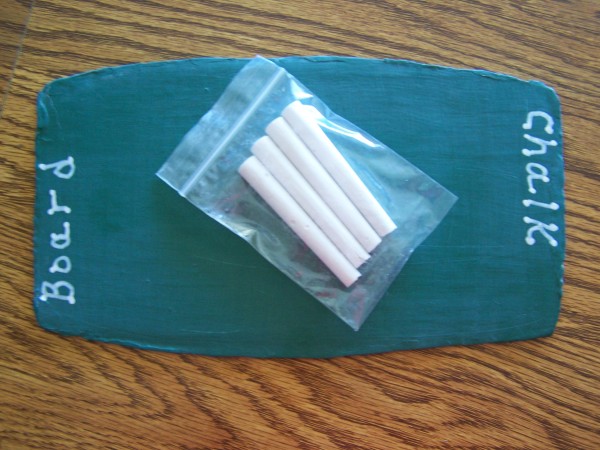
- Paint the cardboard with the chalkboard paint. Apply three coats on each side letting each coat dry.
- Brush the opposite way with each following coat.
- After both sides are painted and dried thoroughly rub a piece of chalk over the entire surface to condition it. Use a soft cloth like the sock to clean it.
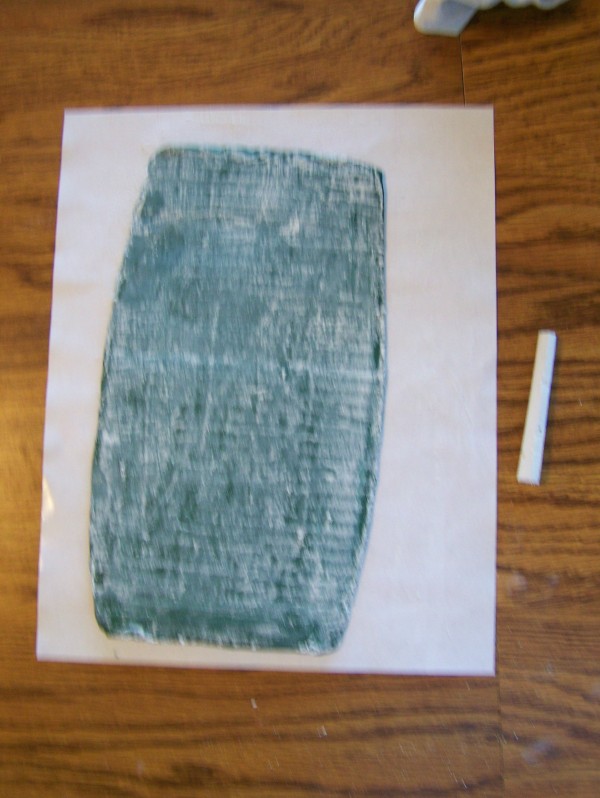
- Lay the chalkboard aside for now.
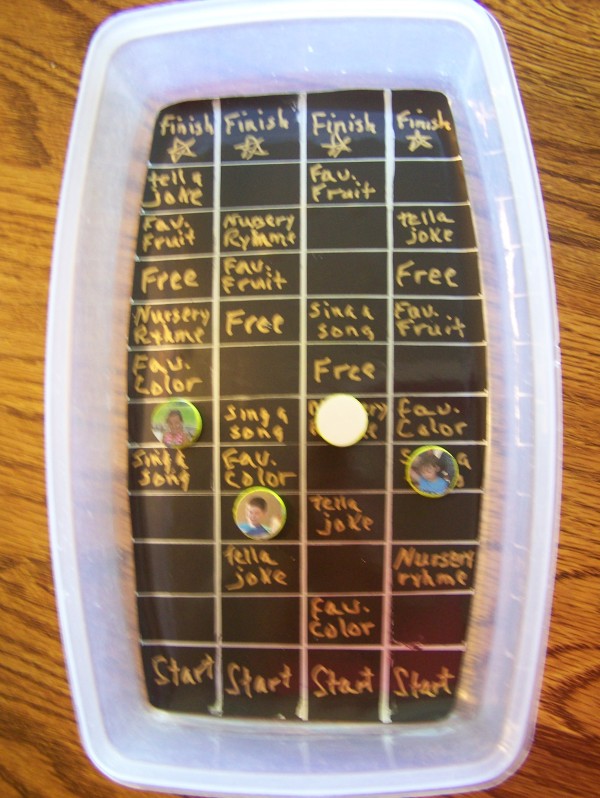
- Divide the magnetic sheet into 1 inch rows both directions and paint a grid. Across one end paint "start" in the first row of squares and "finish" in the other end squares.
- In random squares paint things like sing a song, tell a joke, recite a nursery rhyme and paint one or more that say FREE.
- I left a few blank for the kids to make up their own things for their brother and sister to do for them.
- I printed out a picture of my three grandchildren and stuck them to the magnets after peeling the paper from the magnet; the third I left blank for a guest or mom or dad to use.
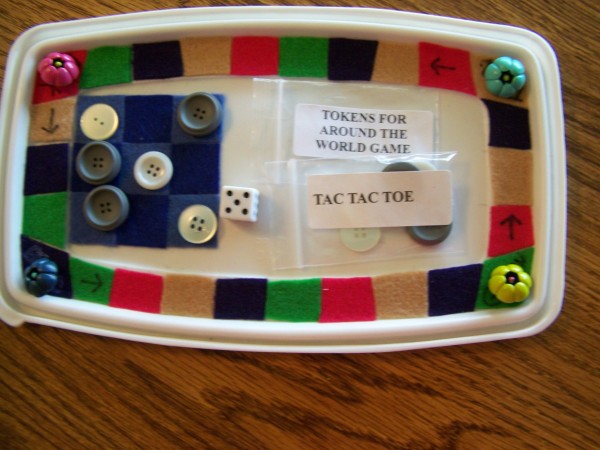
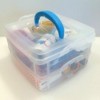
- Peel off the paper from the back of the sheet and press it into the bottom of your container. I added a set of dice and bagged the magnets with the dice.
- On the lid I glued 1 inch squares into a tic tac toe board and bagged 5 gray and 5 white buttons for the tokens.
- For the game around the outside rim on the inside of the lid, I glued squares around 1 inch wide made from different colors of felt. I put a different color in each of the four corners. Then I painted four shank buttons to match the corners, drew an arrow showing them the direction in which to play, and bagged the buttons again adding a set of dice.

- With all of the bags with buttons, I put a label on them telling which game they went with.
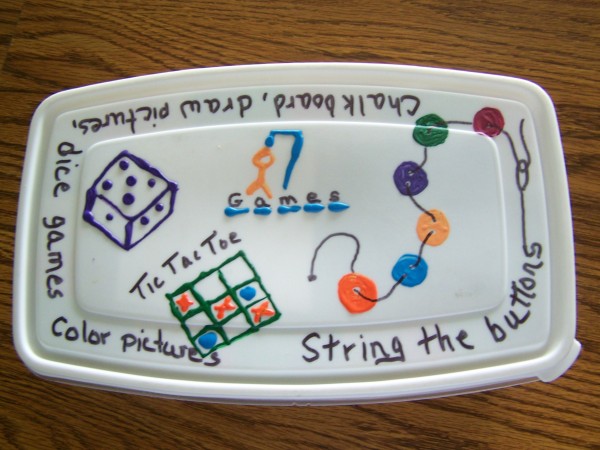
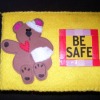
- Decorate the lid however you want.
- I also added a personal note and directions to some of the games taped to the inside of the lid.
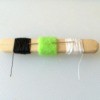
- I always loved stringing buttons so I chose to add some large buttons and a length of all-purpose string which I ran over some wax to stiffen. I tied a shank button on one end and enclosed all in a bag. I made two of these just in case a fight ensued.
- I stuck in a set of flash cards and some pages from a coloring book, you can add anything your little ones like. It is really easy to personalize this activity kit and a great way to entertain them when their batteries go dead on all of the electronic gadgets kids have or don't have.
- You might even stick in a second set of batteries. Have fun making the kit.
By Ann Winberg from Loup City, NE
Add your voice! Click below to comment. ThriftyFun is powered by your wisdom!
September 6, 20110 found this helpful
Thanks, fantastic idea. I love to make games for my girls.
September 6, 20110 found this helpful
I gave my kids the map and had them figure out how long it would take until we would stop for the night. It stopped the continual "How much longer will it take?"
September 7, 20110 found this helpful
Very cool! Makes me wish I had little ones again. But then I breath and it's over...haha.
Add your voice! Click below to comment. ThriftyFun is powered by your wisdom!