social

Making a Newspaper Cone Christmas Tree


Silver Post Medal for All Time! 408 Posts
December 4, 2014

finished tree
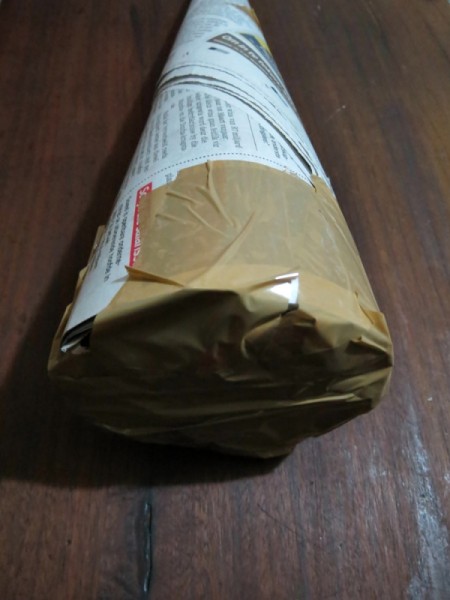
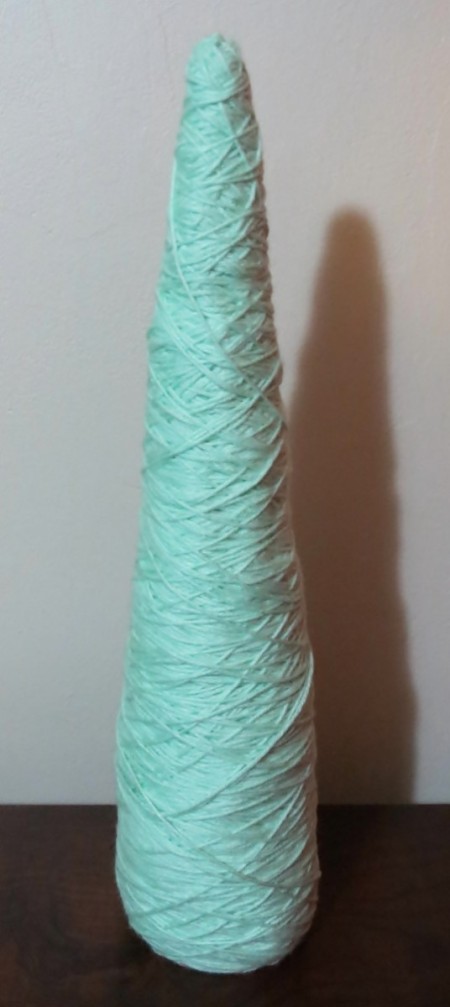
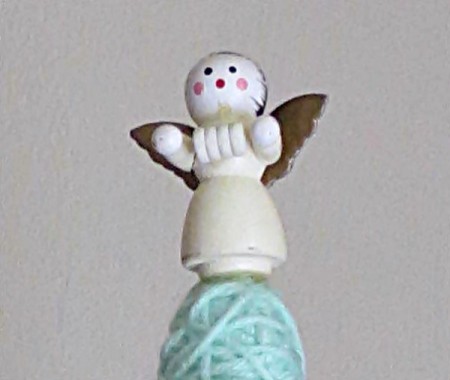
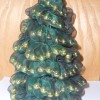
Make thrifty decorations to celebrate this festive season! Turn old newspapers into a Christmas tree. Cover the tree with baby green wool and add some decorations for the necessary bling, and your tree will be ready! Make one, make two, make three, or keep making trees until you have run out of newspapers. You can even make trees of different heights to make a more interesting display.

Advertisement

Total Time: 3 hours, including drying time

Yield: one tree

Supplies:

  • old newspapers
  • 1 ball baby green double knitting wool
  • one unglazed terracotta flower pot
  • 60 in 1" wide red and gold ribbon
  • red Christmas bead garland
  • small round 10mm multi-faceted colorless beads
  • sewing pins with colored heads
  • red 15mm sized pom-poms
  • small wooden angel
  • red and silver stars
  • small garden pebbles
  • hot glue gun and glue sticks
  • quick-drying craft glue (such as Bostik Clear)
  • standard scissors
  • packaging tape

Steps:

  1. Roll the newspaper into a cone and use packaging tape to keep it in position.
  2. making paper cone
     
  3. Use the scissors to trim the bottom evenly so that the cone will be able to stand on a surface.
  4. cutting bottom of cone
     
    Advertisement

  5. Scrunch pieces of newspaper into small balls and add to the inside of the cone, until the whole cone has been filled. This will make the tree sturdier. Use packaging tape to seal the bottom of the cone, so that the scrunched newspaper won't come out again.
  6. closing up bottom with tape
     
  7. Use a piece of packaging tape to fix the one end of the wool to the bottom of the cone.
  8. Wind the wool in a criss-cross pattern tightly all around the cone.
  9. Continue winding the wool all around the cone until you reach the end of the wool. Use a small piece of packaging tape to fix the end of the wool to the bottom of the cone again.
  10. wool wrapped tree
     
    Advertisement

  11. Hot glue the one end of the ribbon to the pot and wrap the ribbon all around the pot. Once the pot has been covered, cut off the remaining ribbon and hot glue the second end of the ribbon to the pot.
  12. Fill the pot with small garden pebbles to add some weight to the pot.
  13. Hot glue the tree to the pot and allow to dry thoroughly before continuing with the next step.
  14. Use the remaining ribbon to make a bow and hot glue it to the pot.
  15. Wind the bead garland around the tree and secure the ends with the glue gun.
  16. Use the beads to add Christmas baubles to the tree ~ pin them to the cone using some of the sewing pins.
  17. Use the craft glue to glue the stars and pom-poms in place.
  18. Finish it off by gluing the angel to the top of the tree.
  19. angel on top
     
    Advertisement

Comments

December 5, 20140 found this helpful

Luv it!

 
In This Page
Categories
Crafts DecorationsNovember 29, 2016
Pages
More
🐰
Easter Ideas!
🌻
Gardening
🍀
St. Patrick's Ideas!
Instagram
Sub-Categories
AdviceBaking TipsBooksBoxing DayBudgetCardsCharitiesChristmas RecipesCleaningCooking TipsCraftsDecoratingDietingGamesGift WrappingGiftsHelpful HintsHosting TipsLinksMiscellaneousMy Frugal HolidayOrganizationParentingPartiesPhotosPlanningSanta TipsShoppingStocking StuffersTraditionsTravel
Published by ThriftyFun.
Desktop Page | View Mobile
Disclaimer | Privacy Policy | Contact Us
Generated 2024-02-18 23:20:17 in 6 secs. ⛅️️
© 1997-2024 by Cumuli, Inc. All Rights Reserved.
https://www.myfrugalchristmas.com/Coned-Newspaper-Christmas-Tree.html