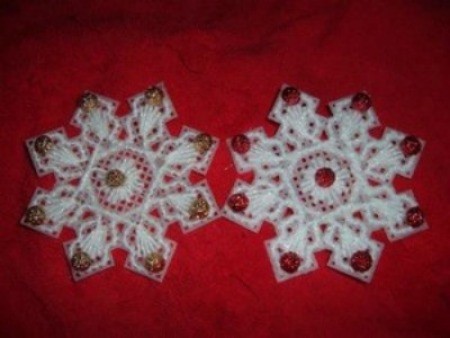
Cut plastic canvas snowflakes with yarn and beads.
Approximate Time: 30-45 minutes
Supplies:
- plastic canvas snowflake shapes
- yarn of your choice with needle
- beads of your choice
- alternate items: button, glitter, etc.
- felt if you need it
Instructions:
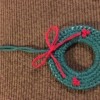
You can find just about any plastic canvas shape nowadays. I found these at a thrift store and "fancied" them up.
- After determining your color choices, single thread some yarn (I suggest baby or smaller ply holiday yarn) on the needle.
- Because the hole count is almost always an odd number for these (so you have a center), you can start from the center and go out, knowing you won't be larger on one side and not the other. You can copy my lead as for where to put the yarn and which design to choose, or you can get creative and run the yarn through your own design.
- The plastic is designed to be seen through, so I suggest you try and have the yarn you use be in two long strands, so when you use up the first one, you can work the tail into the new take-up yarn. If you want to have several colors on each one, keeping in mind this is a snowflake, then you might want to work them in as best you can and then back it with felt.
- The beads I used were from a 20 foot strand I got at Big Lots. It's the kind that is glued on, but I found that toenail clippers worked great for separating them closest to the bead so almost none of the stand shows.
- After all the yarn work is done, just hot glue the beads on where you choose, and hang from the tree, the door, or give as gifts.
Alterations: If you can't find the beads you want, you can simply drop some glue onto a small dot of felt. Let it dry, then glue it on. Why the dot? If you drop it on the canvas, it will drip through and not dry in a nice little "bubble". For a country look, simply use buttons where you might put the beads.
N-JOY!
By Sandra from Salem, OR