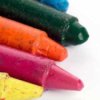
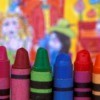
I have a large amount of old crayons from a Sunday School class. I would love to use them up to make something for the kids in my class. Someone suggested melting them in cookie cutters to make shaped crayons. Any ideas on how to do this, or other uses?
Remove the paper from the crayons, melt them down and use them to make candles.
I used to put 2 or 3 broken crayons in cupcake papers and heat them in a muffin tin at a low oven temp. When they melt and swirl together.... Voila! multicolored crayons! Thesr are great for rubbings. Leaves, zippers etc.
You can use them to add color when making candles.
You can shave the crayons w/ a peeler into small flakes. Then place the different colored shavings between to sheets of waxed paper & run a warm iron over it to create a suncatcher. These can be cut into shapes, sealed at the edges w/ a glue stick. Add a hole punched in the top for hanging. You can mix the crayon shavings or keep each color in a small plastic container.
Many years ago. my mom put my old pieces of crayons in clear plastic pill bottles and melted them in the oven. I imagine if you keep an eye on them and use a low temp this could work. When she took them out she pierced a hole in them and we strung them on string or leather and they made for a cool medallion.
Here are the questions asked by community members. Read on to see the answers provided by the ThriftyFun community.
Why does it take colored crayons longer to burn than white crayons?
Ronald from Savannah, Georgia
You shouldn't use crayons to make candles cause the dyes are flammable and could cause serious injury. That is why it takes longer due to the amount of pigment and whether it can pass thru the wick without clogging it.
I don't understand denise w's explanation of why crayons shouldn't be used to color candles. Candle wax is also extremely flammable; both candles and crayons are made from parrafin as their base (unless you have the newer soy wax candles). Several craft instructions I have say to use crayons to color the wax when making candles, and I was told that the pigment sold to color candles is the same that's used for making crayons.
I don't get the question - burning how? And as far as candles go, in my many years, I've never used anything BUT crayons to color them. I would guess they take longer to burn that way because they (crayons) aren't pure paraffin.
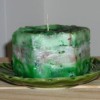
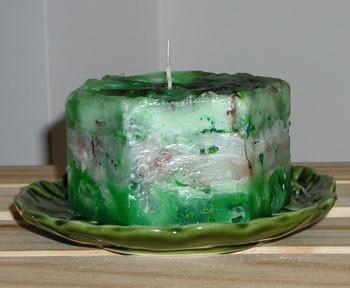
Recycle those broken crayons by making colorful candles. This is a page about making crayon candles.
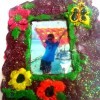
Bits of broken crayons are melted and poured onto a piece of waxed paper that has the basic frame design drawn on it. Add additional elements using different colored crayons.

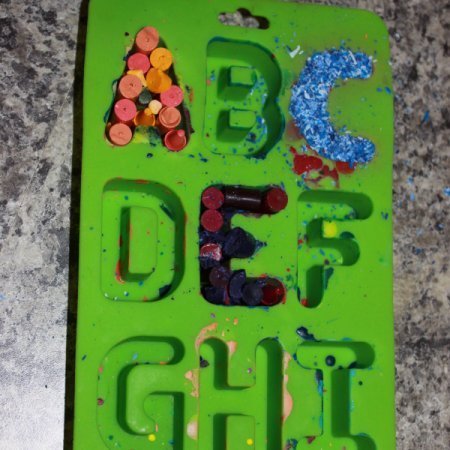
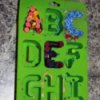
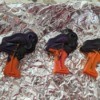
These Halloween themed molded crayons are a great way to use up old, broken crayons. They are a great kids craft or a perfect candy alternative to hand out on Halloween.

This is a page about painting with wax crayons. If you are looking for a new art technique that is not too expensive, try painting with wax crayons.

This is a page about making recycled crayons. Don't throw away all of those broken crayons; make new ones.