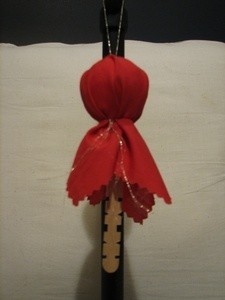
 For a fun Halloween treat, you will need Tootsie Roll Pops, squares of white fabric, rubber bands and a black Sharpie pen.
Cut the fabric into 4 inch squares. Place over Tootsie Roll Pop so the Pop is in the center of the fabric.
Here are the questions asked by community members. Read on to see the answers provided by the ThriftyFun community.
I would like some Tootsie Roll Pop craft ideas.
By Karen Fortner from Port Orchard, WA
Try searching on Google for websites.
There are a few here at ThriftyFun in the archives but here is my Christmas Tree Tootsie Pop Ornament craft:
www.thriftyfun.com/
We just did one as an office warming gift for the new pastor.
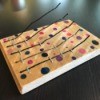
Took a small sized real pumkin, took a small drill it, drilled holes all over it in a pattern, stuck in dumdum suckers so that as new people came into meet him, he could offer them a sucker.
I have posted a valentine decoration using tootsie pops, could be altered for any holiday.
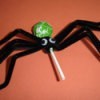
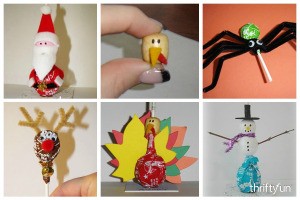
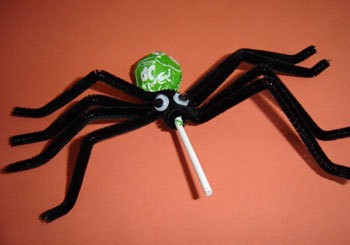
Spider treats are always a hit for Halloween. Make some spider Tootsie Roll Pops for your favorite little monsters this Halloween.
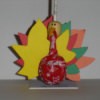
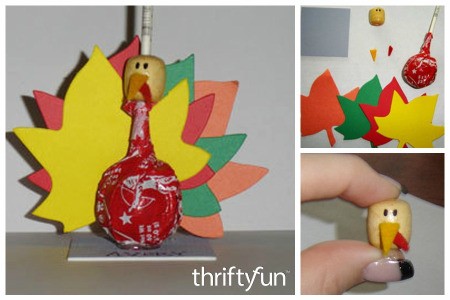
This is a page about making a Tootsie Pop turkey. Tootsie Pops can be decorated for various holidays as a fun seasonal treat.
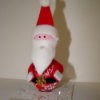
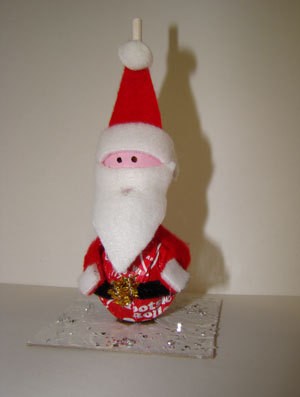
This is a page about making a Tootsie Pop Santa. Tootsie Pops can be easily decorated by you and your children to make a cute tasty Santa.
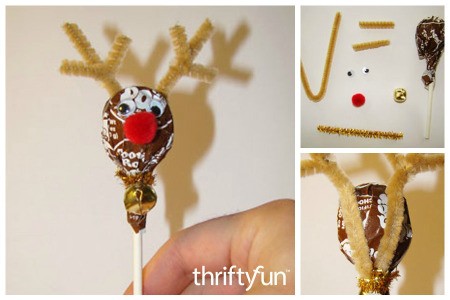
This is a page about making a Tootsie Pop reindeer. These easy to make, cute Tootsie Pop reindeer are perfect to use for stocking stuffers or party favors.
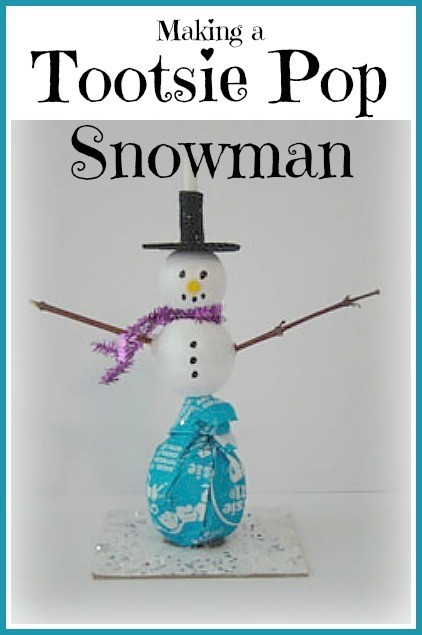
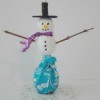
This is a page about making a tootsie pop snowman. Holiday candy treats are popular with everyone. This tootsie pop snowman is an adorable craft Christmas decoration and a tasty treat.