 Just pick the flowers with the stems on and put them in a vase of water. Leave them in the vase and replenish the water as needed, until the daffodil flowers are completely dry. It takes about a week. I don't know why they dry so well this way, but it is simple and works great. I use the dried heads in wreath making.
By anne from Green Bay, WI
Here are the questions asked by community members. Read on to see the answers provided by the ThriftyFun community.
How do you dry a rose to keep it forever?
Cassie from Dublin
Try Dry Ice.
How do you dry hydrangea flowers? I have them hung upside down and do not know what to do next. Thanks.
By susan
You can use your microwave to dry flowers more quickly than other methods. There are a few mediums you can place them in for this process. Silica gel is a good choice, but you can also use kitty litter or a combination of equal parts borax and cornmeal.
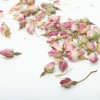
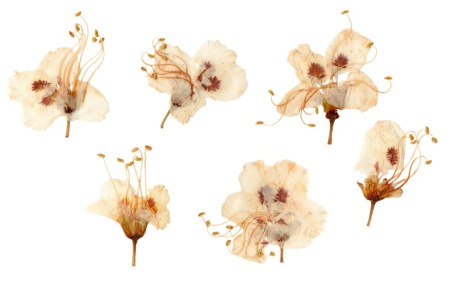
This is a page about how to press flowers. Pressed flowers can be used in many craft projects. Pressing them is also a way to preserve special blooms.
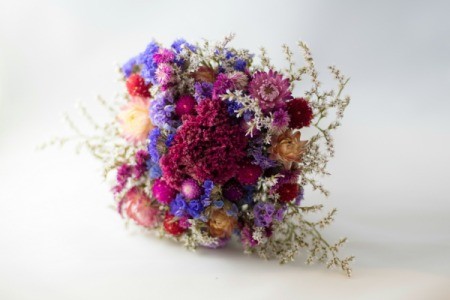
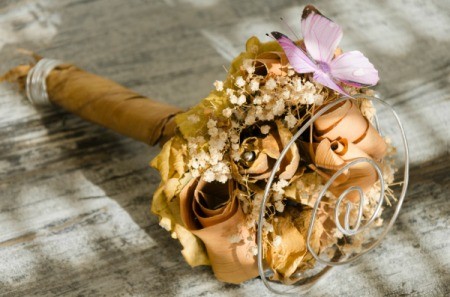
This is a page about drying flowers in a bridal bouquet. One way to preserve your bridal bouquet is by drying the flowers.
ThriftyFun is one of the longest running frugal living communities on the Internet. These are archives of older discussions.
We have beautiful flowers in our country like roses and carnations. I would like to dry them without changing their color. Any ideas how I can do it? Thanks.
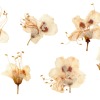
Tips and ideas for drying flowers. Feel free to post your ideas.