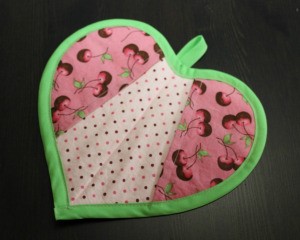
 We needed new potholders and decided that making my own would be the best way to get exactly what I wanted. Plus, the handmade ones from my mother have held up so much better than the store bought ones. These potholders are easy to make and can easily be customized for your kitchen.
Total Time: 45 minutes
Yield: 1
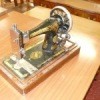
Supplies:
Click Here to download a printable (PDF) version of the template.
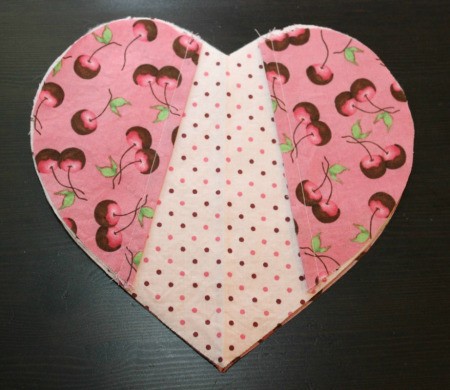
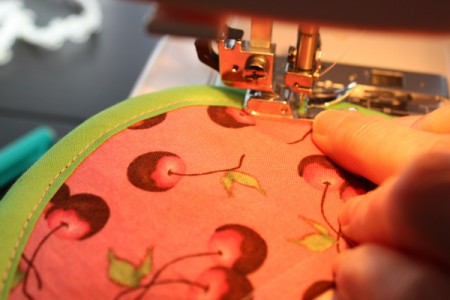
Steps:
Add your voice! Click below to comment. ThriftyFun is powered by your wisdom!
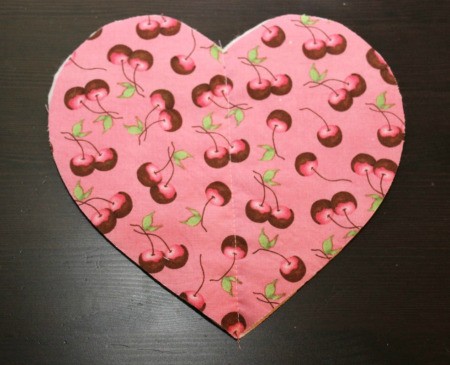
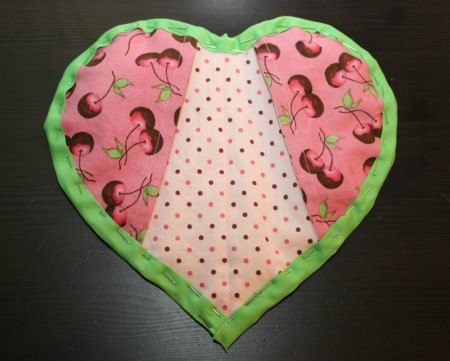
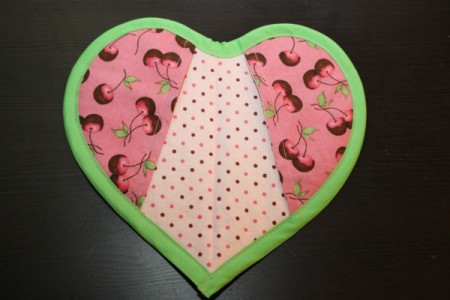
What a great tutorial! The potholder is so cute too, I love the fabrics you used, and the design is so smart to use the contrast fabric to create a sort of pocket for the user's fingers.
I don't think I have anything as cute as your fabrics lurking in my scrap bag, but I am definitely going to make several of these heart pot-holders with what I do have using your tute.
I hope you win, this is really well done!
Editor's Note: Please post a photo of your completed potholders when you get them done.
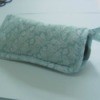
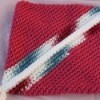
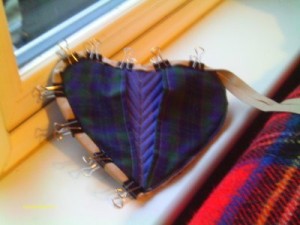
I dug through the craft-sewing stash and found I could adapt the pattern and instructions to work with what I had on hand. I didn't have enough of the tartan to do the back of the pot holder so the blue is front and back. I had to improvise on the batting, too as all I had on hand was high loft polyester batting so for heat protection I used two thickness and I had to quilt down the double thickness of high loft batting to reduce bulk.
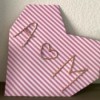
That adjustment meant I then had to place the heart halves a bit differently to hide my clumsy quilting; I'm also ending up having to hand sew the bias tape on because I only had single fold on hand-that doubled high loft batting was still fairly bulky even after the quilting so getting that tape on is only possible by hand.
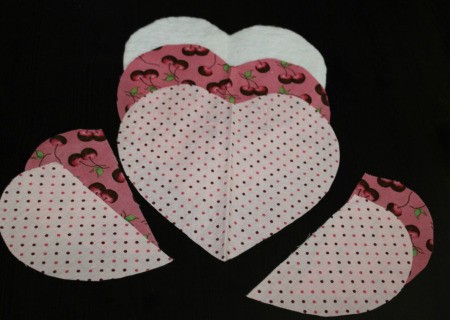
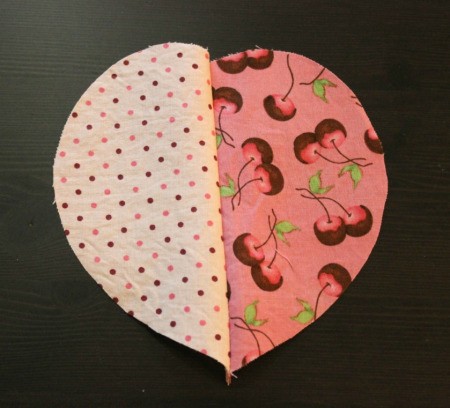
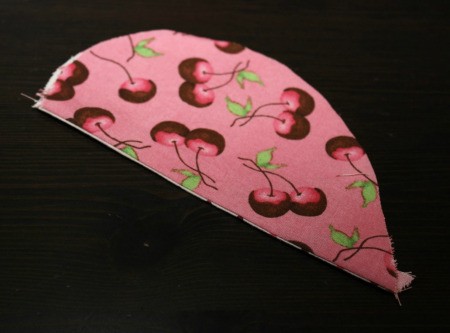
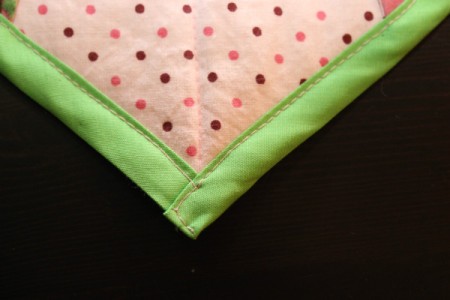
The instructions were easy to follow-I did have to remember to use a 5/8ths seam allowance when joining the heart halves, and to 'flip' the pattern when cutting those out so that both of the contrast fabric pieces would end up on the outside.
I'm posting a pic of it with the tape clipped on to show construction progression. My husband really likes these because they aren't frilly and because the materials came out of my stash, lol!
I like the ones I made so well that I am ordering proper supplies to make more-these would be wonderful bridal shower, hostess, and housewarming gifts.
Add your voice! Click below to comment. ThriftyFun is powered by your wisdom!