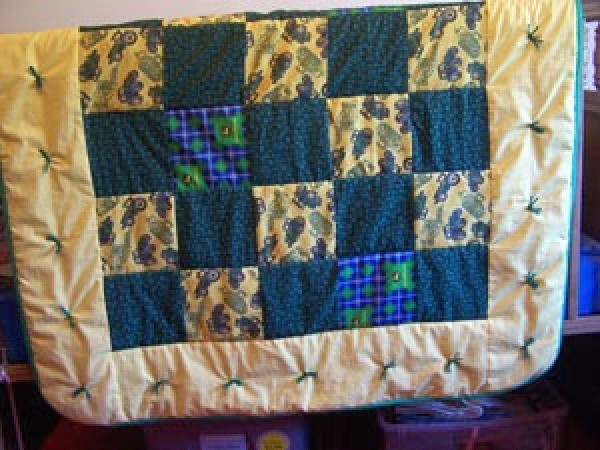
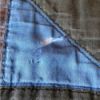
How to sew binding on a baby quilt (it could be a big quilt also) without having to bother with doing mitered corners. Mitered corners are hard to get just exactly right and if you are a perfectionist and want it to look just so, then you should try this method.
Directions:
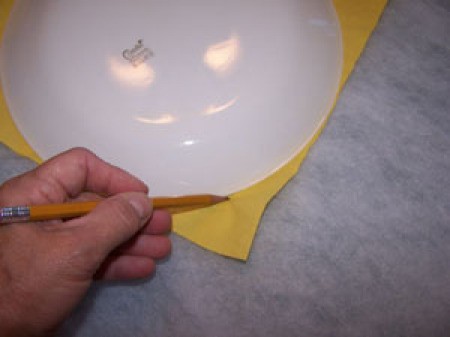
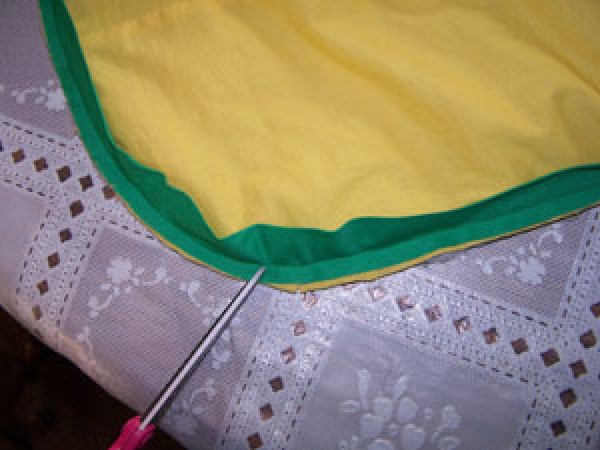
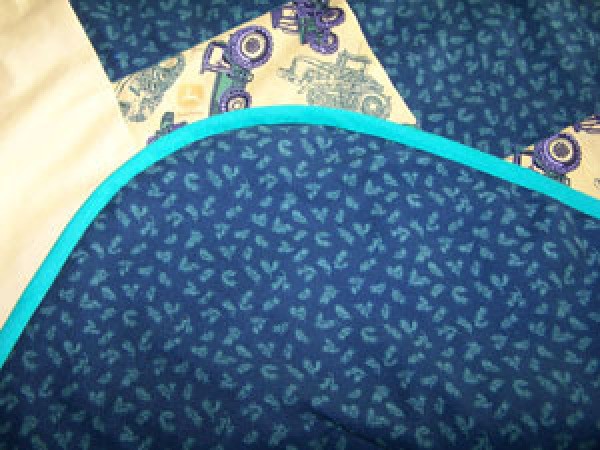
- Using a dinner plate trace around it at the corner. Cut the excess fabric off forming a rounded corner of the front fabric only. You can cut off the excess of the back after the binding has been machine stitched around.
- Have your binding all made and pressed. I always fold mine and use it doubled. Sew the edge of binding onto the quilt and ease around the rounded corners using slow speed on sewing machine, guiding the fabric as you go with your hands. Remember you are sewing the binding on the front of the quilt. Cut off excess batting and fabric at the corners and around the quilt evenly.
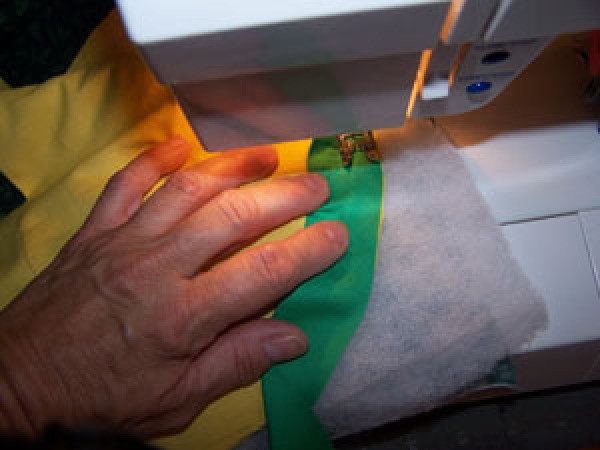
- Clip the fabric around the curve to keep it from forming folds and wrinkles when you fold it over to the back to hand stitch. This will make it lie real flat. Be careful not to cut into the stitching line of your sewing.
- Fold the binding in half unto the back of the quilt and hand stitch around using very small invisible stitches. Always check the front to be sure your stitches do not go through and show on the other side. Use matching thread. Do not pull too tight. When you get to the end where you started to sew it on, hide stitches underneath. Tie a knot in the thread and tuck under the hand stitching.
- Press the binding and you are finished. I always tie my layers together before I sew the binding on.

I love this method. I can do the mitered corners, but since I have discovered this method I never do mitered. I'll never go back. It doesn't affect how the quilt looks at all in my opinion.
Thanks.
Donna
Add your voice! Click below to comment. ThriftyFun is powered by your wisdom!
Elaine
Bronze Post Medal for All Time! 172 Posts March 4, 20090 found this helpful
That is a wonderful idea! So simple and I ask myself why didn't I think of that! Thanks for the tip!
Add your voice! Click below to comment. ThriftyFun is powered by your wisdom!