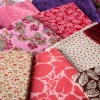
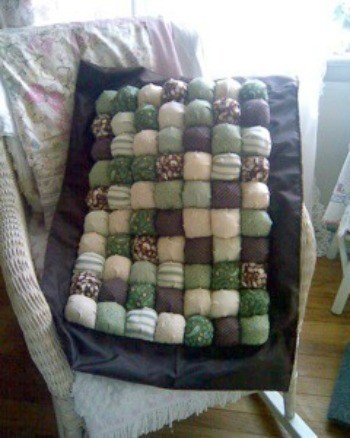
Here is a picture of a biscuit quilt (crib size) I made for a friend whose nursery was brown and greens. They are so fun to make! Just cut your squares (great use for scraps)! The top one should be about 1 inch larger than the bottom square.
For instance I made mine 4 1/2 inches for the top individual squares and 3 1/2 inches for the bottom ones. Pin one top square to one bottom square making a pleat in all four sides. Pin. Then sew around as for a pillow leaving space for turning. Remove pins, turn and stuff with a bit of polyester fiberfill. Don't stuff too tightly, you want it nice and "squishy." I find this very relaxing to do while sitting down watching TV or on a road trip.
By Carol Young from Landisville, PA
Add your voice! Click below to comment. ThriftyFun is powered by your wisdom!
Not sure where the rest of the instructions went, but here they are:
After making your "biscuits", whipstitch them together side to side in rows, then joining rows according to how you want the top to look. Once top is complete, pick a coordinating fabric (I chose brown) cutting it larger than the size of the quilt top by the number of inches you want for a border (I did about 4").Lay it under the quilt top, top right side down and pin.
Beautiful! I love the colors.
Hi
I love the biscuit quilt. I teach creative crafts and am always looking for easy projects. My students had great fun making variations on this theme. Any more wonderful ideas?
Julia: I would think the biscuits would make cute purses. Just use 9 for the front and either do a coordinating fabric for the other side, or both sides could be biscuits. You might want to line the inside.
I bet you could do the same thing with fabric yo-yo's. You could stuff the yo-yo's with polyfil and then pull it together to make it round, then sew them together and make a quilt.
Zig
Add your voice! Click below to comment. ThriftyFun is powered by your wisdom!