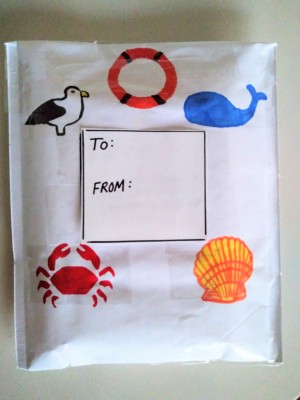
 Here is a fun way to turn inexpensive bubble mailers into custom designs. This one was created using stencils. I recommend brush tip markers so the stencils don't move. Your artistic touch will make your mail more personalized and colorful. The receiver will be happy to receive their mail. Relaxing craft for kids and adults ! :)
Total Time: 20 min.
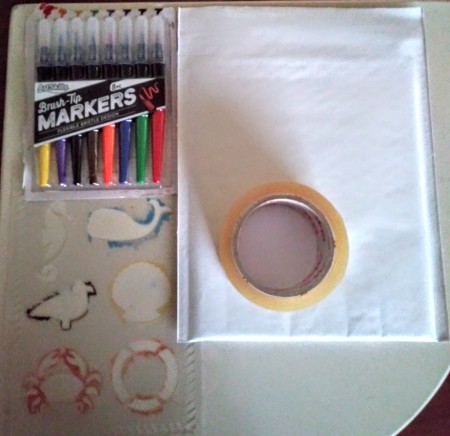
Supplies:
Directions: