 I have been trying all types of air-dry clay recipes and none of them seem to be working and when you use them, the clay cracks and breaks easily. I happened to run across a recipe a few months back that I just love. I found this recipe by accident when I was looking for some new ideas to use in my garden. I gave it a try because you didn't need to cook this one. It was the best clay recipe I have found so far and it is so easy to make.
Total Time: 20 minutes
Yield: Large ball of modeling clay
Source: I found the recipe I am using on a site called Clay It Now.
Supplies:
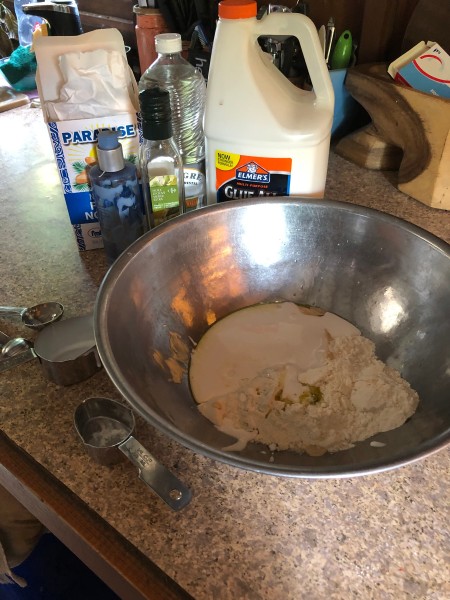
- 1 cup flour
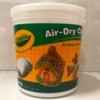
- 1/2 cup Elmer's glue
- 1 Tbsp olive oil
- 1 Tbsp vinegar
- 1 Tbsp hand lotion or Vaseline
- 1/2 cup water
- 1/3 cup corn starch
- 1/3 cup flour, more if needed

Steps:
- In a large mixing bowl add the first 5 ingredients and mix well with a spoon. The ingredients are listed in order.
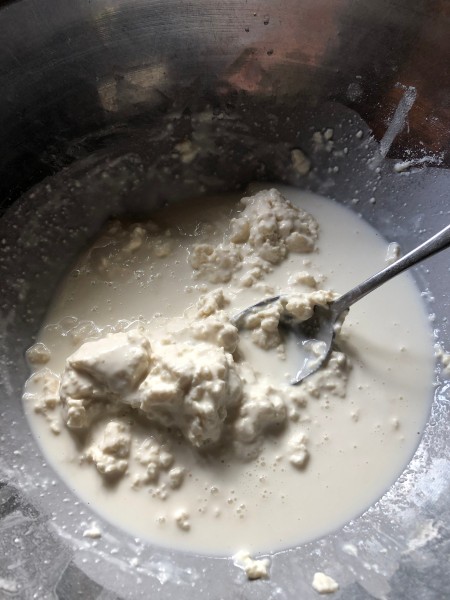
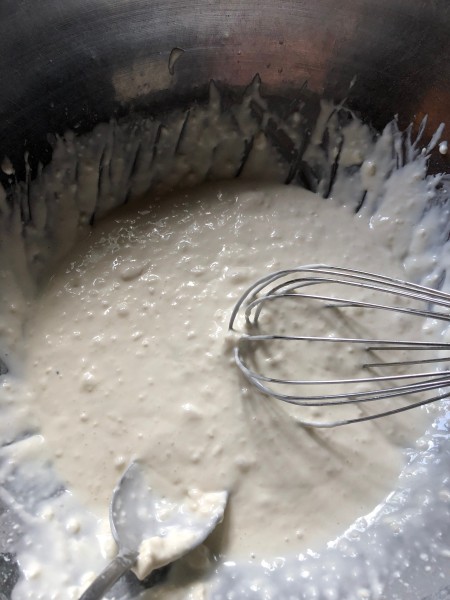
- Add the water and corn starch to the mixture and use your spoon to mix this. It will be watery at first, but you need to get all the ingredients mixed into the water.
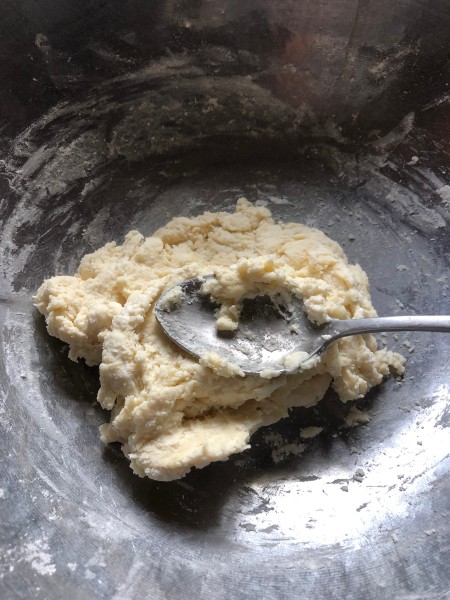
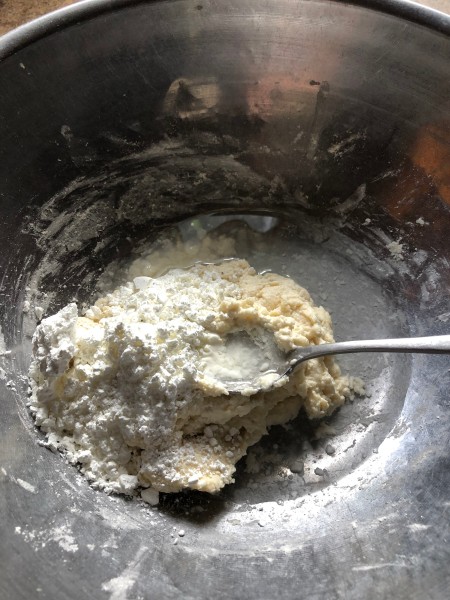
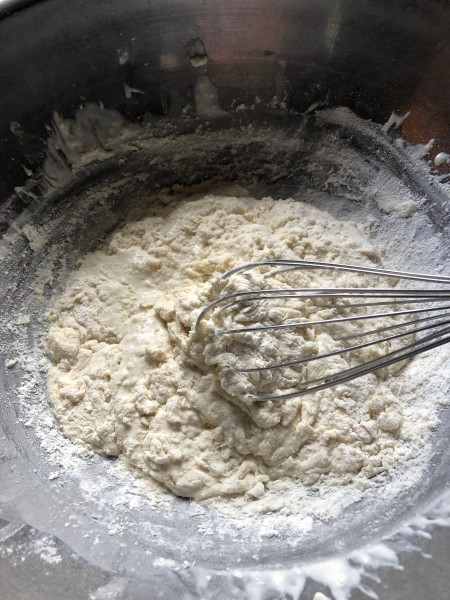
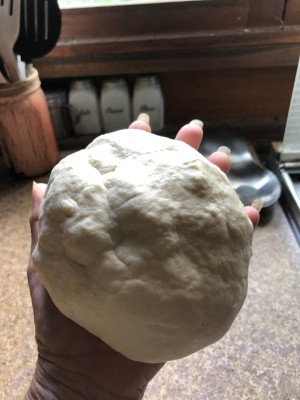
- Now add the last 1/3 cup of flour to the mixture and start mixing this with your spoon. You will need to knead this like bread dough.

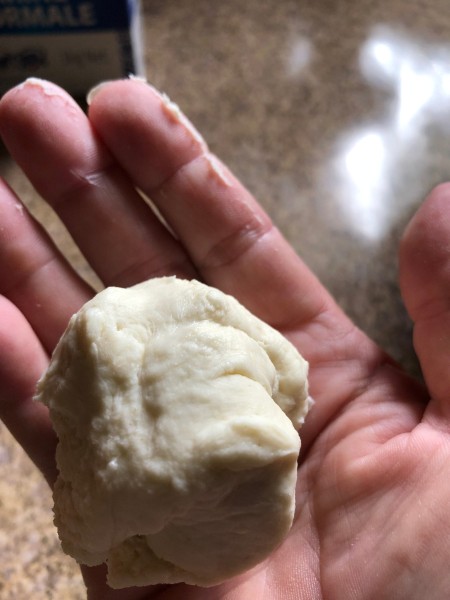
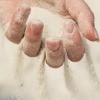
- Use your hands to knead the dough. I had to sprinkle small amounts of flour in the mixture so it was easy to handle. Just add small amounts of flour at a time until the mixture is no longer sticky and it is easy to knead. It normally takes around 7 to 10 minutes to knead the mixture.
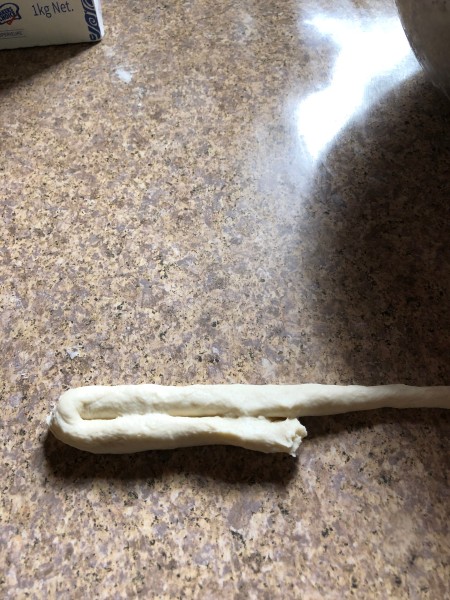
- Break off a small piece of the clay and use both of your hands to pull this out on a flat surface. If the clay sticks to the surface put it back in the bowl and add a little more flour. Continue to do this until the clay no longer sticks to your surface.
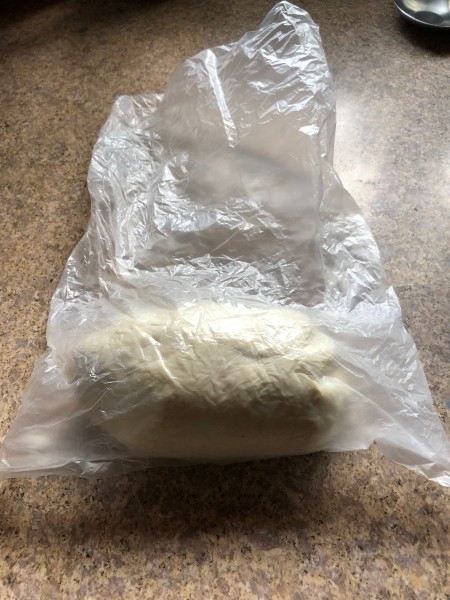
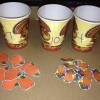
- When done store your clay in a plastic bag. Before using the clay knead the clay with your hands again. You can add a drop of food coloring to the clay to color it or you can paint the clay when it is dry with acrylic paint. You should add a coat of varnish to the finished project.