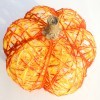
 I saw the cutest mini pumpkins made from tins and did my own spin on them. Theirs was somehow glued together, but mine failed, so I improvised. I hope you like them.
Total Time: 4 hours including dry time
Yield: 3
Source: I saw some cute ones on line.
Link: Isa Creative Musings
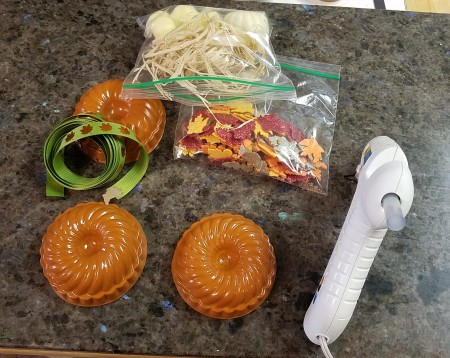
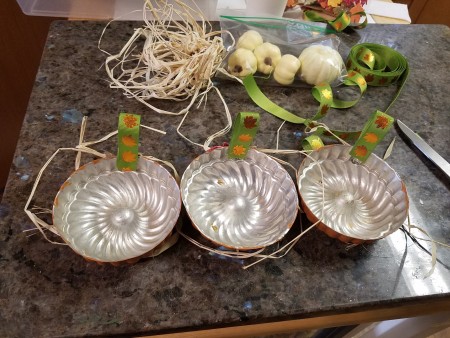
Supplies:
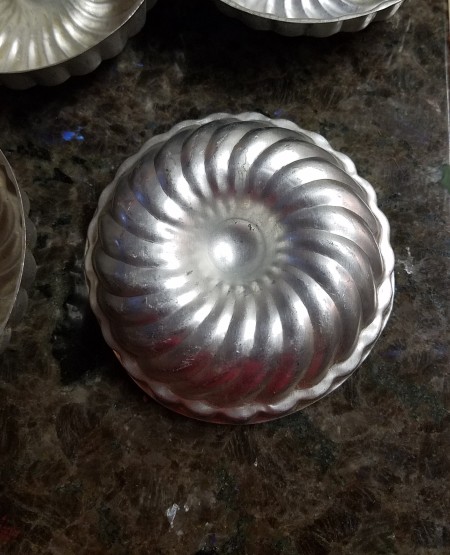
- 3 mini tins
- 1 oz terra cotta paint
- 2 brushes
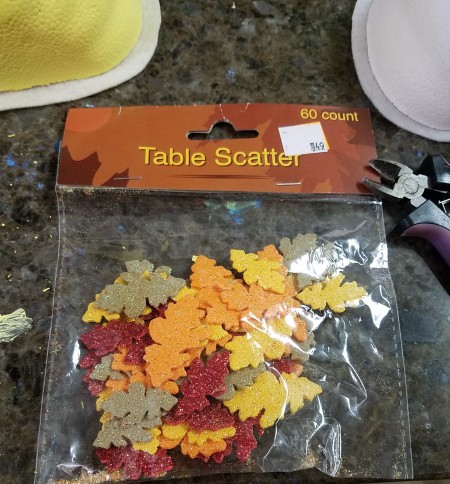
- 12 table scatter
- hot glue
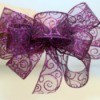
- 9 in scrap ribbon
- 6 ft raffia
- 3 ft of rope
- shellac
Steps:
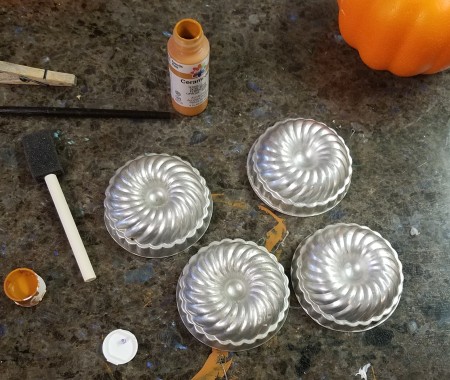
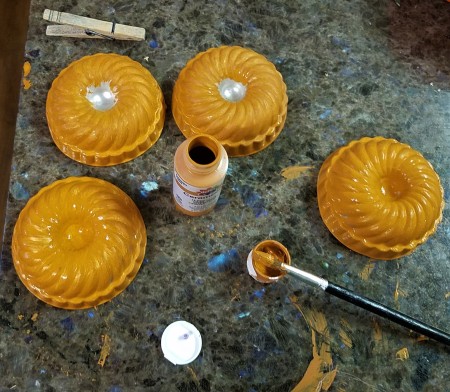
- This will take the longest, unless you want to spray the paint. I don't have much room and try not to stink up my little community, or get paint on the concrete. So I did the 3 coats by hand. If you are wondering why the colors are a bit different, it's becasue of the first vs. third coats and the shellac.
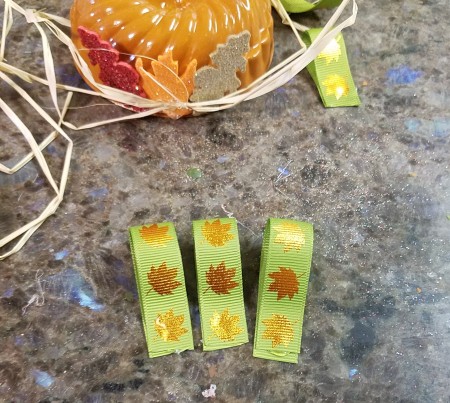
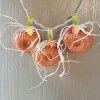
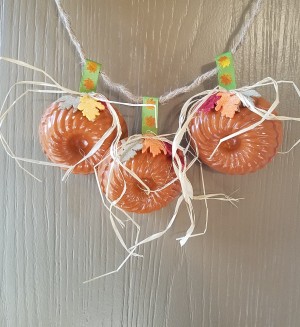
- Once those were dry I did shellac them outside inside a box. It took a couple hours to dry. Once dry, I tried to glue them together like a pumpkin, but the glue oozed out and then didn't stick. I pulled that off and decided to make three little mini wall hangings. If you are wondering where the other half of the 2nd one was, I dropped it in the dirt...Yep, ole' fumble fingers!!
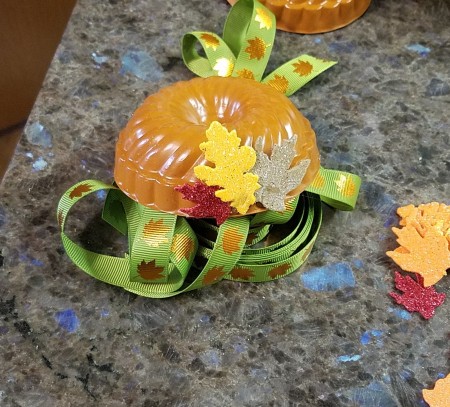
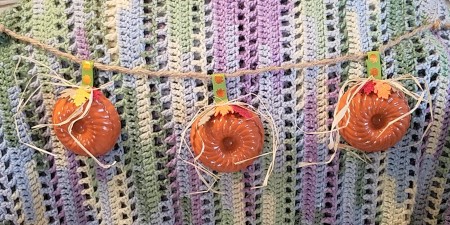
- I then chose my little leaves by the colors and shapes, and glued them to the top, in a semi circular pattern. Some fit with 3 and some with 4.
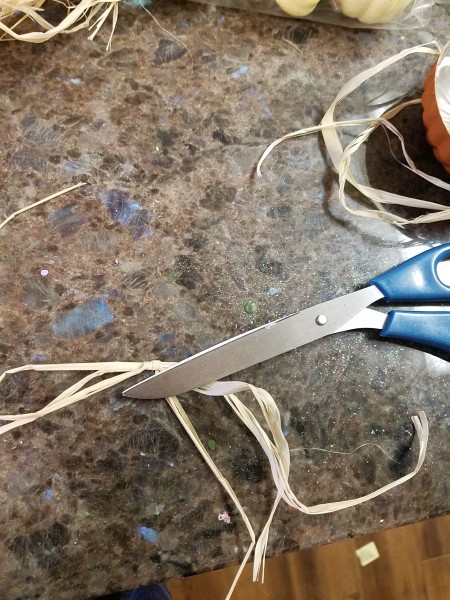
- When that was done, I gathered some raffia and and wrapped one of the 3 strands around the center in a faux knot, just to make it easier to glue. Then, folding over and gluing the ribbon to itself, I then glued it to the underside of the tin.
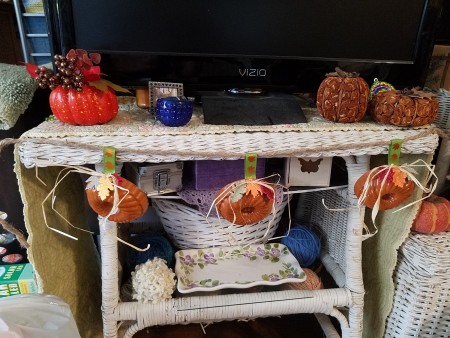
- Once done, I threaded some rope in through the loops and hung them in three places. One for display, one for the hope it would hang on the door, and the last for the best place for them. N-JOY!!
Add your voice! Click below to comment. ThriftyFun is powered by your wisdom!

R Barbara
Bronze Post Medal for All Time! 190 Posts October 25, 20200 found this helpful
These are really cute. Thanks for sharing.
Add your voice! Click below to comment. ThriftyFun is powered by your wisdom!