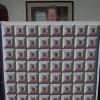
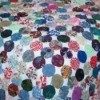
This is a short tutorial for making fabric yo yos. These cute little fabric circles can be used in lots of craft projects, from quilts to Christmas garlands.
Approximate Time: 4 minutes more or less per yo yo
Supplies:
- needle
- thread
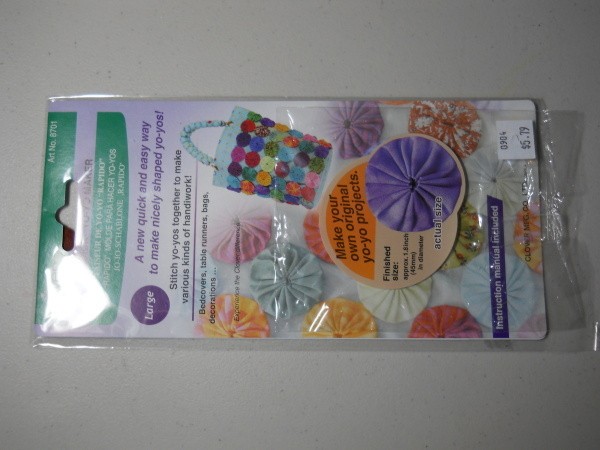
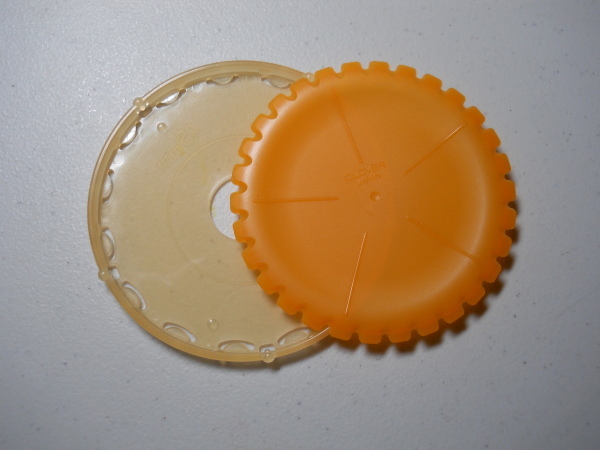
- Clover Yo Yo Maker
- fabric, scraps or new
- tape measure if not using yo yo maker
- manila folder or plastic template sheet for making circle template
- pen or pencil for tracing your circles
Instructions:
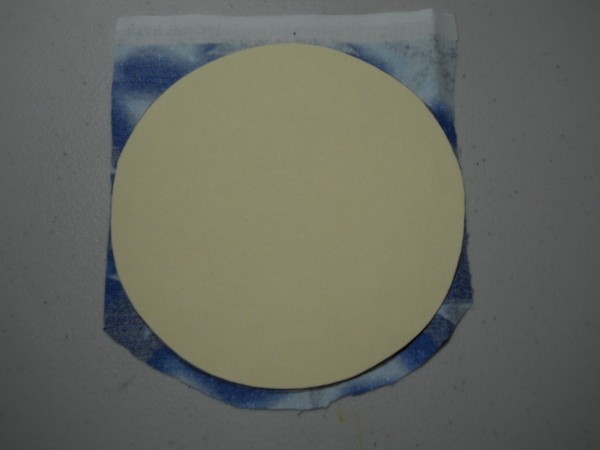
- Make your template from your choice of materials. I used an old manila file folder for mine. They work great and last quite awhile. It should be approximately 1/4 - 3/8th of an inch larger than the finished size of your yo yo to accommodate the the "hem" you will be turning under.
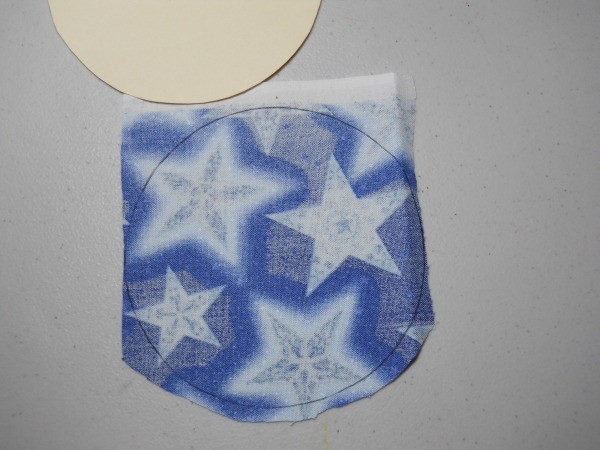
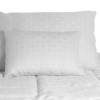
- Using your template trace your circle(s).

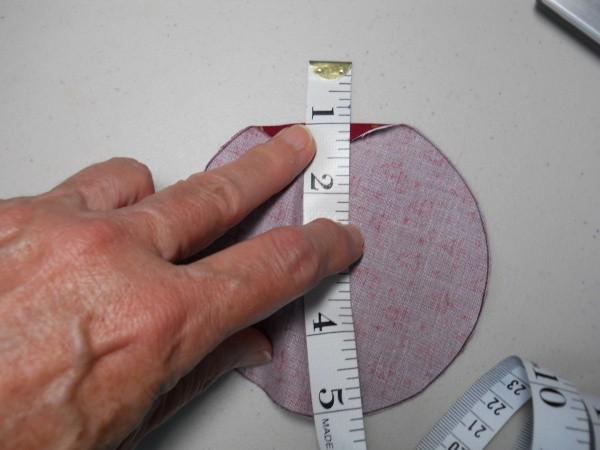
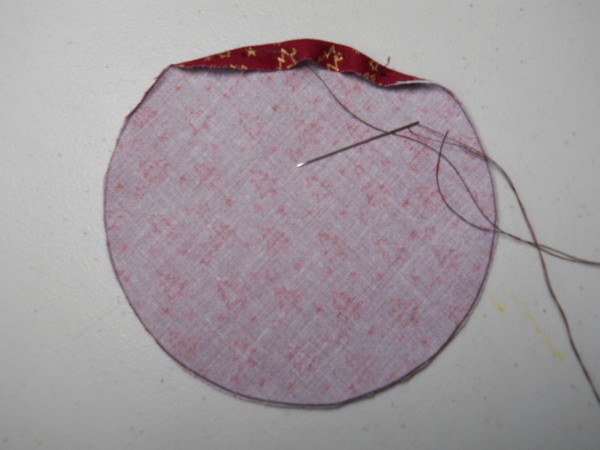
- If not using the Clover maker, use you tape measure to turn under your seam.
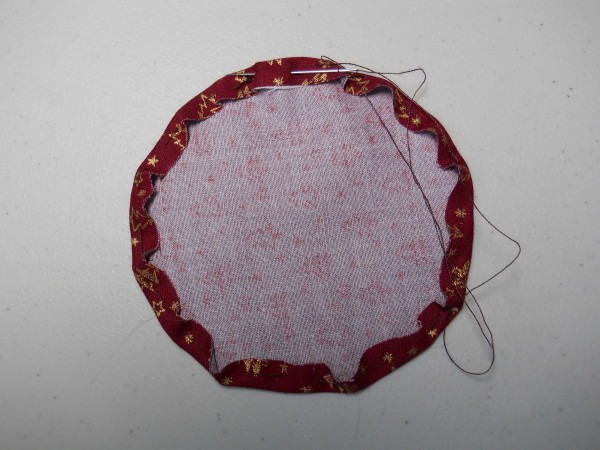
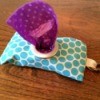
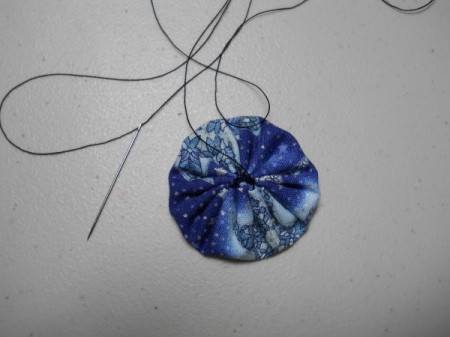
- Begin sewing around the circle through both thicknesses. Make sure to continue your stitches just past the starting point for optimal gathering.
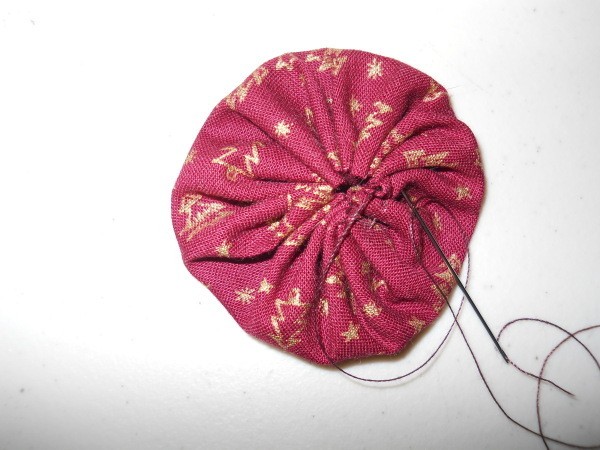
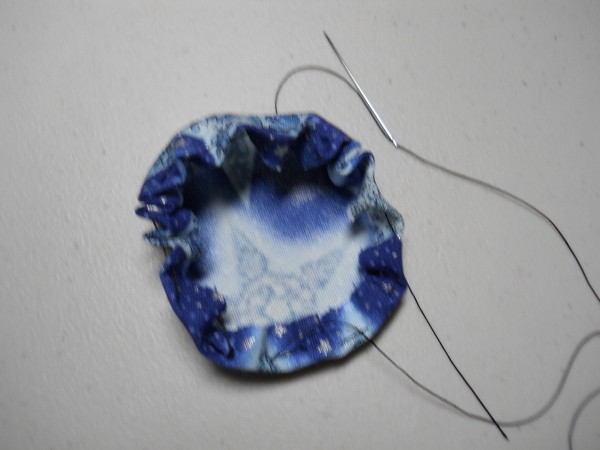
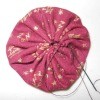
- Once you have completed your running stitch around the circle, carefully pull up on the thread, gathering the circle.
- When the opening is closed make a knot. Insert and remove the needle in the crease to hide the knot.
- Cut the thread close to the fabric and form it into a round shape.
- You are done!
If using the yo yo maker, you will either follow the same initial steps for cutting a circle with your template, or follow the instructions on your yo yo maker.
The manufacturer calls for using a square and cutting off the excess. Although it takes a bit longer to trace and cut the circles with the template, I prefer this method as it wastes less fabric.
By R Barbara