This page contains the following solutions.
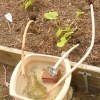
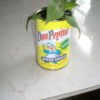
Soft plastic toilet bowl cleaner bottles with the curved neck are just perfect as a hanging plant watering bottle as the curved neck and the small tip allow you to control just how much water comes out. I have also decoupaged these bottles after taking off the label. Do be sure and wash them out very well before using.
By Lisa Austin
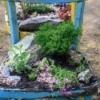
Keeping moisture in you hanging baskets an large pots, I use the giant Pampers to line the baskets an pots. They hold lots of moisture, and your plants will thank you for the kindness.
I also cut the Pampers in strips and use them to keep plants and cuttings moist in the mail. Package the roots in the dampened pamper. Make a pocket an put masking tape around it. Put aluminum foil over it, place it in a plastic baggie, leaving the tops out. I use a margarine lid to keep the plants straight.
By bali from Summerhill, PA
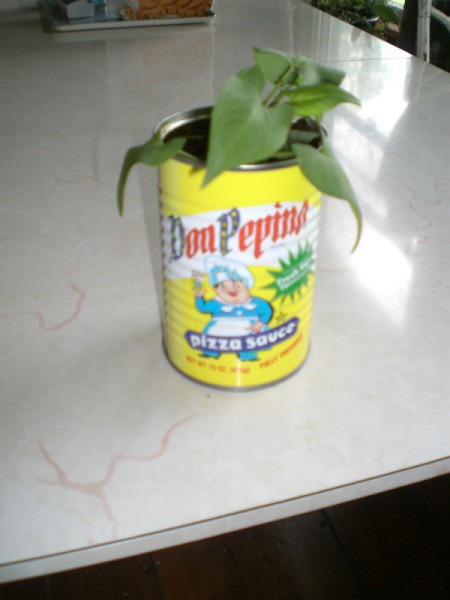
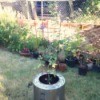
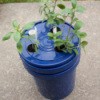
Basil likes to be watered regularly. Make this a little easier by planting in a self watering container. Making a self watering basil planter is easy and will keep your basil heathy and ready for any recipe.
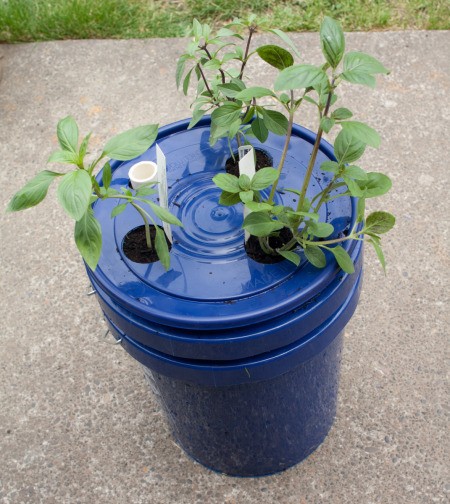
This is a page about making a self watering pot. This self watering pot is perfect for small pots or to use when you are away on vacation or business.