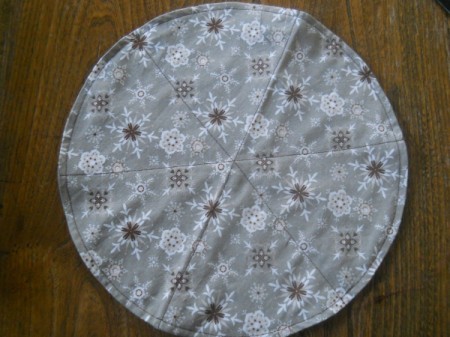
 I first saw this vintage dinner roll holder when another member was looking for a pattern to make one. I found one on the Gingercake website and referred her to those instructions, which are apparently based on an old Simplicity pattern. It was then that I decided I wanted to make one and post the project here on Thriftyfun. I hope you enjoy it.
Total Time: 3-4 hours, probably less the second time
Yield: 1
Source: http://gingercake.typepad.com/gingercake/2010/11/vintage-inspired-dinner-roll-holder-tutorial.html
Supplies:
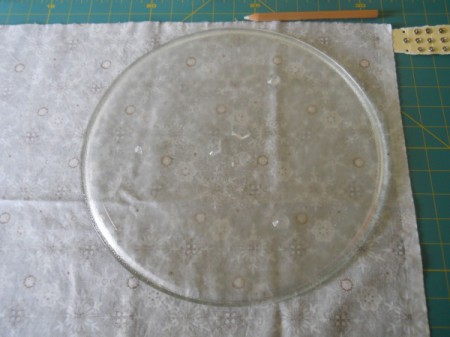
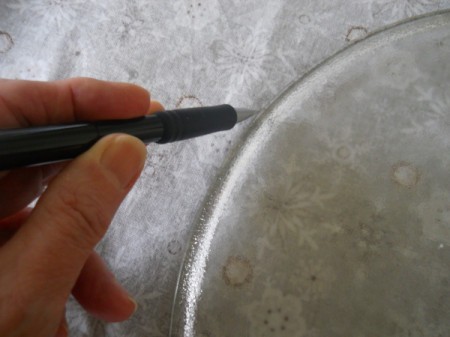
- template to cut 12 inch circles, I used the glass tray from my microwave
- 2 pieces of contrasting or complementary fabric (100% cotton) measuring out at 12 by 36 inches or 1/3 yard each color
- coordinating thread
- scissors
- self healing mat and rotary cutter, optional
- small snaps
- sewing needle
- sewing machine
- protractor, compass, and ruler
- pencil, chalk pencil, or washable quilting pencil
- paper for making a pattern, if needed
Steps:
- Prewash fabric.
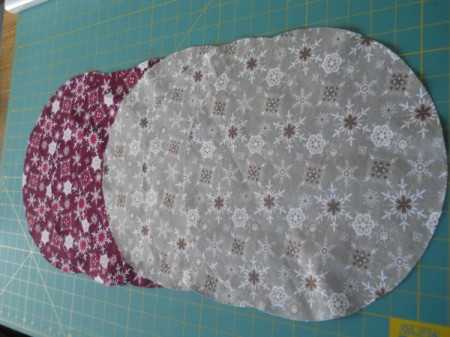
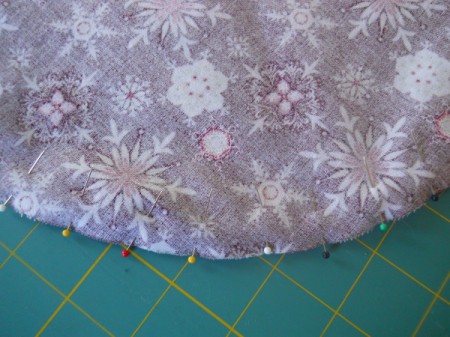
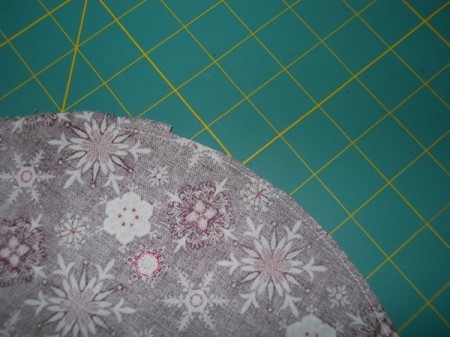
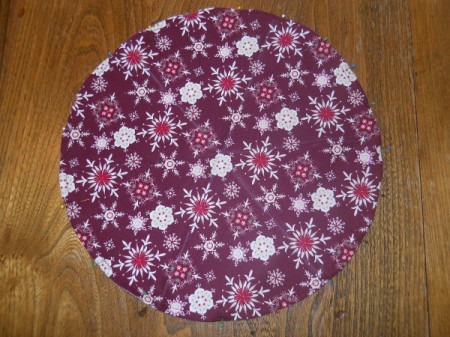
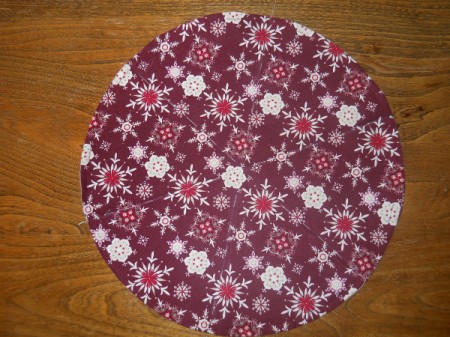
- Using 12 inch template, trace and cut out six circles of fabric, three of each color, or in any combination as you prefer.
- With right sides together, sew two circles together, taking a 1/4 inch seam. Leave an opening of approximately 2 inches for turning. Tie threads or backstitch. Repeat with other four circles.
- Using your scissors, snip the seam allowance around the circle, every inch or so.

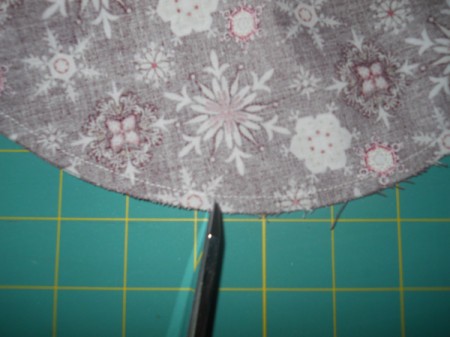
- Trim the seam down to 1/8 inch.
- Turn your circles right side out.
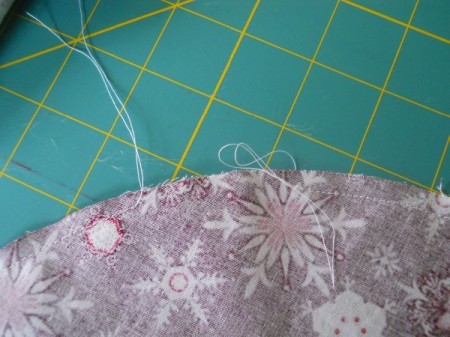
- Press your seams around the circles flat, paying particular attention to the opening you used for turning. After pressing, you will want to hand stitch these openings closed.
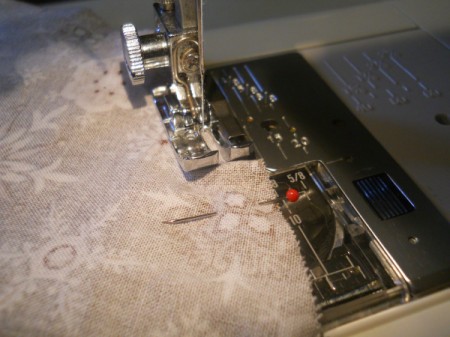
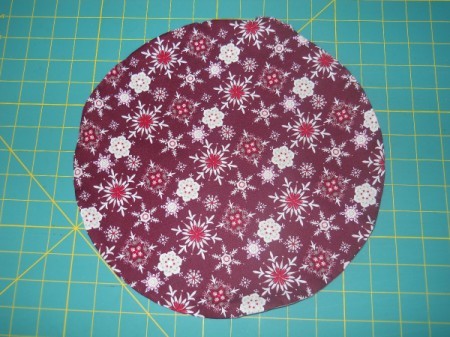
- Returning to your sewing machine, topstitch 1/4 inch from the edge of the circle around all three circles.
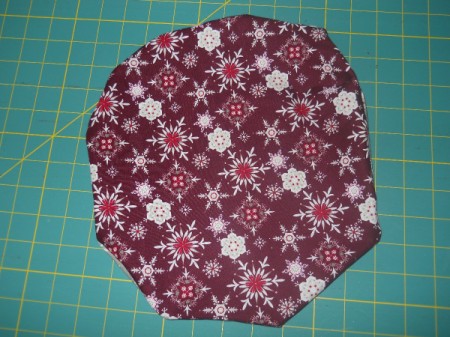
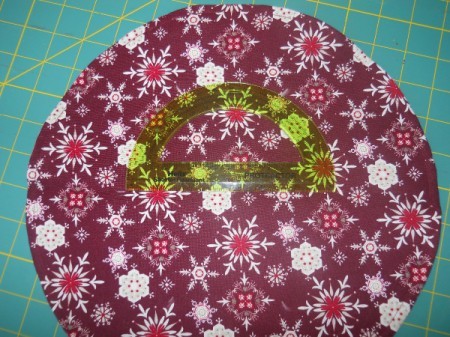
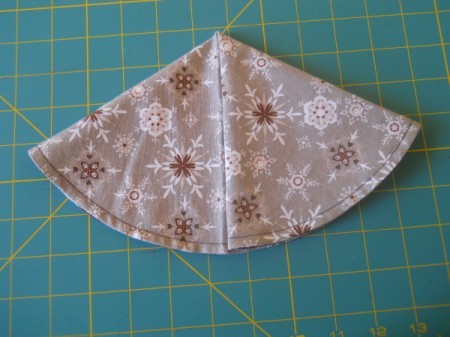
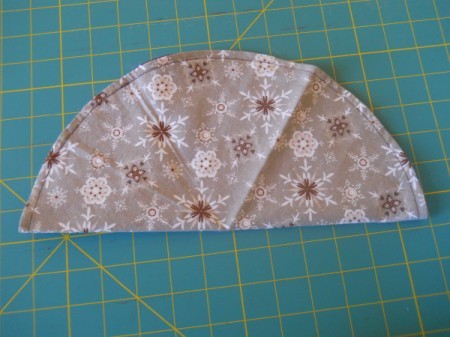
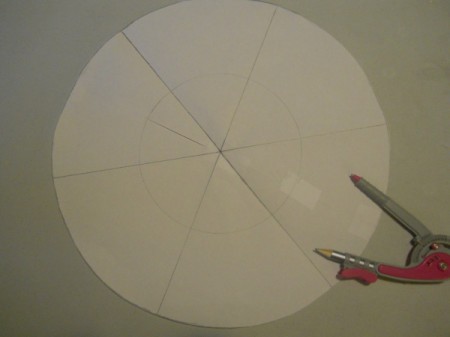
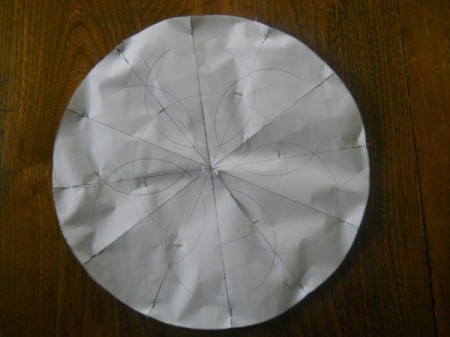
- Draw a line through the center of your circle. Here is where you can use a pattern similar to the one I used near the end of the project, or simply do as I did by folding the top circle unit in half and finger pressing to find the center.
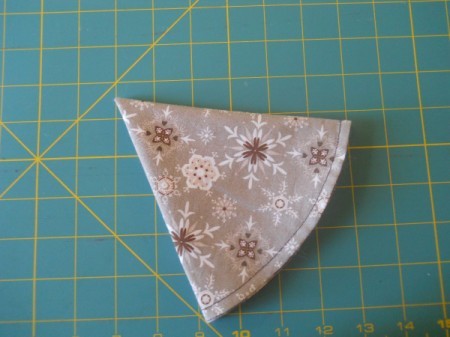
- I began the next step of dividing the circle into six equal parts, using a protractor, however, my chalk pencil did not show up very well on the burgundy fabric. That being said, I decided to use a similar method to finding the center, by folding the circle in half and then into thirds and finger pressing to mark the sixths. Clunky, but I wanted to work with the tools I had. Since the chalk was too light after I had folded and pressed the fabric, I made large basting stitches to mark the sixth section stitching lines.
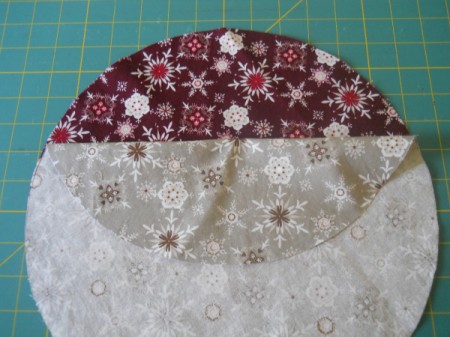
- Take two of your completed circles and stack, with the same fabric side up (if you used contrasting fabric). You can pin through all thicknesses, to keep them from slipping during the next step.
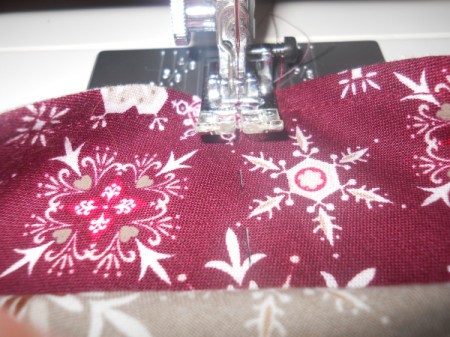
- Back at the sewing machine you will now sew along these lines through both circles (four layers of fabric). You may backstitch at the beginning and end of each line of stitching. I tied and buried the knot in the outer seam using a sewing needle.
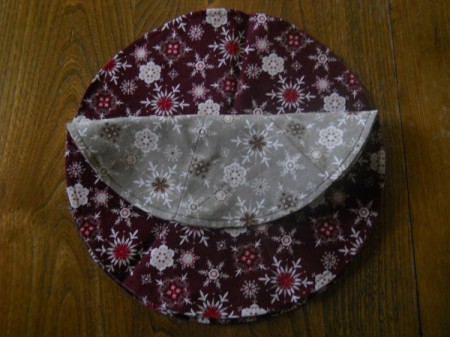
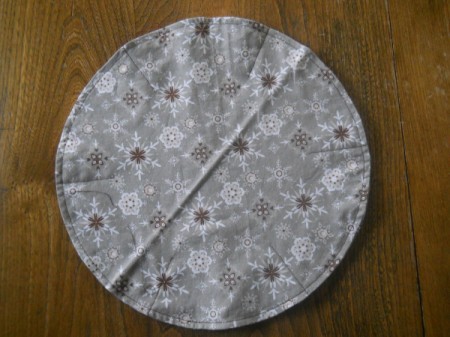
- Now take your third circle and place it under the top two. This is the point, if using contrasting fabric, where you must choose which fabric will be on the outside of your dinner roll cozy. I chose to have the gray as the outside.
- Pin the third circle to the top two along the stitching lines. This keeps them out of the way for the next step. The sewn circle will be on top.
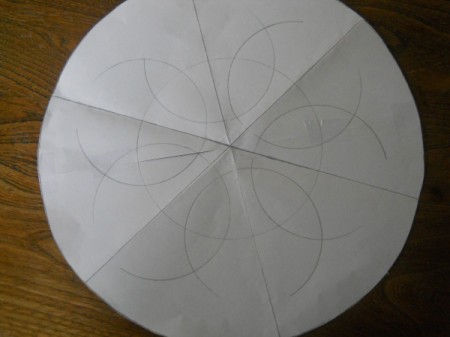
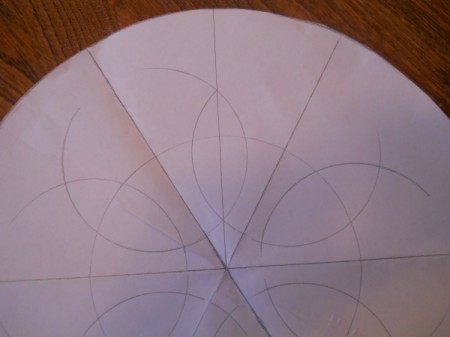
- For this next step you will need to find the center of each sixth. This was the point at which I knew that I needed some sort of pattern. So I created one dividing the circle into sixths and then marked the centers of each sixth on the paper pattern, using a compass. I pinned the pattern to the fabric circles lining up the initial stitching lines. I marked the center point on the second layer with a pin at the outer edge of the circle and at the 2.25 inch mark along this dividing line.
- Once the midpoint lines are marked, open the layers up and on the second layer, using a ruler, draw a straight line from this mark on the outer edge in toward the center of the circle about 2.25 inches long. Here again I used a hand basting stitch, due to the failure of the chalk pencil working.
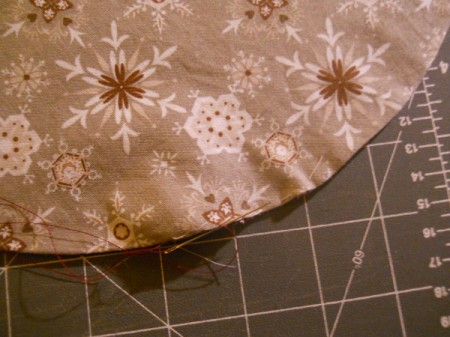
- On your sewing machine sew along this line from the edge inward on each of the other 5 sections. You are sewing the second layer to the third.
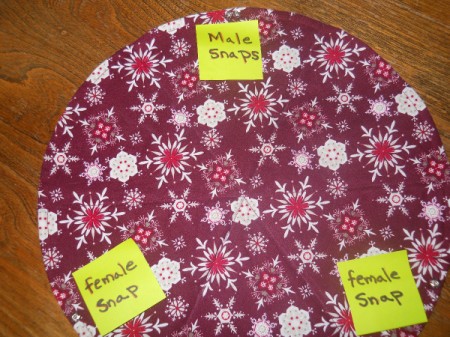
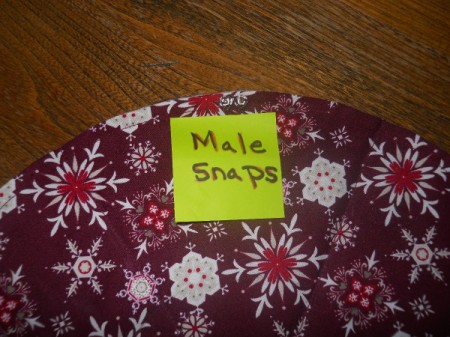
- The final step before you can use your cozy is sewing on the snaps. You will want to make sure of the proper placement of the male (2 snaps next to each other) and female parts of the snaps. Sew them as shown in the photo.
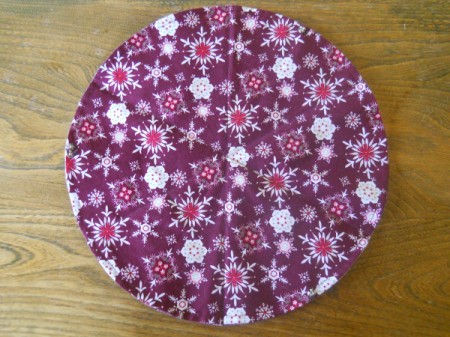
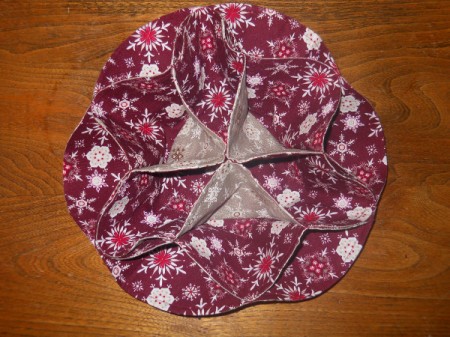
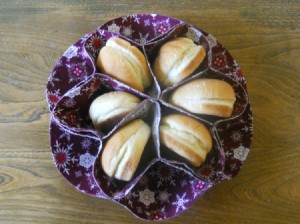
- Finally, pull up the layers, snap them together and you are ready to set your table and offer your family and guests rolls in this vintage cozy.
The drafting techniques used in this project can be adjusted to your skill level and available tools. Some self healing cutting mats have 60 degree angles printed on them, which would simplify your work. Unfortunately, of the three I have none did.