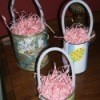
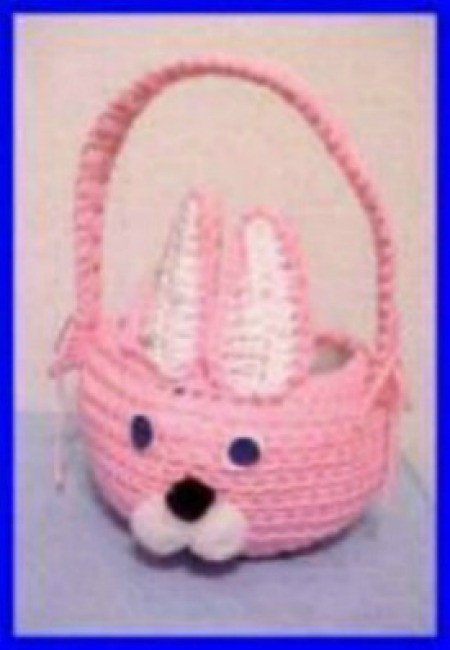
 Crocheted covers for common plastic containers for a personalized Easter Basket.
Approximate Time: 1-2 hours depending upon size
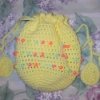
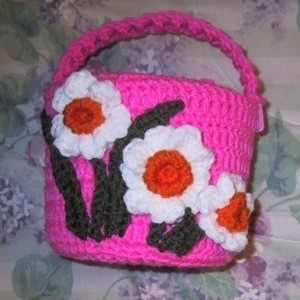
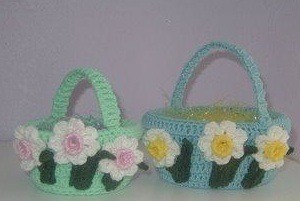
You can easily modify the pattern to whatever plastic container you have around. The one with the pink centered daffodils is made for a small Cool Whip container. The one in the same photo with the yellow centered daffodils is made for a GladWare quart container. The pink one is on a small sized basket. The blue one is on the large sized basket.
To modify the pattern, just crochet the base to fit your container, then work the sides even until it reaches the rim of the container. Then follow the pattern instructions to finish.
The handles on the both the Cool Whip and the GladWare ones were made with a strip of plastic canvass for stiffening.
Gauge: 4 dc = 1 inch
Notes:
Round 1: Ch 3, (do not count as first dc) 12 dc in the 3rd ch from hook. Join with a slipstitch in first dc. (12 sts)
Round 2:Ch 2 (do not count as first dc from now on), 2 dc in each st. Join with a slipstitch in first dc. (24 sts)
Round 3: Ch 2, (dc in 1 st, 2 dc in next st), repeat around. Join with a slipstitch in first dc. (36 sts)
Round 4: Ch 2, (dc in 2 sts, 2 dc in next st), repeat around. Join with a slipstitch in first dc. (48 sts)
Round 5: Ch 1, working in back loop only (sc in 3 sts, 2 sc in next st), repeat around. Join with a slipstitch in first sc. (60 sts)
Compare to bottom of the container you are using. Piece should be about the same size as container bottom or slightly smaller.
Round 6-11: Ch 1, dc in each st. (60 dc)
Round 12: Ch 1, sc in each st. (60 sc)
Round 13: Ch 2, dc in 13 sts, ch 1, skip 1, dc in 29 sts, ch 1, skip 1, dc in 16 sts. (58 sts, 2 ch 1 spaces)
Round 14-15: Ch 1, sc each st. (60 sc)
Round 16: Ch 1, *sc in 4 sts, sc dec over next 2 sts, repeat from * around. (50 sts)
Round 17: Ch 1, *sc in 3 sts, sc dec over next 2 sts, repeat from * around. (40 sts)
Fasten off and weave in ends.
Fit over container, spaces in round 13 should be over where the handle attaches.
Tie: Chain 75. Fasten off. Using yarn needle and tail weave in and out of Round 17. Pull snug and tie in knot or bow.
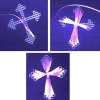
Handle: Ch 3, yo insert hook in first ch, yo and pull loop through, yo and pull though 1 loop (this creates the base ch you will go into on the next st), yo pull through 2 loops, yo pull through 2 loops. *Yo insert hook in base ch, yo and pull loop through, yo and pull though 1 loop, yo pull through 2 loops, yo pull through 2 loops. Repeat from * until piece is as long as the handle, with a odd number of bars.
Fasten off, leaving a tail for sewing.
Weave the basket handle in and out of the bars. Reattach handle to basket and tack the first and last bar to the basket cover.
Notes:
Round 1: With center color, ch 2, 7 hdc in 2nd ch from hook. Join with slipstitch in top of first hdc. (7 hdc)
Round 2: Ch 1, sc in each stitch. Join with slipstitch in first sc. (7 sc) This next round is going to feel awkward, but the rev sc is so worth the effort.
Round 3: Ch 1, rev sc in each stitch around. DO NOT join, but fasten off and use tail to close round.
Now you have completed the cup or trumpet part of your daffodil.
Round 4: Using the outside petal color, join yarn to any unused loop of hdc on round 1 with a slipstitch. *Ch 2, 3 dc, ch 1, slipstitch all in the same st as slipstitch, slipstitch in the unused loop of next hdc, repeat from * around. DO NOT join, but fasten off and use tail to close round. (7 petals).
Weave in ends.
Using the same instructions you can make a larger center by starting with 9 or 11 hdc on round 1. That will give your daffodils 9 or 11 petals.
Leaf: Ch desired length for leaf. Slipstitch in 2nd ch from hook, sc in next 2 ch, hdc in remaining chains.
Fasten off leaving a long tail for sewing.
Stem: Chain desired length for stem. Slipstitch in 2nd chain from hook and each remaining chain.
Fasten off leaving a long tail for sewing.
There are patterns for three sizes of containers, only the small is included here. The other sizes are available here.
By Suzie from Bellingham, WA
This page contains the following solutions.
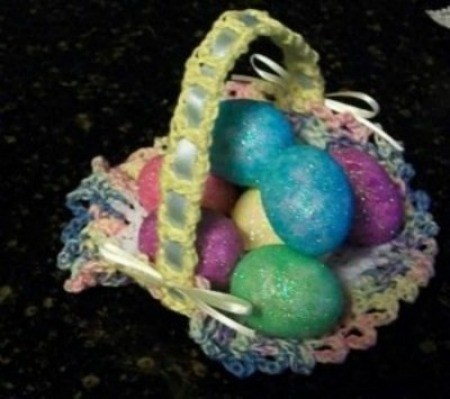
With the help of a pre-made crocheted doily, you can have a nice Easter egg basket decoration!
A handmade Easter basket. Instructions for two sizes. Read all instructions through before beginning. I got my plastic canvas round at Michaels. Always pull your slipstitches tight. Beginning chains DO NOT count as a stitch throughout.

This adorable Easter basket is crocheted over a 2 or 3 liter soda bottle. With a Sharpie, mark bottle 4 inches up from the bottom. Cut. Also cut one piece from below the shoulder of the bottle 1/2 inch wide for the handle. Round the ends.
ThriftyFun is one of the longest running frugal living communities on the Internet. These are archives of older discussions.
Here is a frugal Easter basket project. Crochet an Easter basket from recycled plastic grocery bags. Here is the free pattern link