One of my closest friends is an artist, and finding a birthday gift for her is always a challenge. This year, I decided to make a personalized gift with the help of some decoupage techniques.
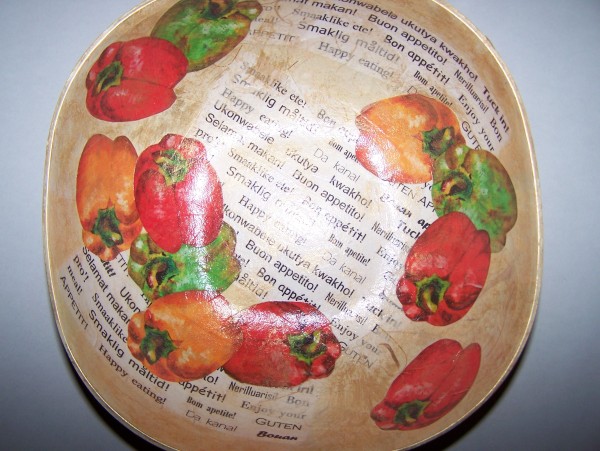
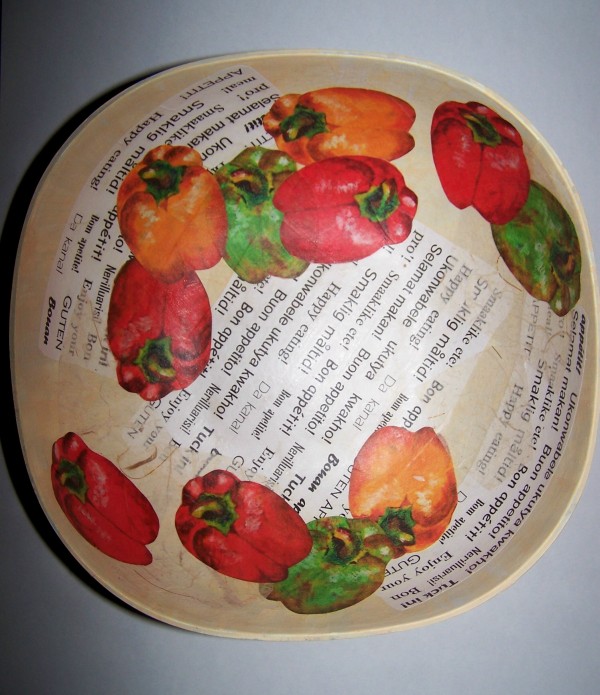
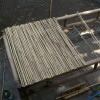
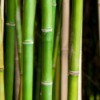
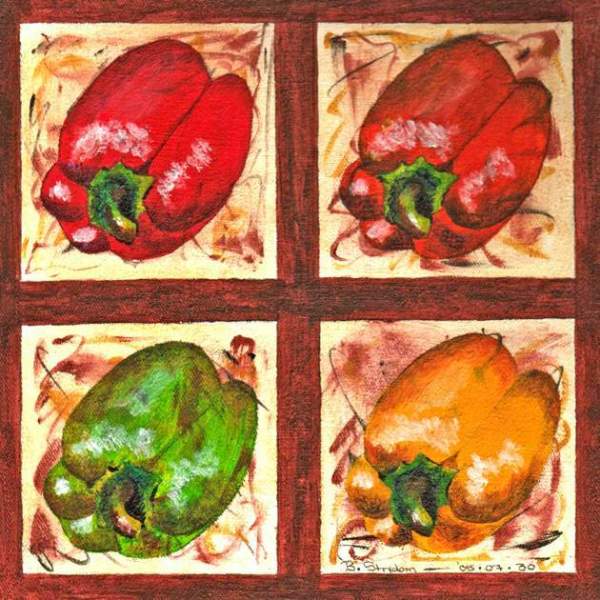
I went to a factory shop and found a bamboo fiber bowl for R23-00, which is equal to approximately $3. I used pictures of peppers that I painted a few years ago when I attended classes with this lady, that is how we became friends in the first place. I ended up with a decorative bowl that I am sure will have some special meaning to her.
Approximate Time: 3 hours
Supplies:
- a bamboo fiber bowl
- an 8/32" paint brush
- a fan-shaped paint brush
- white water-based primer
- paper seal
- Deco Art glue
- Modge Podge
- water-based varnish
- hairdryer
- acrylic paint in the following two colors: flesh and old gold
- pictures of red, green, and yellow peppers
- a sheet of food-related phrases
- a sheet of thin handmade paper
- a pair of standard scissors
- a few sheets of old newspapers to protect the working area
- an old cloth
Instructions:
- With a slightly wet 8/32" brush, paint a thin layer of the white water-based primer over the whole bowl. First paint the inside and dry it properly with a hairdryer. Then, paint the outside of the bowl, and again dry it properly with a hairdryer.
- Next, using the same paint brush, add a thin layer of flesh-colored acrylic paint to the whole bowl, doing first the inside and then the outside.
- Dry the bowl properly with a hairdryer.
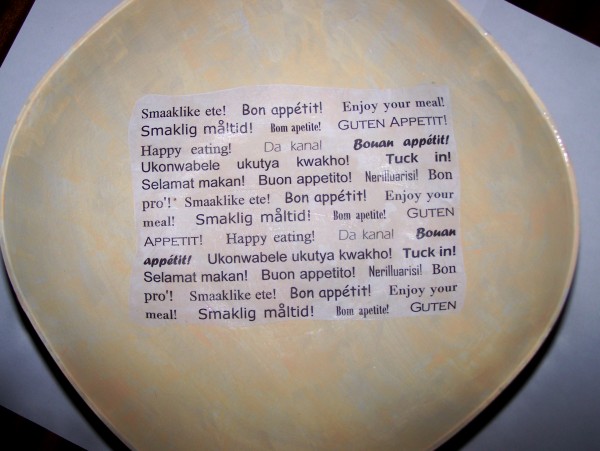
- On the computer, type a sheet of words. I used the phrase "Enjoy your meal" in different languages, which I copied from the site:
http://www.omniglot.com/language/phrases/bonappetit.htm.
- Print the sheet with words and the pictures of the peppers; I used 11 peppers for the bowl.
- With the 8/32" brush, paint a thin layer of paper seal over the sheet with words and over all the pictures of peppers. The paper seal will protect the ink and keep it from running and will make it easier to cut out the pictures without tearing them.
- Dry the sheet with words and the pictures properly with a hairdryer.
- Cut out the pictures and decide how they will be placed on the bowl. Also cut strips from the sheet with words and from the sheet of handmade paper.
- With the 8/32" brush, paint a substantial amount of Deco Art Glue onto the back of the first strip of words. Turn the strip with words around and put it in position on the bowl, but do not press it down.
- With the brush, spread glue to the front of the strip with words, lightly applying pressure so that it will stick to the bowl.
- Working from the middle of the strip with words, and from inside towards the outside, rub out all the air bubbles and excess glue from the back of the strip. Use an old cloth to clear any excess glue from the bowl.

- Use the hairdryer to dry the strip properly.
- Repeat steps 9-12 with the other strips with words, with the strips of handmade paper, and with the pictures of the peppers.
- Using the fan-shaped paint brush, give the inside of the bowl a wash with the old gold-colored acrylic paint. Remember not to use too much paint when using a fan-shaped brush, as this will lose the fan-shaped effect. Remove excess paint on the brush by dabbing it onto a sheet of newspaper before starting to paint.
- Dry the bowl properly with a hairdryer.
- Repeat step 14-15 on the outside of the bowl.
- With the 8/32" brush, paint a thin layer of Modge Podge over the whole inside of the bowl. The Modge Podge will protect the pictures and give the product a smoother finish.
- Dry the bowl properly with a hairdryer.
- Repeat steps 17-18. You need to apply at least 4 coats of Modge Podge, but remember that with every layer, the direction in which the Modge Podge is applied, must be changed from horizontal to vertical, to horizontal, etc. Also, remember that after every layer of Modge Podge, the bowl must first be dried thoroughly with the hairdryer.
- With the 8/32" brush, add a layer of water-based varnish to the whole bowl. First paint the inside and dry it thoroughly with a hairdryer. Then, paint the outside of the bowl, and again dry with a hairdryer.
Tip: The bowl can also be used to contain fresh fruit. To wash, rinse briefly in cold water and do not use strong detergents.
By Benetta from Pretoria, Gauteng