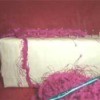
You can make your own knitting loom and make yourself a beautiful poncho even if you don't know how to knit. It is that easy. Once you get started you will be making all kinds of things.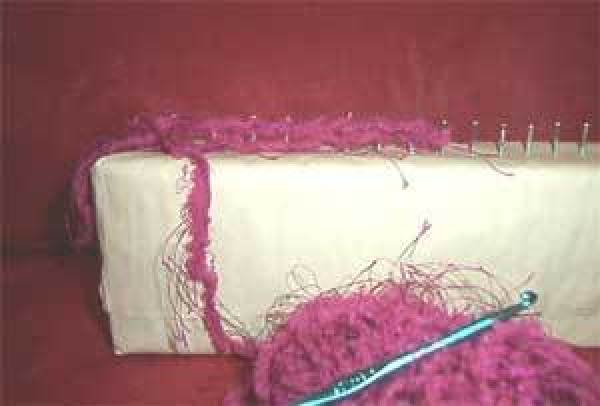
Supplies Needed:
- wood plank (the size you need depends on how wide you want your project to be)
- nails with or without heads
- hammer
- ruler
- pencil
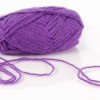
- yarn
- crochet hook
- yarn needle (the kind that looks like a large sewing needle)
Directions:
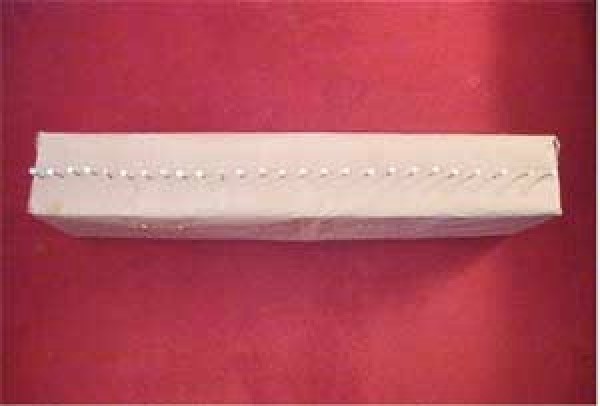
- To start you will need to sand the wood you have chosen to make sure that it is smooth. Any piece of flat wood will work. I used a scrap piece that had writing all over it which is why I covered it in paper before I placed the nails in it.
- Once you are finished preparing the wood you can measure out where you want the nails to go. I recommend that you start with the nails 1/4 inch apart. Do not space the nails more than a 1 inch apart. The further apart they are the looser the weave will be. The nails in picture are spaced 1/4 inch apart. Make a mark on the wood for each nail placement. This will help you keep the nails in a straight line and make sure that they are not off in spacing.
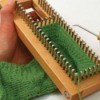
- Now that you have the nails in place you are ready to start knitting. I know at first that this seems like it will hard, but really it couldn't be any easier.
- To make your poncho determine how wide you want it to be. The length will be twice the width. Basically you will be knitting a large rectangle. Make a simple slip knot in the end of you yarn and place the loop over your starting nail. Take the tail of the yarn and wrap it around each nail so that it creates a loop, this resembles an "e". Once you reach the last nail reverse the motion and go back over each nail until you come to your starting nail. Make sure that the front of each loop from start to finish and finish to start are wrapped the same way. You want the front of the loops to be on the same side of the nail.
- When you have completed wrapping each nail twice use your crochet hook to pull the bottom loop over the top loop then off the nail. Wrap the yarn around the nails again doing only one pass this time. You only want two loops on each nail for this project.
- Once you have your large rectangle the size you want, it is time to bind off. Complete you last row so that only one loop is on each nail. At the end of the row where your skein of yarn is, pull a long tail and cut it. Make sure you leave yourself a tail that is extra long so that you will have enough yarn to bind the last row without running out or pulling it too tight.
- Thread the yarn into the yarn needle and start sewing. Place the needle through each loop one at a time and pull it off the nail. When you have removed all of your stitches from the loom wrap the yarn one time through the last stitch and tie a knot. This will help ensure that it does not unravel.
- Fold the rectangle in half with the right sides facing each other. This will create a square. On one of the long sides measure half way from the fold to the middle. You do not have to go half way if you want a smaller neck hole.
- From the middle sew the remainder of the side closed to the bottom. Use the yarn needle and yarn to do this. Just create a simple whip stitch. This way you can't see the stitches. At this point you can add fringe if you would like too.
Enjoy wearing your poncho. Now that you know how to knit a poncho you can make blankets and so much more.
Add your voice! Click below to comment. ThriftyFun is powered by your wisdom!
March 30, 20060 found this helpful
What a great idea!

SL Edens
Bronze Feedback Medal for All Time! 139 Feedbacks April 1, 20060 found this helpful
Wonderful step by step instructions, April!!! Thank you soooo much.
By Becky Coleman (Guest Post)
April 13, 20070 found this helpful
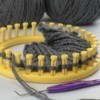
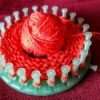
I would like some ideas on making round looms for making hats and socks.
By grandmacita47@tds.net (Guest Post)
November 25, 20070 found this helpful
I saw a rectangular wooden knitting loom today, same principle as the round one, but was wondering if there is a pattern for them
By Heather, Australia (Guest Post)
July 23, 20080 found this helpful
And thank you from me as well. Even I can follow these instructions lol.
By rhonda (Guest Post)
July 23, 20080 found this helpful
You can get pattern ideas at ProvoCrafts.com Click on the Knifty Knitter section. Happy Crafting!
Add your voice! Click below to comment. ThriftyFun is powered by your wisdom!