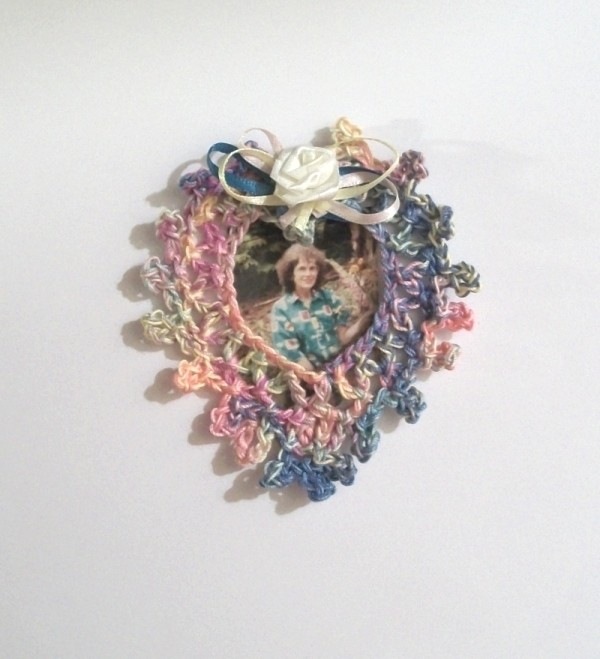
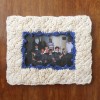
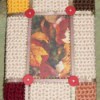
Crocheted with double strands of crochet thread, this mini frame is perfect for that special small photo.
Approximate Time: 1 hour
Advertisement
Supplies:
double strand crochet thread, your choice of colors
cool temp glue gun
size "E" hook
sissors
scrap of clear plastic
Instructions:
This project has only 4 rows, so it's easy to make for yourself or as a gift.
Ch 40. Slst to join.
Ch 4, skip 1 ch and slst in 3rd ch. Do this for 9 loops. Skip 4 chains and slst in 5th chain. This makes the center of the heart. You have used 18 of the chain, then 4, so you should have 18 left for the next 9 loops.
Continue the loops to base, but for last loop, ch 2 and make dc in last chain so your hook is at the top of the loop instead of the bottom.
Advertisement
Ch 6, making a slst in bottom joining. Ch 3, and make a sl st in each ch 4 from previous row. When you hit the top loops, make a sl st in next loop, with no ch 3 between. This keeps the center of the heart snug.Continue to the bottom with this stitch, ending with a ch 3 to center of ch 6.
In top of ch 6, ch 6 and make a slst on first of that chain, making a picot, do this two more times, then a ch 3 to center of ch 3 loop from previous row.
Ch 2, then make ch 4 picot, ch 1 and slst in ch 3 loop. Do that to the top, and at the top just make a ch 3 and slst across the center, continuing on to the bottom. Break off, weave ties to back and tie.
Advertisement
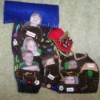
Confession: I didn't want to permanently put a photo in this, so I laid it on a clean piece of paper and put the frame on top. When I look back at the photos, I realized that one arch isn't as smooth as the other. If you give this as a gift, you may want to make sure it's perfect with pins and glue the back till it's very dry. Because I make a lot of crafts, I didn't want to wait for this step to photograph the project again, and that little lady in there was my mom. It was really hard to get her photo out of the frame it was in, and when I realized my mistake, she was already back in the frame.
You can glue this as stated before.
When you get the shape right, embellish with any ribbons or flowers you want to. This frame is about 3 inches across and 4 inches tall.
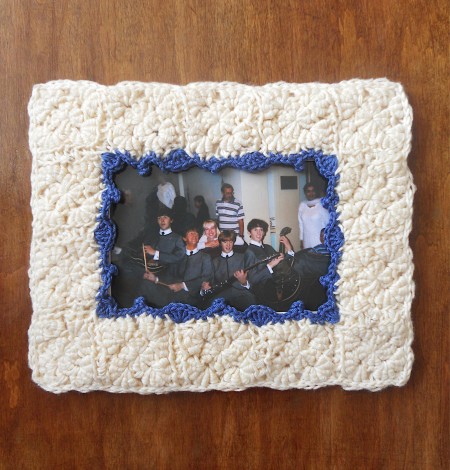
This crochet frame not only looks original but is lightweight so you can carry it with you. It can be hung on a wall or placed on a table. It can also be a great DIY birthday present. Instead of a photo, you can insert a picture and use it as a double sided card.
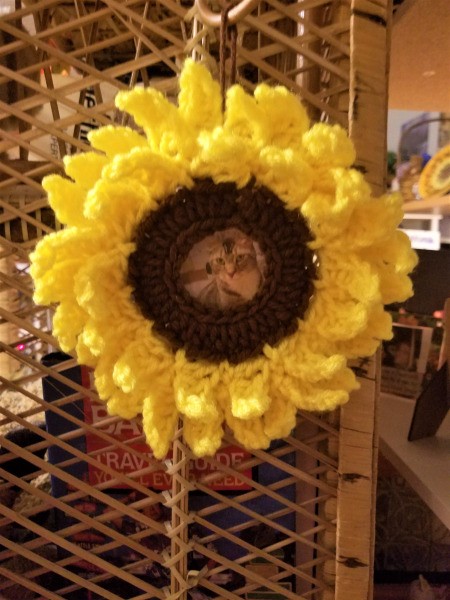
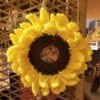
This pretty crochet sunflower photo frame is the perfect addition to the home decor for lovers of these bright, happy, yellow flowers. If you or someone you know crochets this could be your next project.