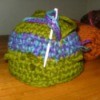
Sometimes our knit or crochet projects leave us with awkward amounts of leftover wool -- not quite enough from which to make anything substantial. However, with basic crochet skills you can turn that leftover wool into funky, unusual decorative containers, perfect for storing change, buttons, beads -- anything your heart desires.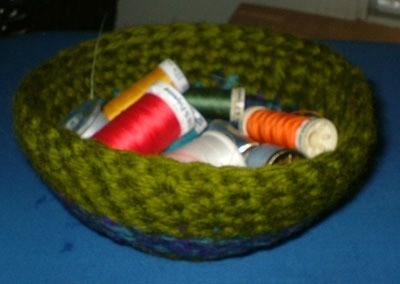
To give the container stability, you'll want to full (felt) it after you crochet it. There are a few techniques for fulling a wool item. In this case, to preserve the shape of the container, the most effective fulling technique is a combination of machine washing and blocking. Remember that wool items will shrink significantly once they've been fulled. If you're unsure about how your particular type of wool felts up, just crochet a small swatch, making note of the dimensions, and put it through one hot cycle in your washer. Note the size difference in the swatch once the cycle is done. This will give you an idea of how large to crochet your container.
Before you begin your project, plan it out a bit. Do you want something tall and narrow? Short and fat? Jar-shaped, with a lid? Once you have a shape and color scheme in mind, use the instructions below to create your container, and adjust where necessary.
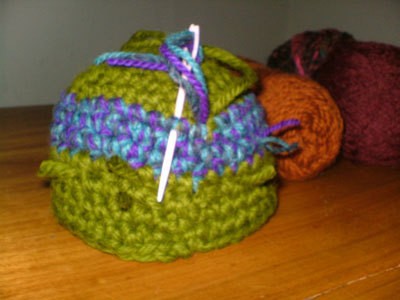
To start, you'll need to crochet a flat, even circle. This will act as the base of your container. To begin the circle, chain 5 and join the chain with a slip stitch. Then, follow the steps below. Remember that these steps are only meant as a guideline, and you'll need to adjust them according to your needle size and wool. For example, if you're using an incredibly chunky yarn, it's not likely that you'll be able to fit 12 sc into a ring that you've created with, say, a #8 hook.
Continue in this manner, increasing in even numbers for each round (8, 10, 12, etc.), until you've made a flat circle of desired width. Once the circle is complete, continue in rounds, chaining 1 at the beginning of each round, placing 1 sc into each stitch around the circle, and joining when the round is complete. Continue until the container reaches desired height, and fasten off. Weave in all ends.
If you'd like to make a lid, simply crochet a circle identical to the one you made for the base of your container. If you like, you can fasten an inch of the lid's edge onto the rim of the container with a few stitches, or create a handle with a simple crocheted chain and stitch it to the top of the lid.
To full your creation, put it in the washer on a hot cycle with several items of laundry for good agitation. As mentioned above, don't forget to full a swatch beforehand so you don't end up shocked if your container comes out looking like a housewarming gift for Barbie.
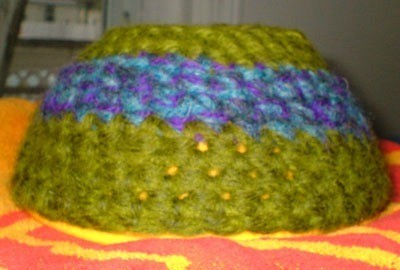
When the washer cycle is finished, take the container out while it's still wet and stretch it over a shape that you'd like to emulate, like a bowl or a jar.. The container is probably looking a little misshapen at this point, and blocking it will help give it structure. Begin steam ironing it with a hot iron (not too hot, or you'll get scorched wool, which smells terrible!).
Congratulations! In just a couple of hours, you've created something beautiful and practical -- and best of all, you've used up that leftover wool!
© 2005 - ThriftyFun
About The Author: Jess Hampton has been an active DIY devotee since she was 15. Now, 10 years later, she uses her creations to furnish a little house in Regina, where she works as a freelance editor and lives with her husband, cat and 2 rats.
Add your voice! Click below to comment. ThriftyFun is powered by your wisdom!
What a novel idea....also...one of the things I do is make afgans...you just single crochet a long string as wide as you desire...you just keep tieing on a different color to make the cover interesting....crochet rows to the desired length and when it's big enough, just crochet a couple rows around the entire piece....makes a nice cover for nursing homes, etc....
Add your voice! Click below to comment. ThriftyFun is powered by your wisdom!