Earlier this year Laurel and I posted a simple paper pieced quilt block.
Here is a link to the original paper pieced block project:
Instructions for Paper Pieced Quilt Block
Despite the delay, it was intended to be the lead in for this project. We had hoped to post this more intricate project shortly thereafter, but life intervened.
I had begun searching the internet looking for Harry Potter quilt blocks to make a quilt for my then 9 year old grandson. Well, he is 10 now, but actual progress is being made.
As I was searching I found a wonderful website:
fandominstitches.
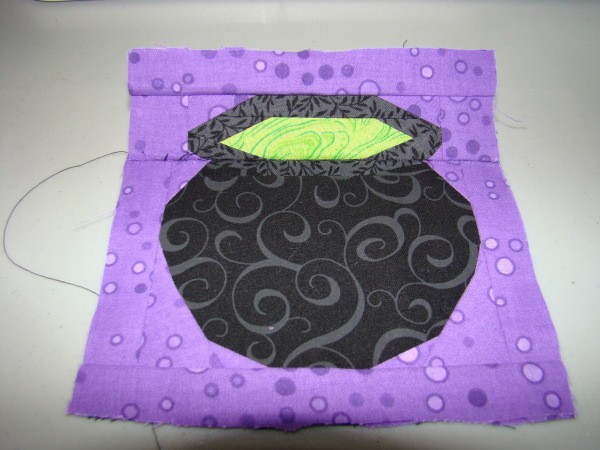
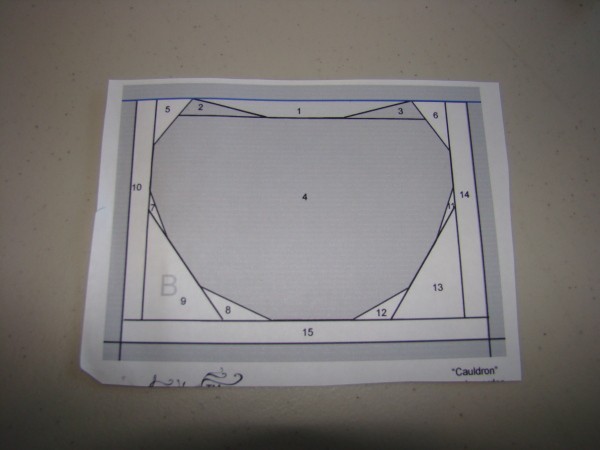
I contacted the site developer and designer of many of the blocks featured there, Jennifer Ofenstein, to request permission to post a block project on ThriftyFun based on her Harry Potter series. Being familiar with ThriftyFun, she graciously agreed. The result is a running total of some 30+ blocks. This is one that Laurel pieced - the cauldron.
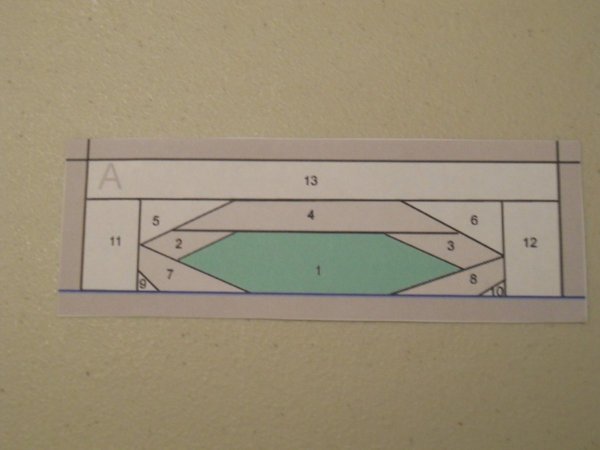
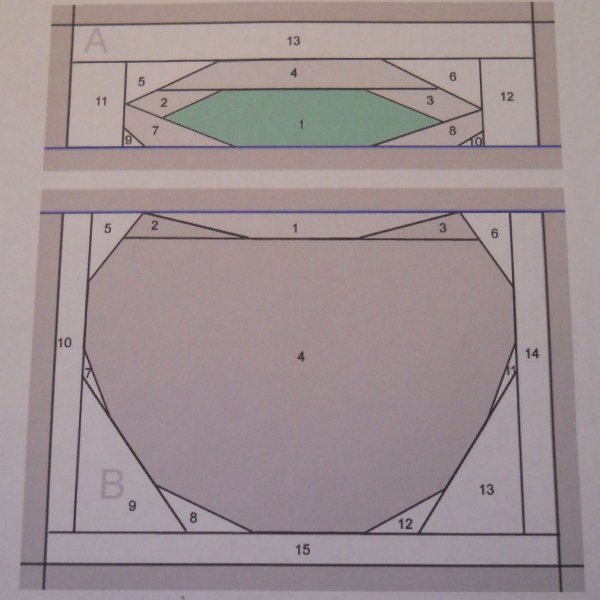
This particular block consists of two main pieces that are individually pieced and then joined together to complete the block. The finished block will measure 5 1/2 inches (including seam allowances) yielding a 5 inch block after adding sashing or attaching blocks directly.
Supplies:
- computer for printing pattern
- pattern
- assorted cotton quilting fabric
- coordinating thread
- sewing machine
- iron or boning tool, to flatten seams
- Scotch tape or glue stick - optional
- pins
- measuring tape
Instructions:
- Print out your selected pattern. Measure to confirm that it will sew up to the correct size. On some sites you may have to play with the scale.
- Set the stitch length on you sewing machine to a small/short stitch, approximately 12-18 stitches per inch, or 1.5 on a machine with a stitch range of 0 - 5. It is recommended that you use a larger needle (90/14). The larger needle and the shorter stitch length will allow you to remove the paper more easily.
- Cut the sections of the pattern apart, in this case A and B.
Note: If using a pattern without the seam allowances incorporated into the pattern, remember to cut 1/4 inch outside the entire section.
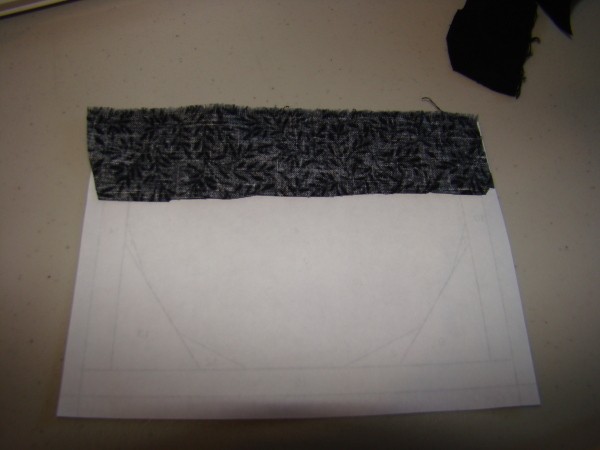
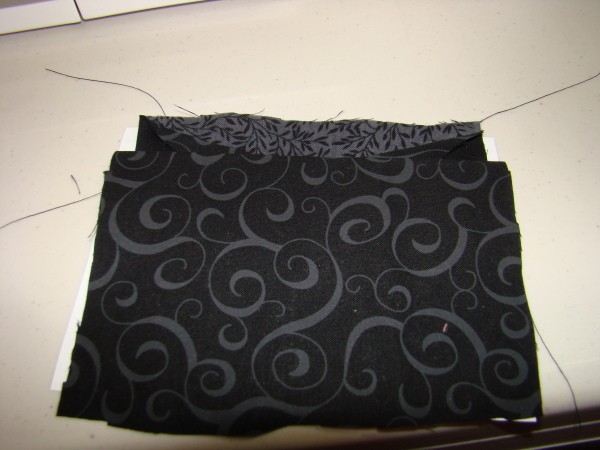
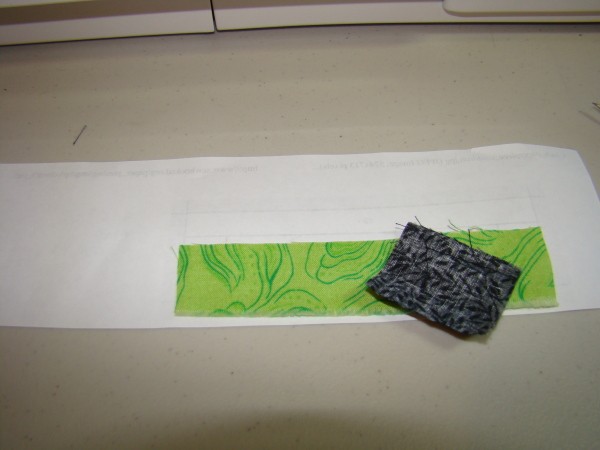
- Starting with either section (A or B) cut a piece of fabric large enough to cover area labeled #1, including a 1/4 inch seam allowance all the way around. We started with the larger section B.

- Place this first piece RIGHT side up on the "unprinted" side of the pattern. You may wish to use either regular Scotch tape, double sided tape, or a glue stick to hold this first piece in place.
- Turn the paper over and hold it up to a light. Make sure that the fabric extends beyond the stitching lines.
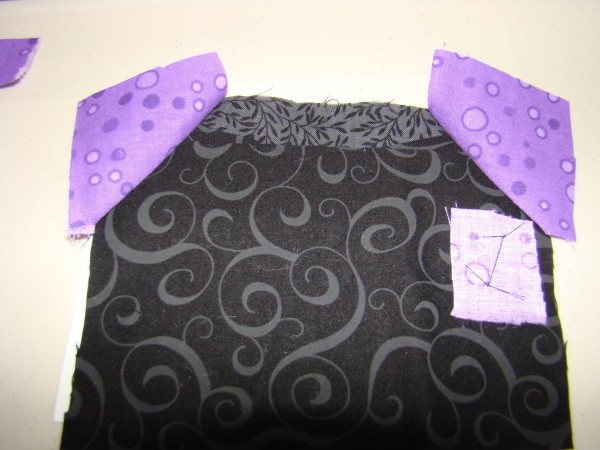
- Now cut a piece of fabric large enough to cover the area of piece #2 including seam allowance. You will use this process when cutting each piece of fabric to add to your square.
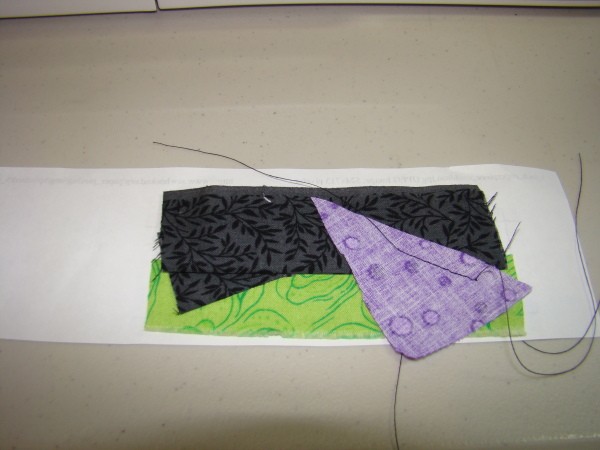
- Place piece #2 over piece #1, right sides together. Again you can hold the pattern and the two pieces of fabric up to a light source to confirm that the appropriate area is covered. Make sure that you have your #2 (and subsequent pieces) oriented correctly so that they fold back from the seam and cover the correct area of the pattern, with the right side of the fabric facing up.
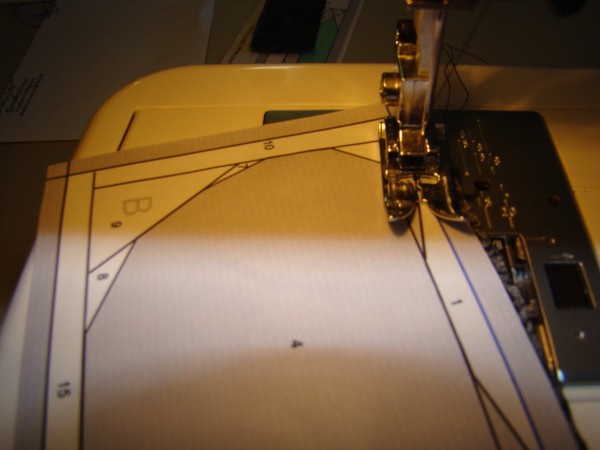
- Now that you are sure of correct placement, turn your pattern over holding the second piece of fabric in place. Sew along the seam line between area #1 and #2.
Note: Some quilters recommend that you begin and end the stitching inside of the 1/4 inch seam allowance.
Backstitching does not replace the cross seaming that occurs when your seams extend into the 1/4 inch seam allowance area. This step will help reduce the chance of a gap occurring in the patchwork as subsequent pieces are added.
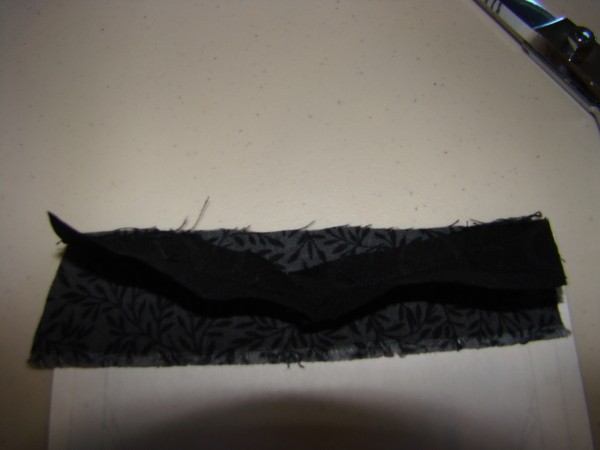
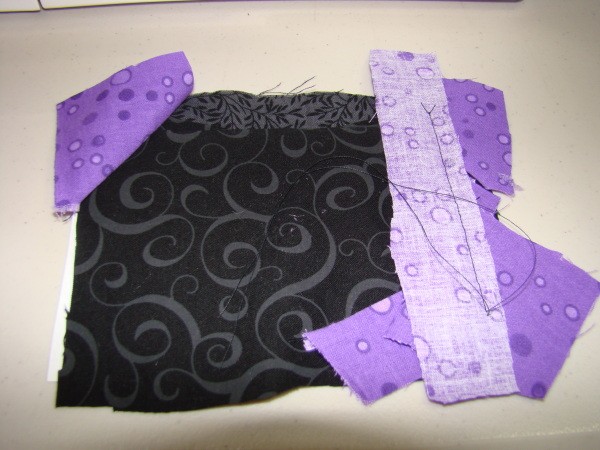
- After adding each new piece of fabric, trim the seam allowance to 1/4 inch. Take care not to cut the paper pattern.
- Now open the piece (#2) out from the seam and press flat (on the right side of the fabric) using either a dry iron or specialized boning tool.
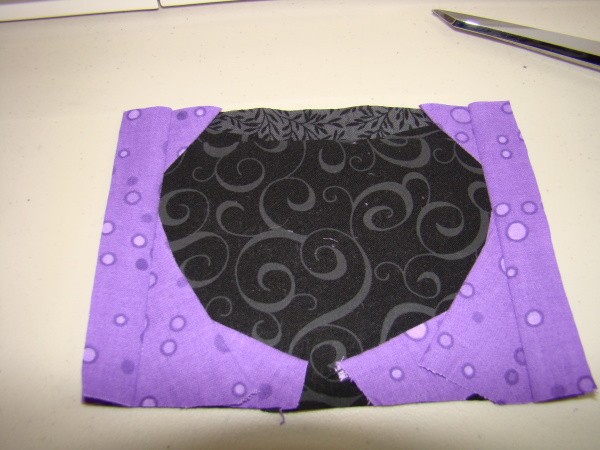
- Continue this process adding pieces in numerical order.
- Once section B is finished give it a pressing.
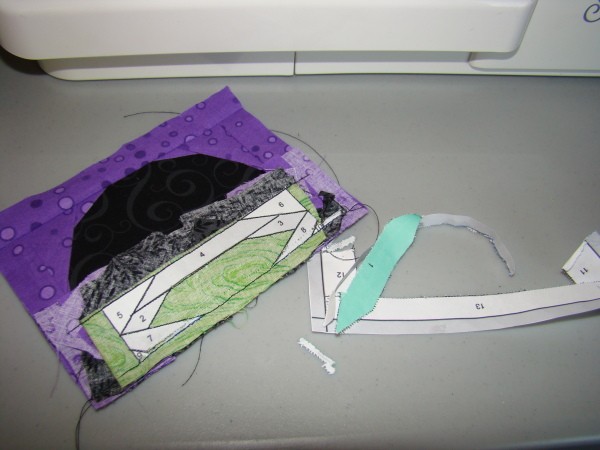
- Now complete each additional section (in this case A) in the same manner. Pressing when done.
- Line up the stitching line for joining sections A and B, right sides together. Pin. Stitch. Press.
- Carefully trim away the excess fabric along the outside of the 1/4 inch seamline of the foundation paper. DO NOT sew along the outer seamline at this time. You will be piecing the blocks and possible sashing later and taking a 1/4 inch seam at that time as well.
- The foundation paper can be removed at this point or it can be left on the blocks until they have been sewn together. Removing will help reduce the bulk, but leaving it attached adds some stability. You can be the judge based on the fabric being used or personal preference. If the fabric is stretchy you will probably want to leave the paper attached.
You are now ready to move on to your next block. Enjoy!
We only have about another 30+ to go.
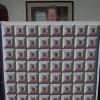
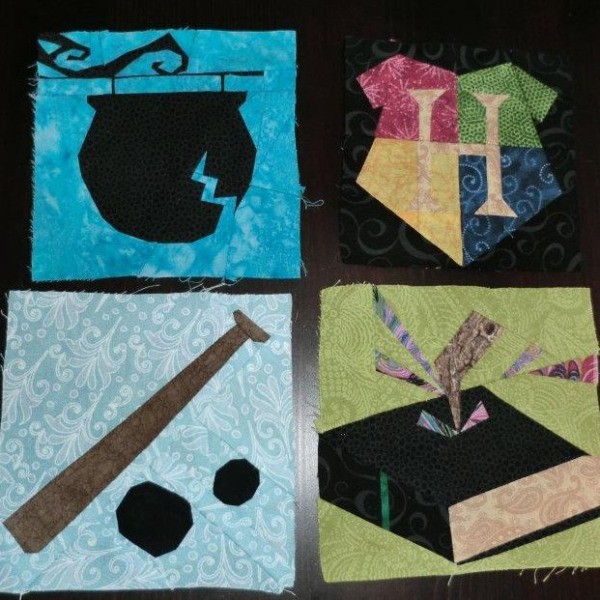
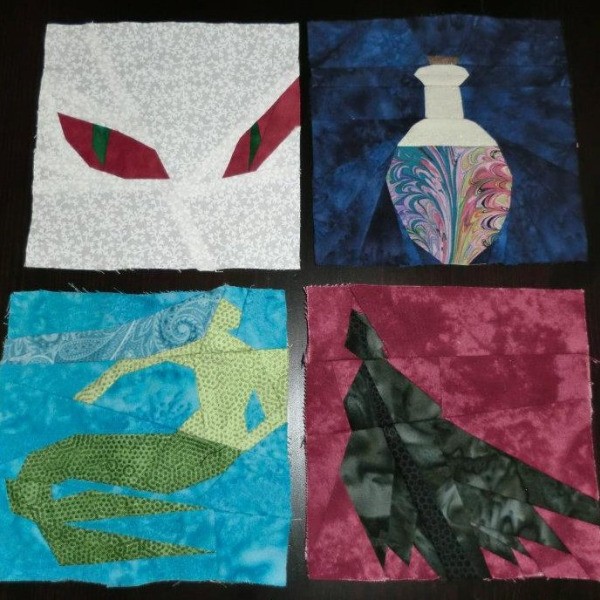
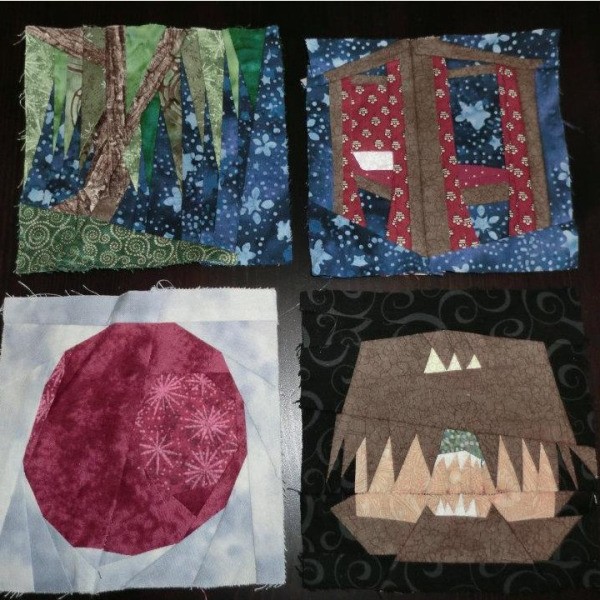
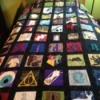
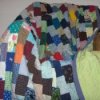
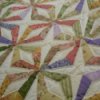
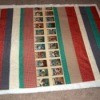
Here is a sample of some of the other completed blocks.
This is another helpful link regarding testing your fabric for colorfastness: Testing Fabric for Colorfastness
By R Barbara from Bremerton and Port Orchard, WA